Different Types of Gardens and Garden Structures
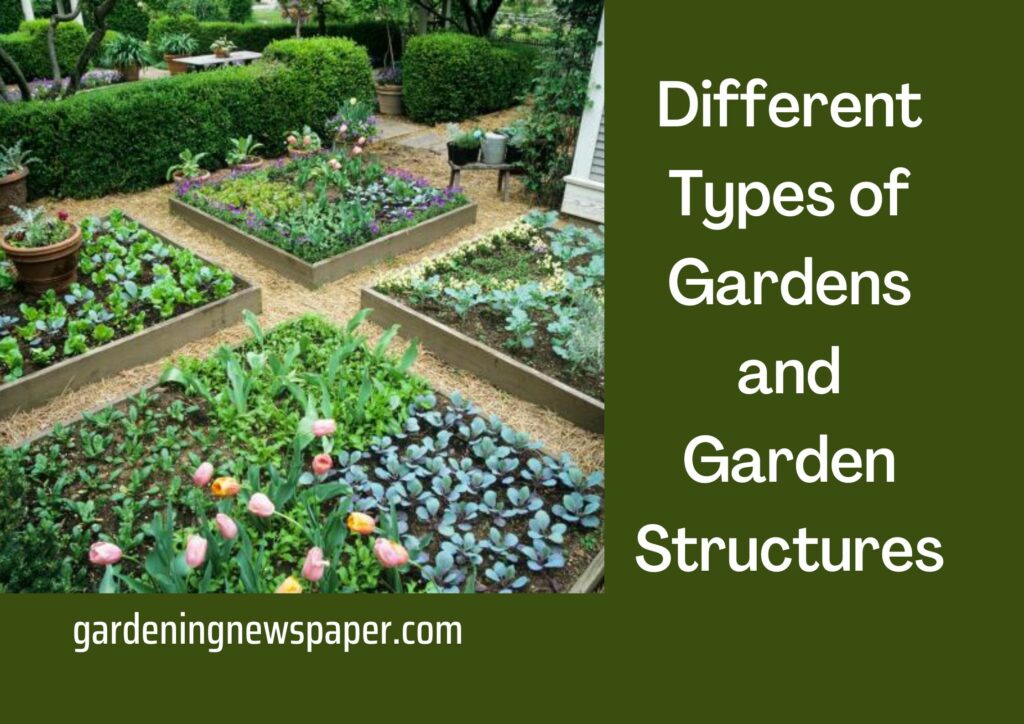
The beauty of gardening lies in the fact that you are not tethered to a specific garden type and have the liberty to explore what lines up with your availability. You can select your garden type from a variety of sources, namely in-ground gardens, raised beds, or container gardens. In-ground gardens are, as the name suggests, gardens where the produce grows directly in the ground. This setup allows you to enjoy a vast array of space and can easily lead you to bite off more than you can chew. Raised bed gardens are set up so that the soil is elevated from the ground level, with the contained area being enclosed by rigid materials, such as wooden boards. A container garden is seeds that are planted in their containers. This helps you separate your vegetables from your herbs while allowing you to place them wherever you desire on your land. If your homestead is smaller (which often means a smaller garden), you can create vertical space with a ladder mesh block. You implant these blocks into the earth and wind the vegetables or fruits over it, automatically allowing you to get more out of your garden.
Many groups of produce are grown in gardens:
- Vegetables
- Nuts
- Seeds
- Fruits
- Herbs
- Spices.
Make sure to grow the foods you know your family will eat (unless you plan to sell food for extra income or have the food to help feed any livestock you may have). You will be putting in effort for your food to grow, so make sure that there is a return on your investment.
Some vegetable ideas for your garden are:
- Peppers
- Tomatoes
- Leafy Greens
- Peas
- Onions
- Asparagus.
You can also grow nuts and seeds like:
- Macadamia nuts
- Almonds
- Pecans
- Hazelnuts.
Fruit is a bit more complex because you can plant fruit trees, berries that grow on the ground (which are more applicable for an in-ground, raised bed, or container garden), or vining fruits. Examples of this would be:
- Apples (fruit tree)
- Strawberries (berry)
- Watermelon (vining fruit)
Finally, the best herbs and spices to grow are:
- Garlic
- Ginger
- Horseradish
- Chamomile
- Peppermint
If you reside in an area with extremely cold winters, you will want to maximize your growth potential throughout the year and extend your growing season into the winter. This is where a cold frame can truly come in handy. A cold frame is a sort of tiny unheated greenhouse. It’s a box with a translucent covering that does not require any technology to run. A cold frame can moderate the extremes of the winter months by catching the sun’s warmth during the day and keeping it insulated for your garden to use during the glacial nights if you close the cover for this exact purpose. Moreover, the cover and sides of the cold frame can become a layer of protection against heavy snow, wind, and ice.
Cold frames are surprisingly cheap for the value that they bring. They are easy to build, and you can do this by yourself with a few materials on hand, or you can simply purchase one. Make sure to place it in an area that isn’t covered by trees or in shadows. You want the cold frame to capture as much light as possible. This may be a concern for family A since they reside in a city. Ensure that your garden is positioned in an area that soaks up the sun during the daytime. If you grow your vegetables and fruit in raised beds, you may benefit from building your cold frame directly onto the bed.
The best produce to grow in a cold frame are:
- Kale
- Beets
- Spinach
- Scallions
- Chard
- Parsley
- Carrots
- Radishes
You want to be mindful of the ground space and the height your crops reach, as this could lead to your product being too tall for your frame. You want to install your cold frame over crops that have grown up to maturity when the winter months hit (usually crops planted in the late summer or early fall). Once they reach this point, growth will be limited. The cold frame can then be introduced to act as though it were an incubator, keeping your crops healthy and fresh until it is time for harvest. Make sure to continue engaging in plant care but reduce the watering quantities as the cooler temperatures demand less moisture. Your cold frame cover can be off during the daytime until you enter the winter phase, where temperatures decline below 40°F at night. You will want to lift this cover on certain days to vent the cold frame.
On a sunny day, keep the covers off as much as possible since you don’t want the temperature to get too hot inside the frame and ruin your crops. You can involve technology in this process by purchasing a mechanized vent opener. It will automatically raise the cover on your frame when it detects an increase in the temperatures within, and it will also drop the cover when the temperature cools down too much. This will be the most maintenance your crops will require during the cold months.
Families A and C that already have properties can benefit from having a greenhouse if they encounter difficulties in gardening. Backyard greenhouses vary in style and price and largely depend upon your gardening goals. The primary purpose of your greenhouse is to generate heat and light for your plants. This setup is great when you have plants in containers; they can help your produce thrive in the colder months. Like a cold frame, you can choose to make your greenhouse, or you can purchase an already made one. Family B has chosen to relocate to Wyoming, so they should prioritize inquiring about the soil before making any purchases.
Raised beds are also extremely efficient at helping you navigate the difficulties of uncooperative soil. You will reap the benefits of dealing with fewer weeds and avoiding some of the more strenuous aspects of gardening, like hard-to-sow soil or underground pest. In addition, the soil of a raised bed has a more rapid heating time in the spring, meaning you can begin planting a little earlier than your in-ground counterparts. You have the option of purchasing your raised bed or making your own.
If you opt for making your own, you will require a drill, screws, level, angle-square, shovel, tape measure, topsoil, deck screws, and sturdy wood to meet your size specifications. In the image, the measurements are just an example. You could use the example to the T or use it as a visual and make it however big or small you would like it.
- The first step to creating your raised bed will be to select an area in the garden and mark it off for the bed frame. A four-foot by four-foot square garden bed frame is a great starting point if you are unsure of how big you want your garden to be. You will then rake the ground to get it leveled out for your bed.
- The second step is to create your bed frame walls. You will then measure out the wood to the length in the image or the length to your liking. As you measure and cut make sure you label the length on each piece of wood, so you know which piece goes where. You will use your lumber to create the enclosure around the garden area. You want to place the garden bed frame sidewalls opposite one another. Measure the raised bed diagonally across to ensure that the frame is square. Take the stake and situate it in the middle of one of the garden bed frames. You want to pound it in to ensure it is sturdy and level with the top of the side rails. Do this with the other three garden bed frame walls. Once the bed is built, you can begin to fill the frame with good-quality soil. Add compost or other organic matter for an added nutritional boost to make the most of your hard work.