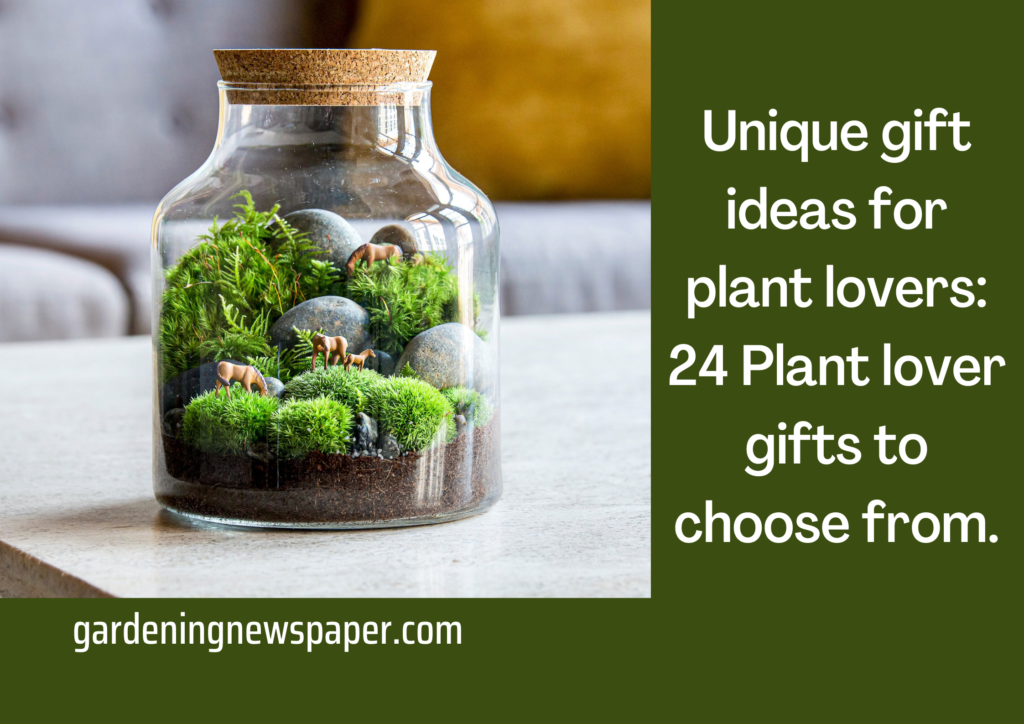
Unique gift ideas for plant lovers – 24 Plant lover gifts to choose from.
Are you trying to gift unique and best gifts for the plant lover in your life? Or Want to choose unique plants for your loved ones?
Of course, the easiest and conceivably most evident gift idea is one of the best indoor options or plants that can thrive in office circumstances, so choose according to your preference.
You should purchase plants that nurture your health, or hardy succulents which bring magnificence to your place. Green can induce your sleep as well.
Giving gifts is a very challenging task. Especially if you’re shopping for someone who likes unique things. For example, if you have somebody who is positively and actively obsessed with plants, you might not like to go down the evident path of fetching a flower or some kind of succulent. Because they already have one in their place. So, let’s get innovative rather. We’re here to assist you to find the best gift ideas for plant lovers. Below you’ll find wonderful or unique gifts such as plant-inspired art prints and puzzles, cute flower pots, and stands.
Here is a list of gifts or gift ideas that can help with Gardening.
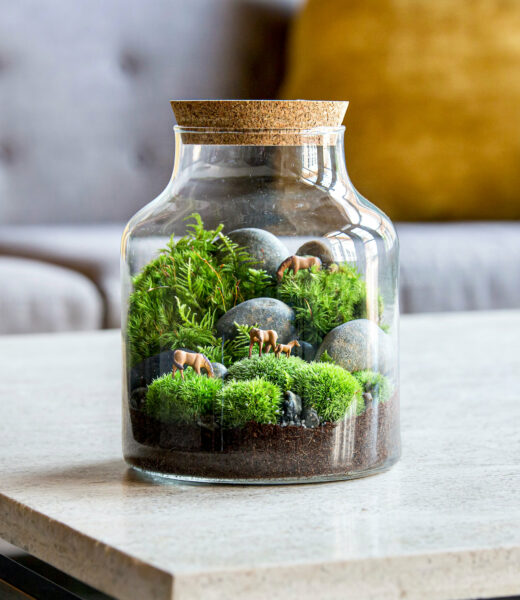
Get Plant Terrarium
It’s really cool to watch plants grow. That’s why terrariums are such a popular item. This 3-ball terrarium from him is also perfect for small living spaces and office desks.
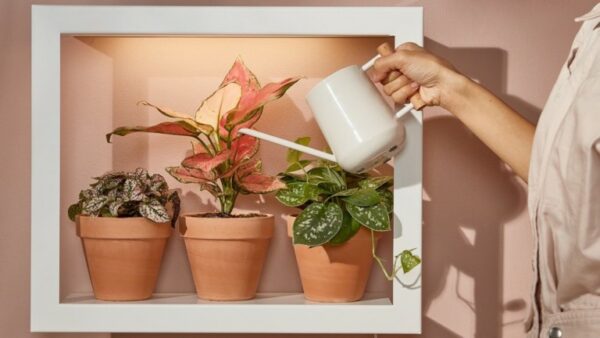
Buy Smart Growframe
This stylish shelf frame doubles as a lighting tool for plants that require low to bright light, such as aloe and English ivy. It can be turned on manually or programmed by connecting to the Modern Sprout App.
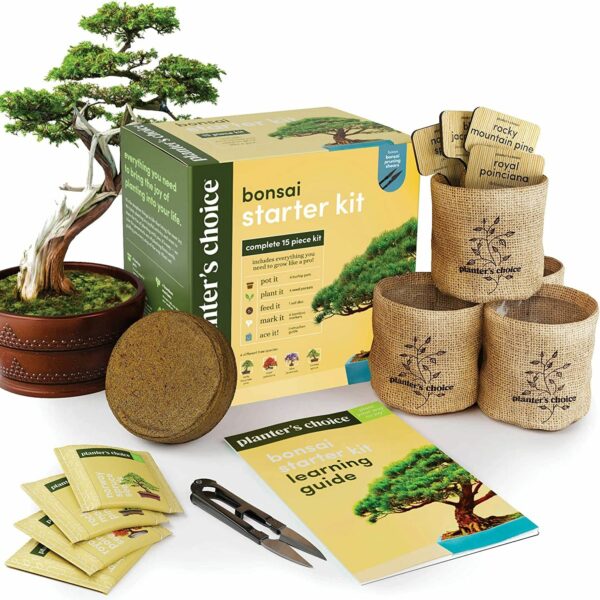
Bonsai Starter Kit for home
Give your plant-loving friend this Bonsai Starter Kit and you’ll have everything you need to grow four beautiful miniature trees. This kit comes with a 100% satisfaction guarantee, so don’t worry if your green thumb suddenly turns black.
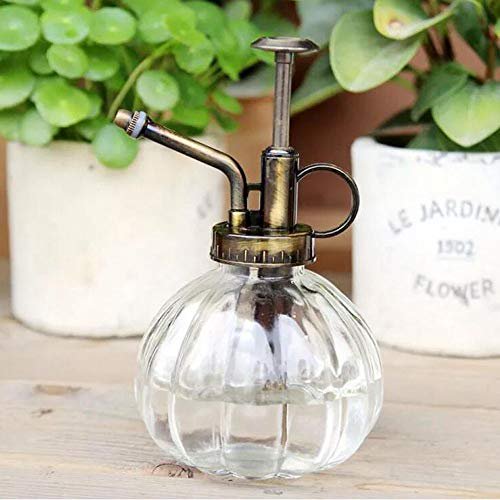
Plant Mister
Step outside with your watering can and pop in your glass mister, like this undeniably exquisite thing that will make any plant lover effuse about. The is not only ravishing enough to display on your windowsill, but it’s actually functional, letting the user regulate how much water the plant gets.
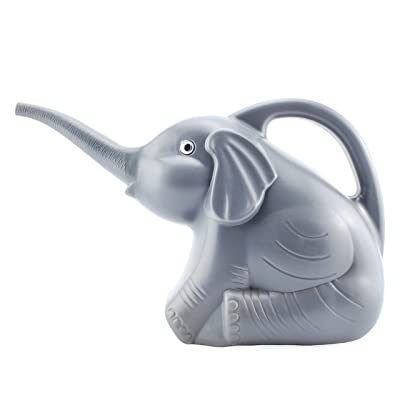
Elephant Watering Can
This Elephant watering can is a unique gift, especially for indoor plant parents. Green Thumb meets a ceramic stem for incredible results.
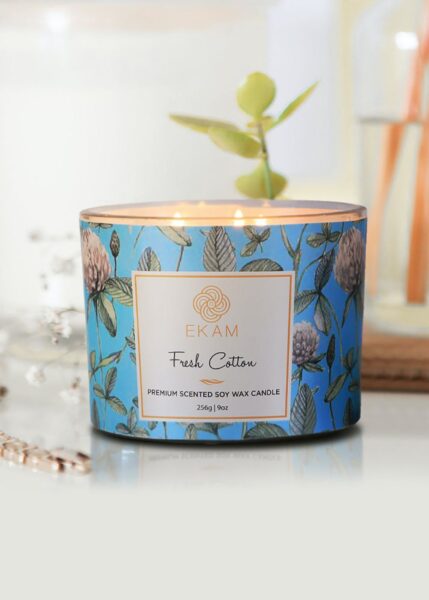
For candle lovers
Scented candle with the freshness of plants. Sage Lavender Chakra Candle Filled with the harmonious scent of sage and lavender, the Natural Soy Wax Candle will brighten up any plant lover’s life even when it’s not lit.
Plant Pillow is a better gift as well
When real plants just aren’t enough, there’s always the most suitable home decor like this pillow. No matter what color your couch or sheets are, this green leaf-designed pillow is non debatably the best option for your plant lover companion.

For the Plant lover who has a pet
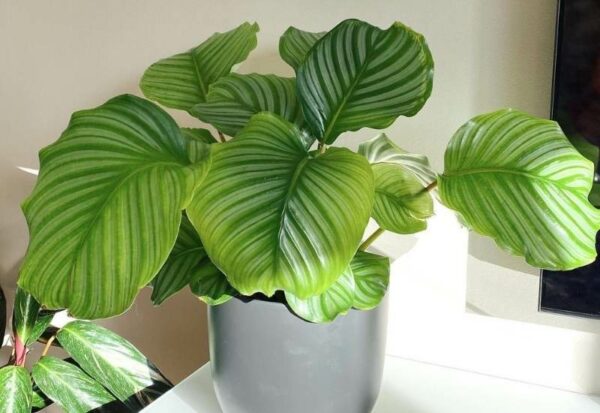
Calathea Orbifolia indoor plant
Calathea Orbifolia Of course a good opt, you can always give plants as a gift. (FYI: This plant is pet friendly and has no toxic reaction to pets and humans also so you don’t have to worry about your dog chewing it.). For Pet Lovers, this is a unique or rather very meaningful gift.
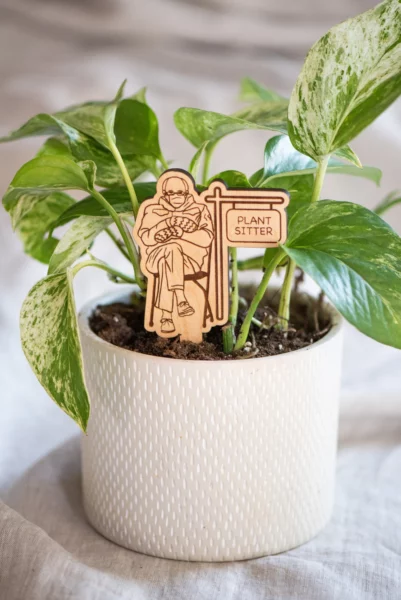
Bernie Sanders Plant Marker
If your friends always get jobs looking after plants when they’re traveling around town, it’s time to give Bernie the role. Your plant-loving companion will get a kick out of this adorable gift.
Buy Cactus Humidifier
Clean air has never been so sweet. Portable and super easy to use, this mini humidifier is the immaculate office or bedside buddy.

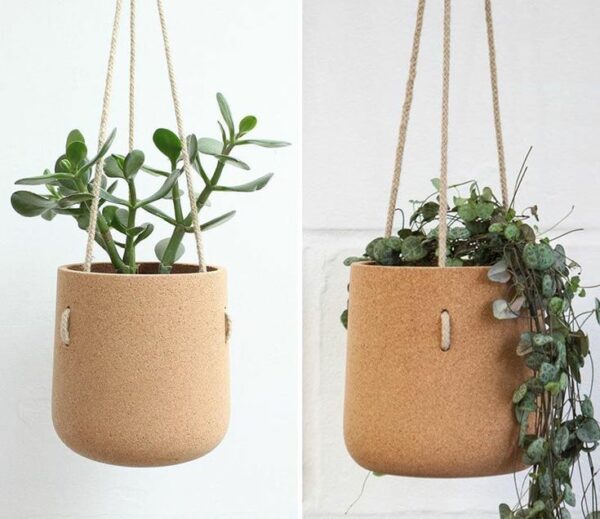
Hanging Cork Planter
The first thing I heard was that the planter was the new bulletin board. Your gift recipient will love this clean, handcrafted cork hanging planter to make their new home a success.
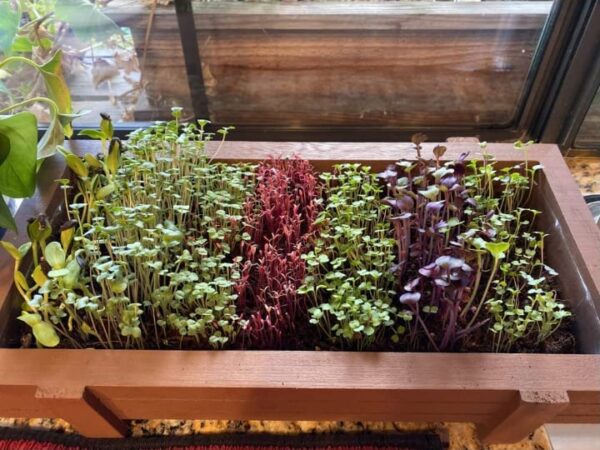
Micro-Greens Growing Kit
Give the gift of fresh coriander micro-greens thanks to this kit that makes indoor gardening a breeze. If you enjoy instant gratification, then it’s for you it grows in just 7 days.
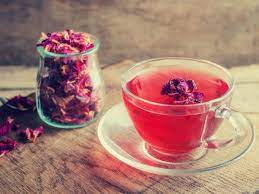
Rose Black Tea
You should gift this beautiful and delicious rose black tea to someone who has a very deep love or fonding for flowers this rose petal-infused tea would feel their cups.
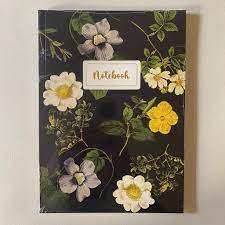
Made Succulent Garden Handmade Notebook
Support your plant lover friend to keep track of how much their plant has thrived and/or how they can take care of the little plants in this cute succulent notebook. A handmade gift is a different and thoughtful gift.
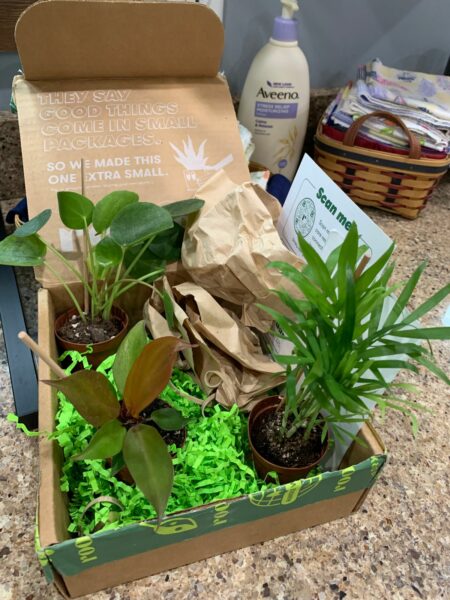
Adorable Mystery Jungle Box
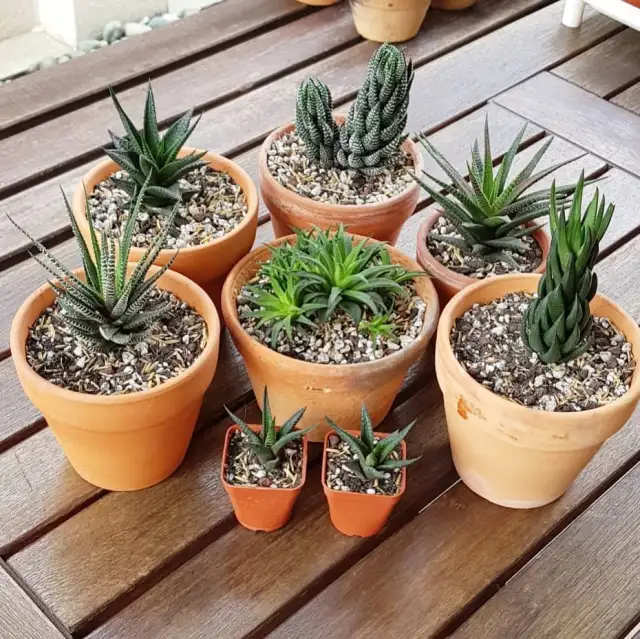
When you can’t help but fetch a plant, gift an adorable Mystery Jungle Box. Arrives with three mysterious 2-inch potted plants that can be attractive little additions to an office or their place.
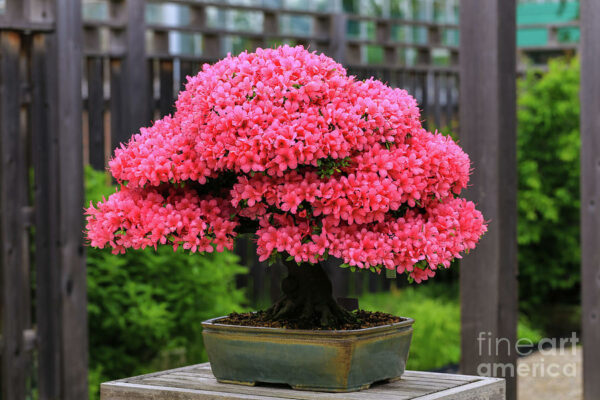
Azalea Bonsai
A bonsai tree is a stunning gift to give a plant lover because the probabilities are they don’t have a pretty one that blooms Azaleas. Plus, they’ll treasure knowing about the diverse paths to care for a new plant.
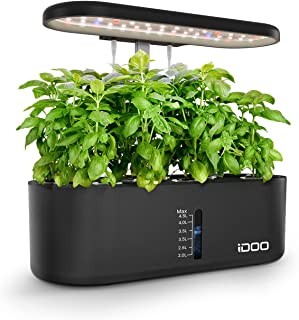
Hydroponic Indoor Garden
This compact hydroponic garden (which comes with six herb seed packets) delivers a nutrient-rich solution directly to a plant’s roots, which will save your partner from the hassle and chaos of growing indoors with soil. This is ranked the best indoor herb garden tool overall by professionals, thanks to its compact size and ease of use.
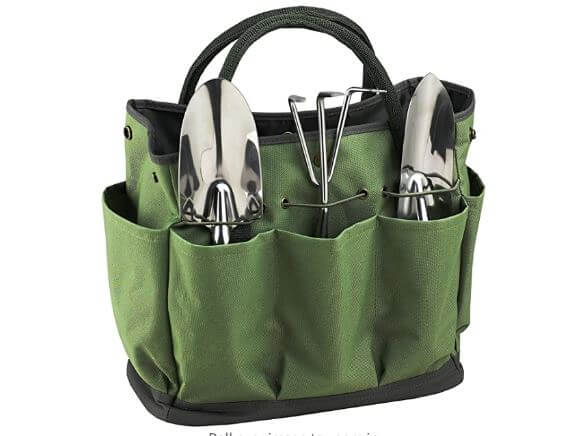
Crucial Garden Tote Bag and Tools
Present them with a new pack of gardening tools. This tool has a digging trowel, a planting trowel, and a garden cultivator. It even arrives with a cute and immense tote that has plenty of room for all their tools, gloves, sheers, and more.
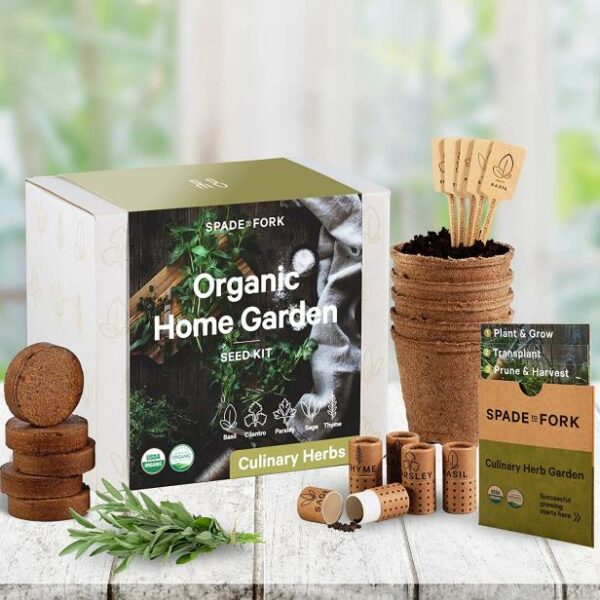
Organic Kitchen Herb Garden Kit
This Hortiki Plants Organic Herb Kit comprises 3 seed bags, a biodegradable pot, and drip tray, organic potting soil, a spray bottle, plant markers and instructions, and some instructions which can guide beginners or can help to thrive in their little indoor garden.
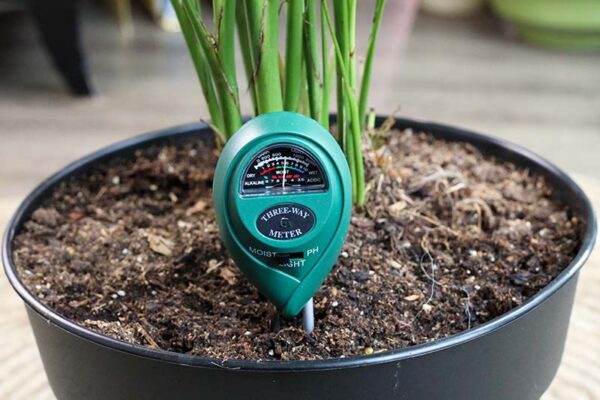
Soil Moisture Meter
Need the perfect gift for plant lovers? Get a soil moisture meter to test both indoor and outdoor plants and see the consequences instantly.
Indoor Gardening Kit
Designed specifically for indoor plants, this indoor plant healthiness kit includes protein-rich plant foods, natural organic fungicides, natural organic pesticides, and a spray bottle with a measuring cup.

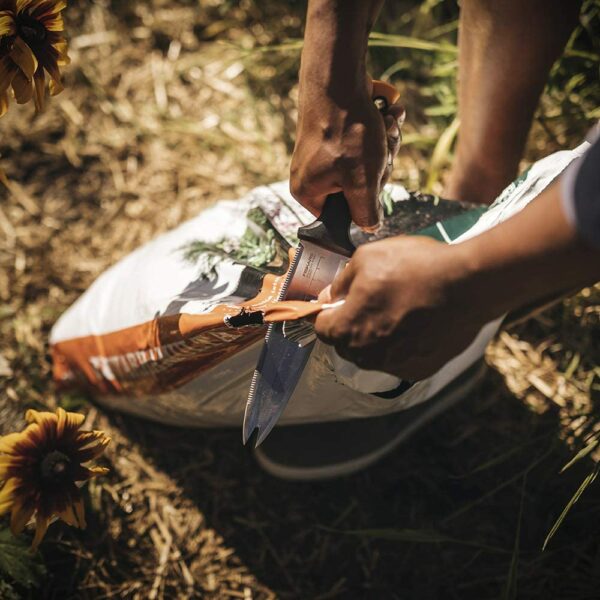
Fiskars Garden Hori Knife
Fisker’s iconic orange-patterned garden tools are acknowledged around the world. The Hori Knife is the toolmaker’s version of the popular Japanese ground knife. Great for digging and cutting, this versatile tool features a double-edged blade. An accurate ground edge for multi-purpose cutting dense growths. This device is a must-have for our friends who flourish plants.
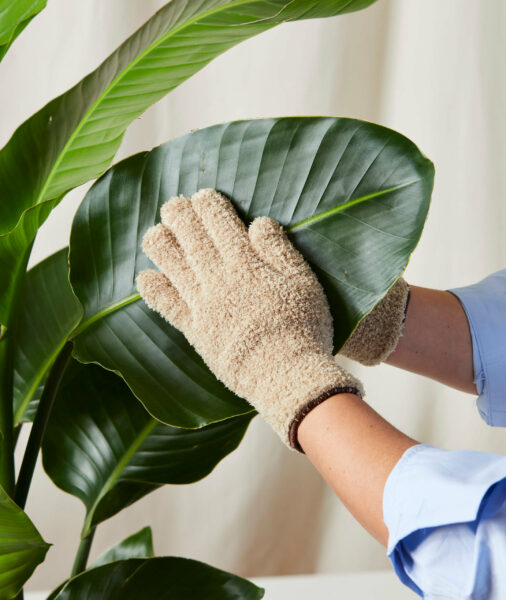
Microfiber Dusting Gloves
For indoor plants that entice dust, there is a simple solution. Give this microfiber dusting mitt to any plant parent who wants to keep their plants looking their best. Pollination also helps plants absorb sunlight.
Plant Parent clothing
This minimalistic embroidered sweatshirt is excellent for all plant lovers to display their plant affection. This ultra-soft, hand-embroidered sweatshirt is available in unisex sizes from Small to XXL. The best option to buy this on amazon, it gives you a discount also if available.
These are some unique ideas for plant lovers. You can get the above-listed things at amazon or you can cart whatever you like to gift in your shopping list amazon, it it is a holiday then you can get offers depending upon the circumstances.