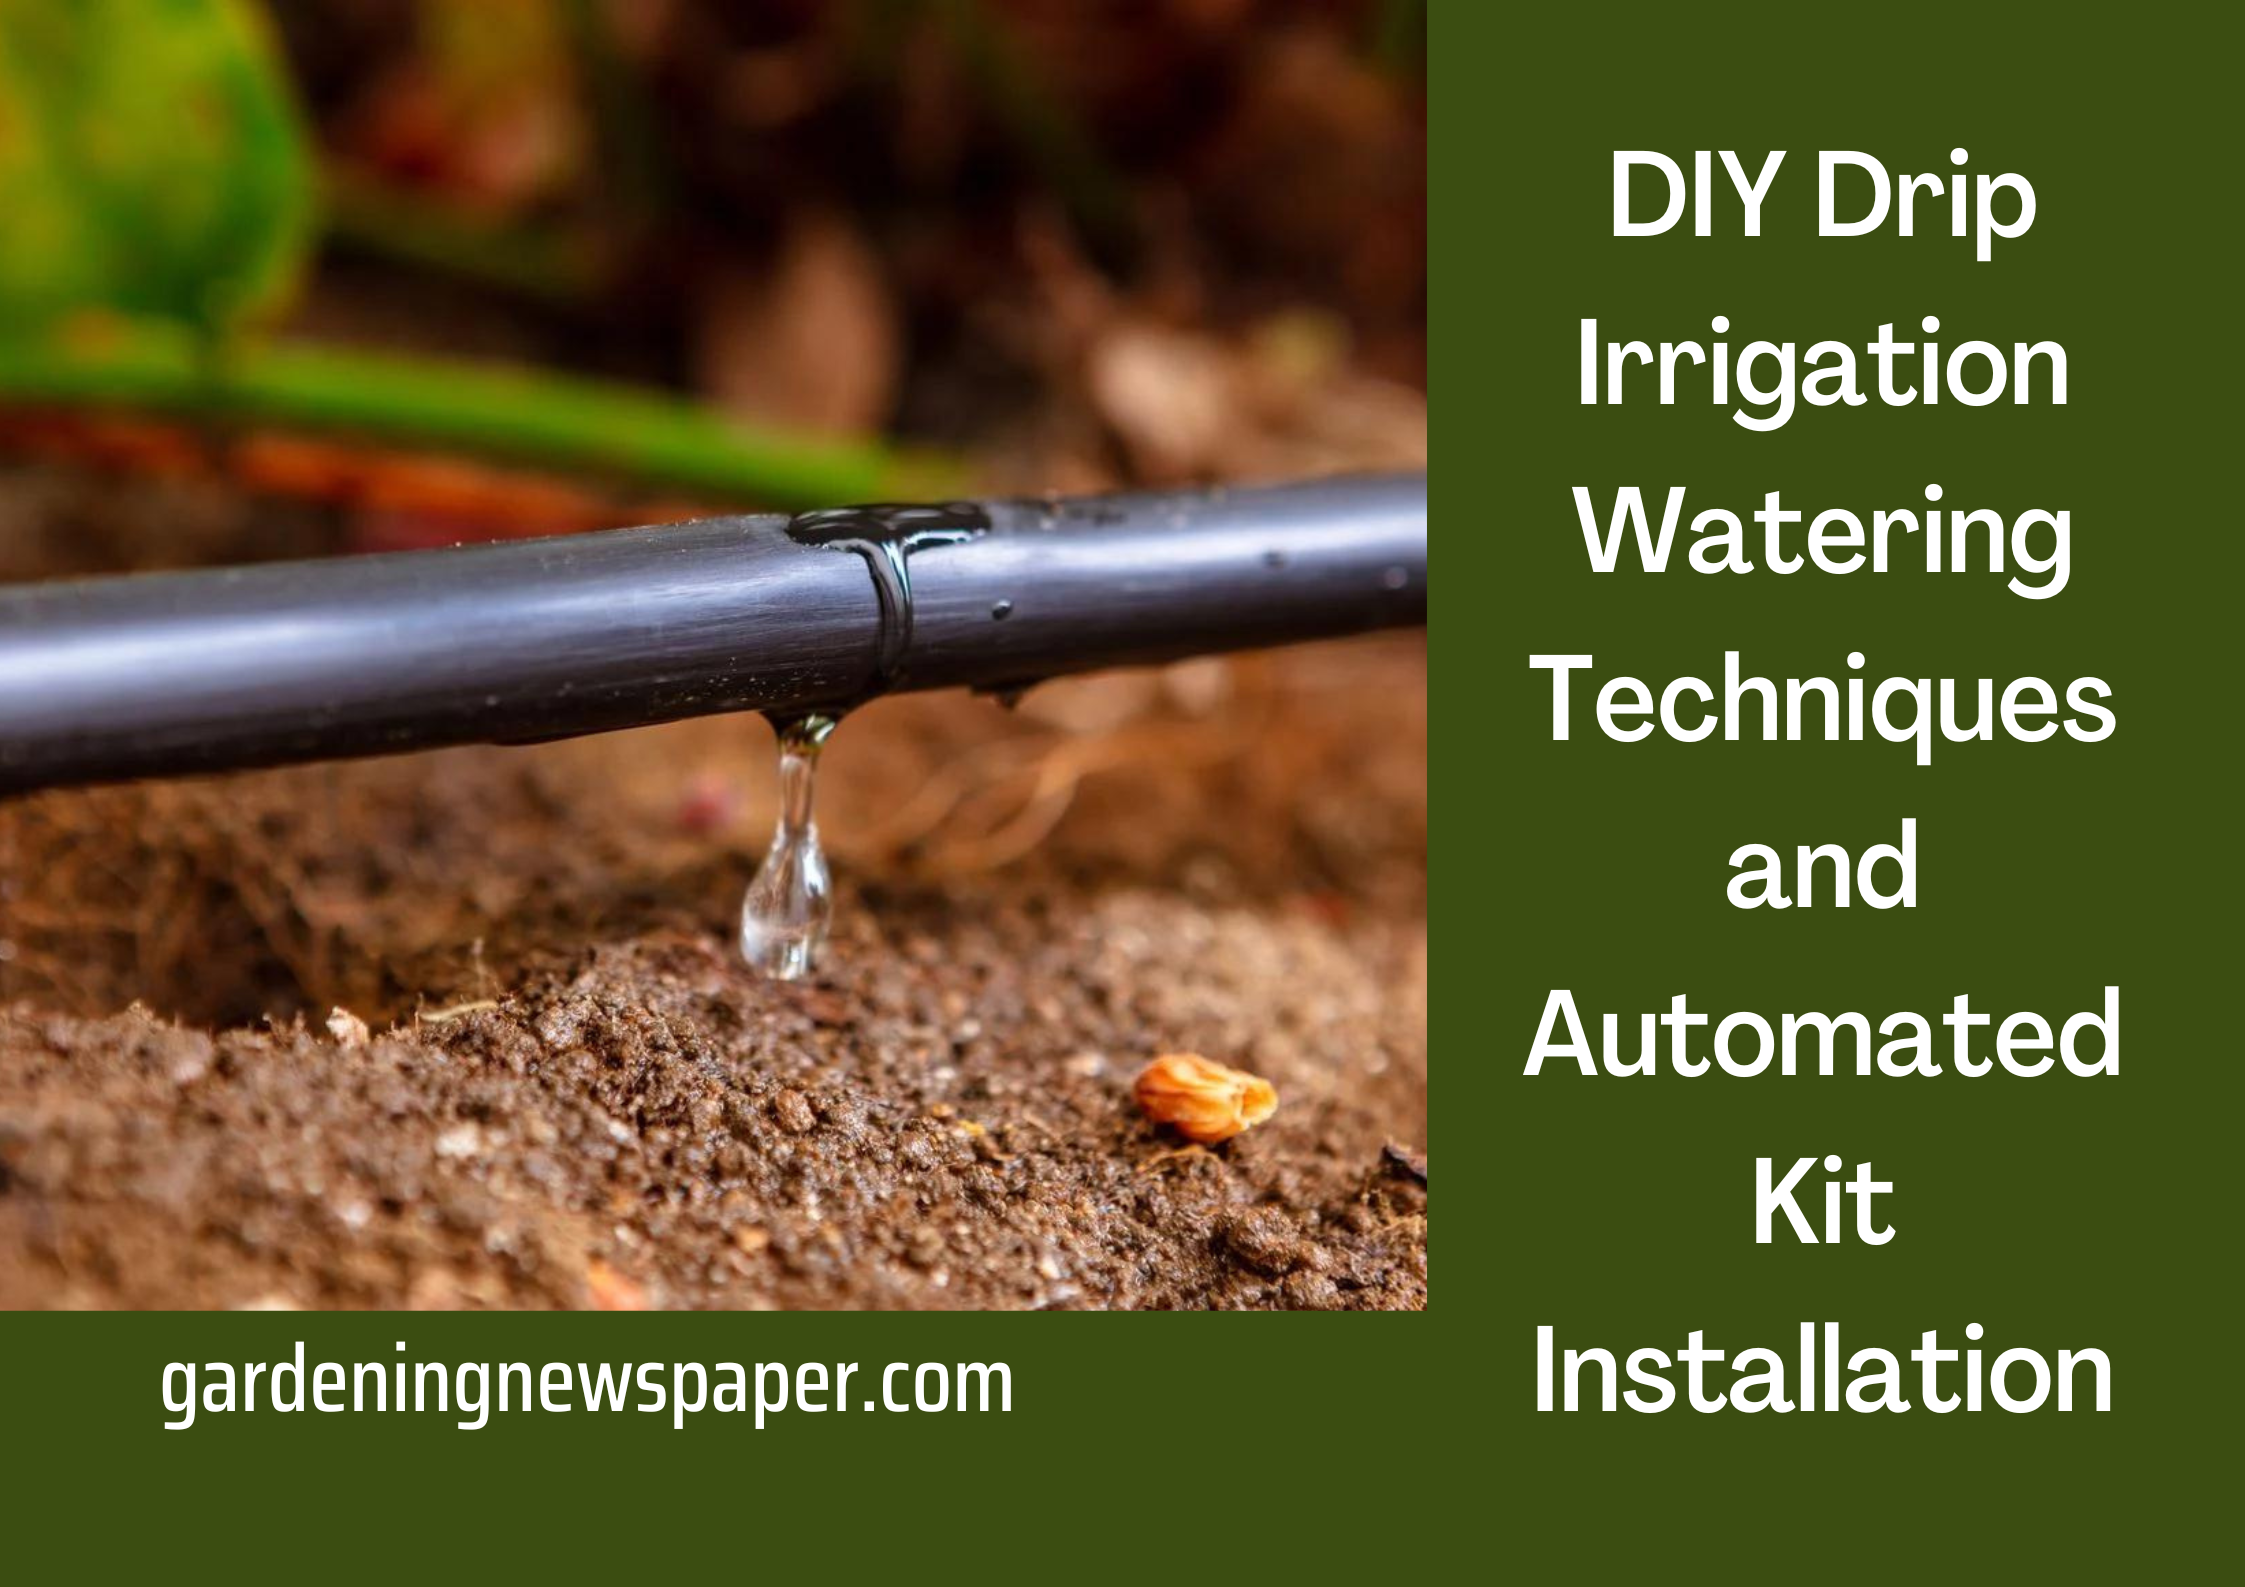
Drip Irrigation System – DIY Drip Irrigation Watering Techniques and Automated Kit Installation
There is nothing more worrying for a plant lover than watering plants when they are away from their garden. If you love to travel and do gardening, this makes it even more difficult to work. In this post, we will discuss some of the simplest and the easiest DIY Drip irrigation watering techniques. Also, read till the end to know how to automate your drip irrigation system in case you wish to use one for a medium to large garden. Happy reading and happy gardening to you!
So when you are not around, the following options may help:
- Someone at your home shares your responsibility. This is the simplest and easiest option.
- You hire someone professional to water your plants. Occasionally you can spend some money but you have to be sure about the reliability of the service. A typical gardener in your society’s garden can also do this job but do not expect them to show the same care when they water your plants.
- You ask for help from neighbors or relatives. Well, you may have similar concerns as point b.
So all the above may work for some time or if you have a relatively less number of plants. But, no one can care for your plants the way you do, as you know about each of them and their requirements. That’s where gardening beginners fail after all those options are exhausted.
Drip Irrigation System
Well, we do not want you to skip your travel plans for watering your plants! These days ready-to-install drip irrigation kits are easily available with user manual and guidance. It is quite easy setting up the system on your own for your terrace garden.
The drip irrigation system is a watering system that has the potential to water the plants directly at the roots. Therefore, there’s far lesser scope for water wastage and evaporation. This system can be used for almost everything from your container plants to a huge field of crops. Although the technique is quite similar in both cases, the components involved in the system differ depending on the area. In any scenario, there are some factors to consider when installing a drip irrigation system:
Water Storage:
Drip irrigation works best if the water is supplied from a storage tank that is installed at least 8 feet above the ground where your plants are placed. If this is not possible then you have to rely on a low-power water pump like a water cooler pump.
Water outlet:
If you already have a water storage tank, then you may have to set up a tap or water outlet with an On/Off valve. This is where you will connect the mainline.
Organization of containers:
Perhaps the most important and challenging aspect of drip irrigation. If you have one single large roof or terrace then it’s easier to organize. A row & column layout works best if you have so many plants however that’s totally up to you if you have plants scattered across space.
If you have multiple terraces/rooftops then a more planned approach would be required. You can either install separate systems for each space with their water storage and supply or you can centralize the storage and supply by introducing multiple outlets.
Another great option is to have one single storage and one outlet that takes care of all your spaces by spreading the main pipeline across spaces.
Timings and Control:
When drip irrigation is in place, all you need to do is open the main valve for a certain amount of time and then close it again. That’s it. Now, this process can be outsourced to a family member, friend, relative, or neighbor in your absence without worrying about their mistakes.
This eliminates a lot of scope for error and quite some dependency. But wouldn’t it be great if your system just works on its own without human support? The valve opens at 6 am for 15 minutes and then closes automatically while you were doing your yoga, meditation, or traveling.
6 Easy Drip Irrigation System DIY Techniques
Well, before getting into installing an automated drip irrigation kit all by ourselves, let us first know a few simple and easy DIY watering techniques that work best for small balcony gardens and our regular container gardens.
Here are some of the favorite and most reliable drip irrigation system DIY techniques of pro gardeners. You can pick any of these based on the requirements. These methods can help you water your plants when you are away from them for a few days. In the later sections, we will look into how to install an automated drip irrigation kit.
1. Using a plastic bottle
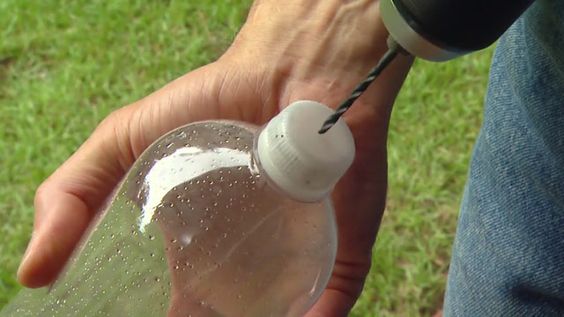
This DIY drip irrigation technique is everyone’s favorite.
- Take a plastic bottle and punch a few holes in the cap. The number of holes depends on the amount of water that you’d like to drip into the roots.
- Fill the bottle with water and close it with the lid.
- Place the bottle upside down into the pot.
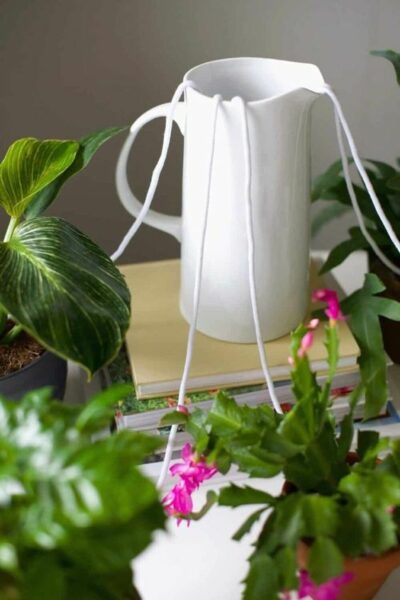
2. Watering wick and bottle
Instead of placing the bottle upside down into the soil, you can use a watering wick to water your plants.
- Take a few plastic bottles (preferably of the same size and water capacity), and punch two to three holes depending on the size of the bottle and the diameter of the wick.
- Take the wicks and insert them into the bottle thoroughly via those holes.
- Now, stick the other end of the wick into the soil.
- Fill the bottles fully with water and place them on the soil surface and let the water seep through the wick.
3. Using a milk jug
This works best for a small to medium-sized garden.
- For this project, punch a few holes in the milk jug and bury the jug into the ground beside your plants (do not destroy the roots while burying the jug) leaving the mouth of the jug open to fill it with water.
- As you fill it with water, the water gently seeps into the soil underground.
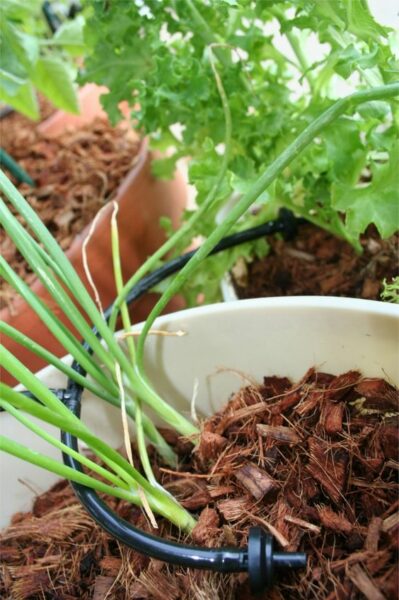
4. Indoor plant watering DIY
As the name suggests, this works best for indoor plants.
- Place the pots that you need to water in a corner.
- Take a large container or a bucket and fill it with water.
- Now, place the container with water at 1 foot higher than the ground level.
- Cut the wicks as per the distance from the container to the pots.
- Immerse one end of the wicks into the container and stick the other ends into the soil of the pots.
5. Olla technique
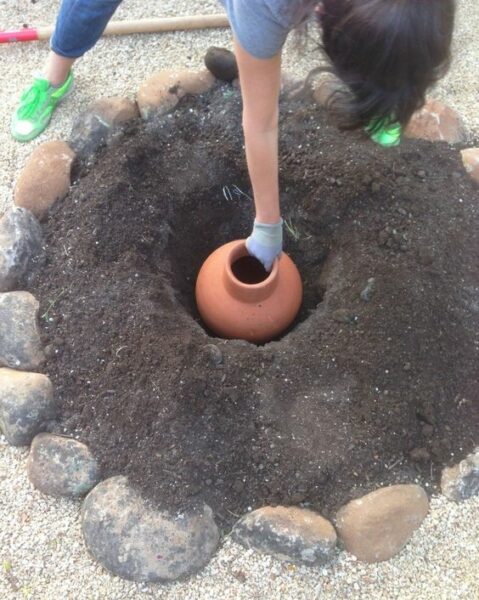
To let you know what olla is in simple terms, it is basically a big size clay pot.
- Like we do in the case of the milk jug technique, bury the olla underground and fill it with water as and when needed.
- Oh yes! Do not punch holes!
6. Gravity-based DIY irrigation technique
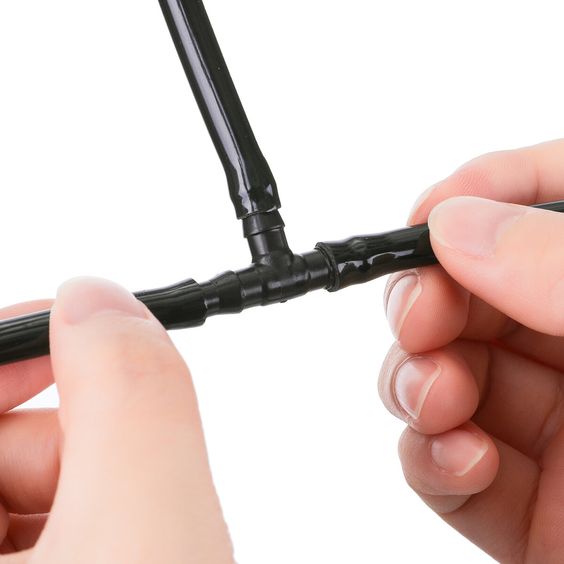
For this technique, you need thin water pipes, T-shaped plastic valves, steel air valves, a large bottle, and cable ties.
- Firstly, punch a hole for the bottle’s cap, and place it upside down at 5 feet higher than the ground level (you can tie it to a pipe in your balcony or a railing in your garden).
- Take the water pipes and cut them depending on the distance between the bottle and the pots.
- Place one end of the pipe into the hole of the bottle cap and fix a T-shaped air valve at the other end.
- To the air valve, fix a smaller piece of pipe and let the end of it face the soil of the pot.
- Fill the bottle with water and use the air valve as a tap to regulate the water flow.
Installation of an Automatic Drip Irrigation System Kit
There are two ways you can automate the entire process:
- Buy a readymade controller designed for your drip irrigation system and connect it to your main supply.
- Gather some parts and build your controller. It’s easier than you think.
Readymade controllers are easy to set up. They are expensive and usually come as one single unit. The downside here is that if they go out of order, you have to buy a new unit unless you buy a good quality commercial-grade controller which comes with a warranty, and may be quite expensive too.
They work and you can certainly choose them. They may also offer features like controlling your water supply using wifi connection using a mobile app.
But if you are like me who want to save money and enjoy a little DIY project. You can make your little controller that works just the way you need. It’s cost-effective and made up of simple parts that can be purchased separately if one stops working.
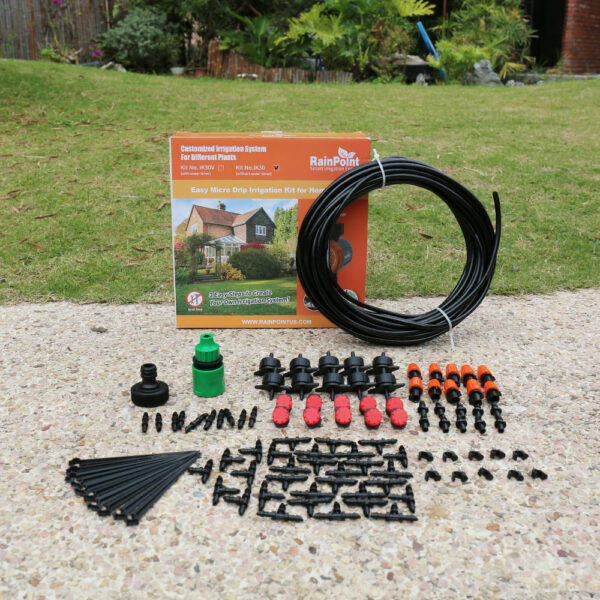
Drip Irrigation System Parts and Steps
To make your fully automated drip irrigation system you would need a drip irrigation kit as per your needs (usually available in terms of the number of plants like 25, 50, 100, and so on) and a ready-made controller. If you’d like to make one, we will see how to make a DIY controller in the last step of this section. Here is the step-by-step process to build your fully automated system:
Step 1: Space Inspection
While inspecting the space, the following are key things to consider:
- Location of water supply/tap. You have to make sure that you have enough main pipe to reach your source.
- The water storage tank must be placed at a height of 8-10 feet above.
- Location of power supply/socket/switch. It is not always the case that you have a power source next to the water supply therefore arrange to provide a power extension using an additional wire. Warning: Never install a power switch near the water supply.
- Location of your containers. How many plants are you trying to cover using a drip irrigation kit?
Step 2: Placement of your containers
It is a good idea to organize your containers systematically for example in a set of rows. There are several advantages of it:
- It is tidy.
- There is no waste of the pipes because you can calculate easily the length of each pipe and cut it accordingly.
- It’s safe. You may not want to stumble by getting your foot tangled in one of those pipes lying here and there.
- It’s extensible. You can add more containers in the same organization.
Step 3: Calculating the length
Calculate the length of the main supply pipe and the length of the feeder pipes. Cut them accordingly.
Step 4: Connecting the pipes
Connect all components to complete the installation as guided in the kit (usually they come with a manual). Keep all the emitters at the end turned off.
Step 5: Connecting the main supply pipe
Connect the main supply pipe to the water source and test if the water is reaching the end i.e. one of the emitters. Take a small plastic mug or container and pour water into it through the emitter. Start a timer on your mobile and check to see how much time it was required to fill the mug. This is the time required to keep the water supply on for drip irrigation to water the plants. You can increase it as you fill more mugs or bigger mugs.
If all your containers are of equal size then you can set the same settings for all emitters but if some are bigger or small, you have to adjust the water flow accordingly. This takes time to figure out but it’s usually not a big deal.
This is it, your drip irrigation is installed and ready. All you need to do now is turn on the water supply at a particular time or at various intervals to water your plants.
Step 6: Automating the system
If you have a readymade controller, all you need to do is connect the controller to your water supply and connect your main supply pipe to the device’s outlet. Connect it to a power source and set the interval and timer in the controller. Test it and you have a fully automated drip irrigation system.
- Now given the advantages of a DIY controller, let’s make one. Connect the solenoid valve to the water supply. Make sure you connect on the inlet side. Clamp it if required.
- Connect the solenoid valve to the main supply pipe. Connect the switch to its power adapter and plug it into the power supply. Turn it on and off to check if it is working as intended.
Now the final step is to set your manual timer or separate timer device. Let’s say you set it to 7 am every morning for 15 minutes. Insert the timer switch into the main power socket and make sure to leave it on. Insert the power adapter of the solenoid valve into the timer socket. Voila!! Your automated drip irrigation system is all set.
Takeaway:
- Like any other system, it would require maintenance like cleaning of emitters, pipes, and connectors.
- Over time, you have to replace some parts.
- If you have a hard water source, there are higher chances of emitters getting clogged frequently.
- Drip irrigation systems for commercial uses have a lot of other aspects like
- Micro misting sprinklers for maintaining humidity
- Sand or sedimentary filter
- Regular flushing of the system using acids or chlorine
- Screen filters
You may keep these factors in mind should you plan to expand your garden.
When it comes to technology and gardening we must agree that the sky is the limit. Inventions like IoT (Internet of things) have taken various gardening automation to next level and simplified a gardener’s life. But hold your horses from buying everything fancy that claims to solve your gardening problems. We hope this article on DIY Drip Irrigation Watering Techniques And Installation could help you gets your hands on some amazing DIY hacks and understand how to install an automated irrigation kit.