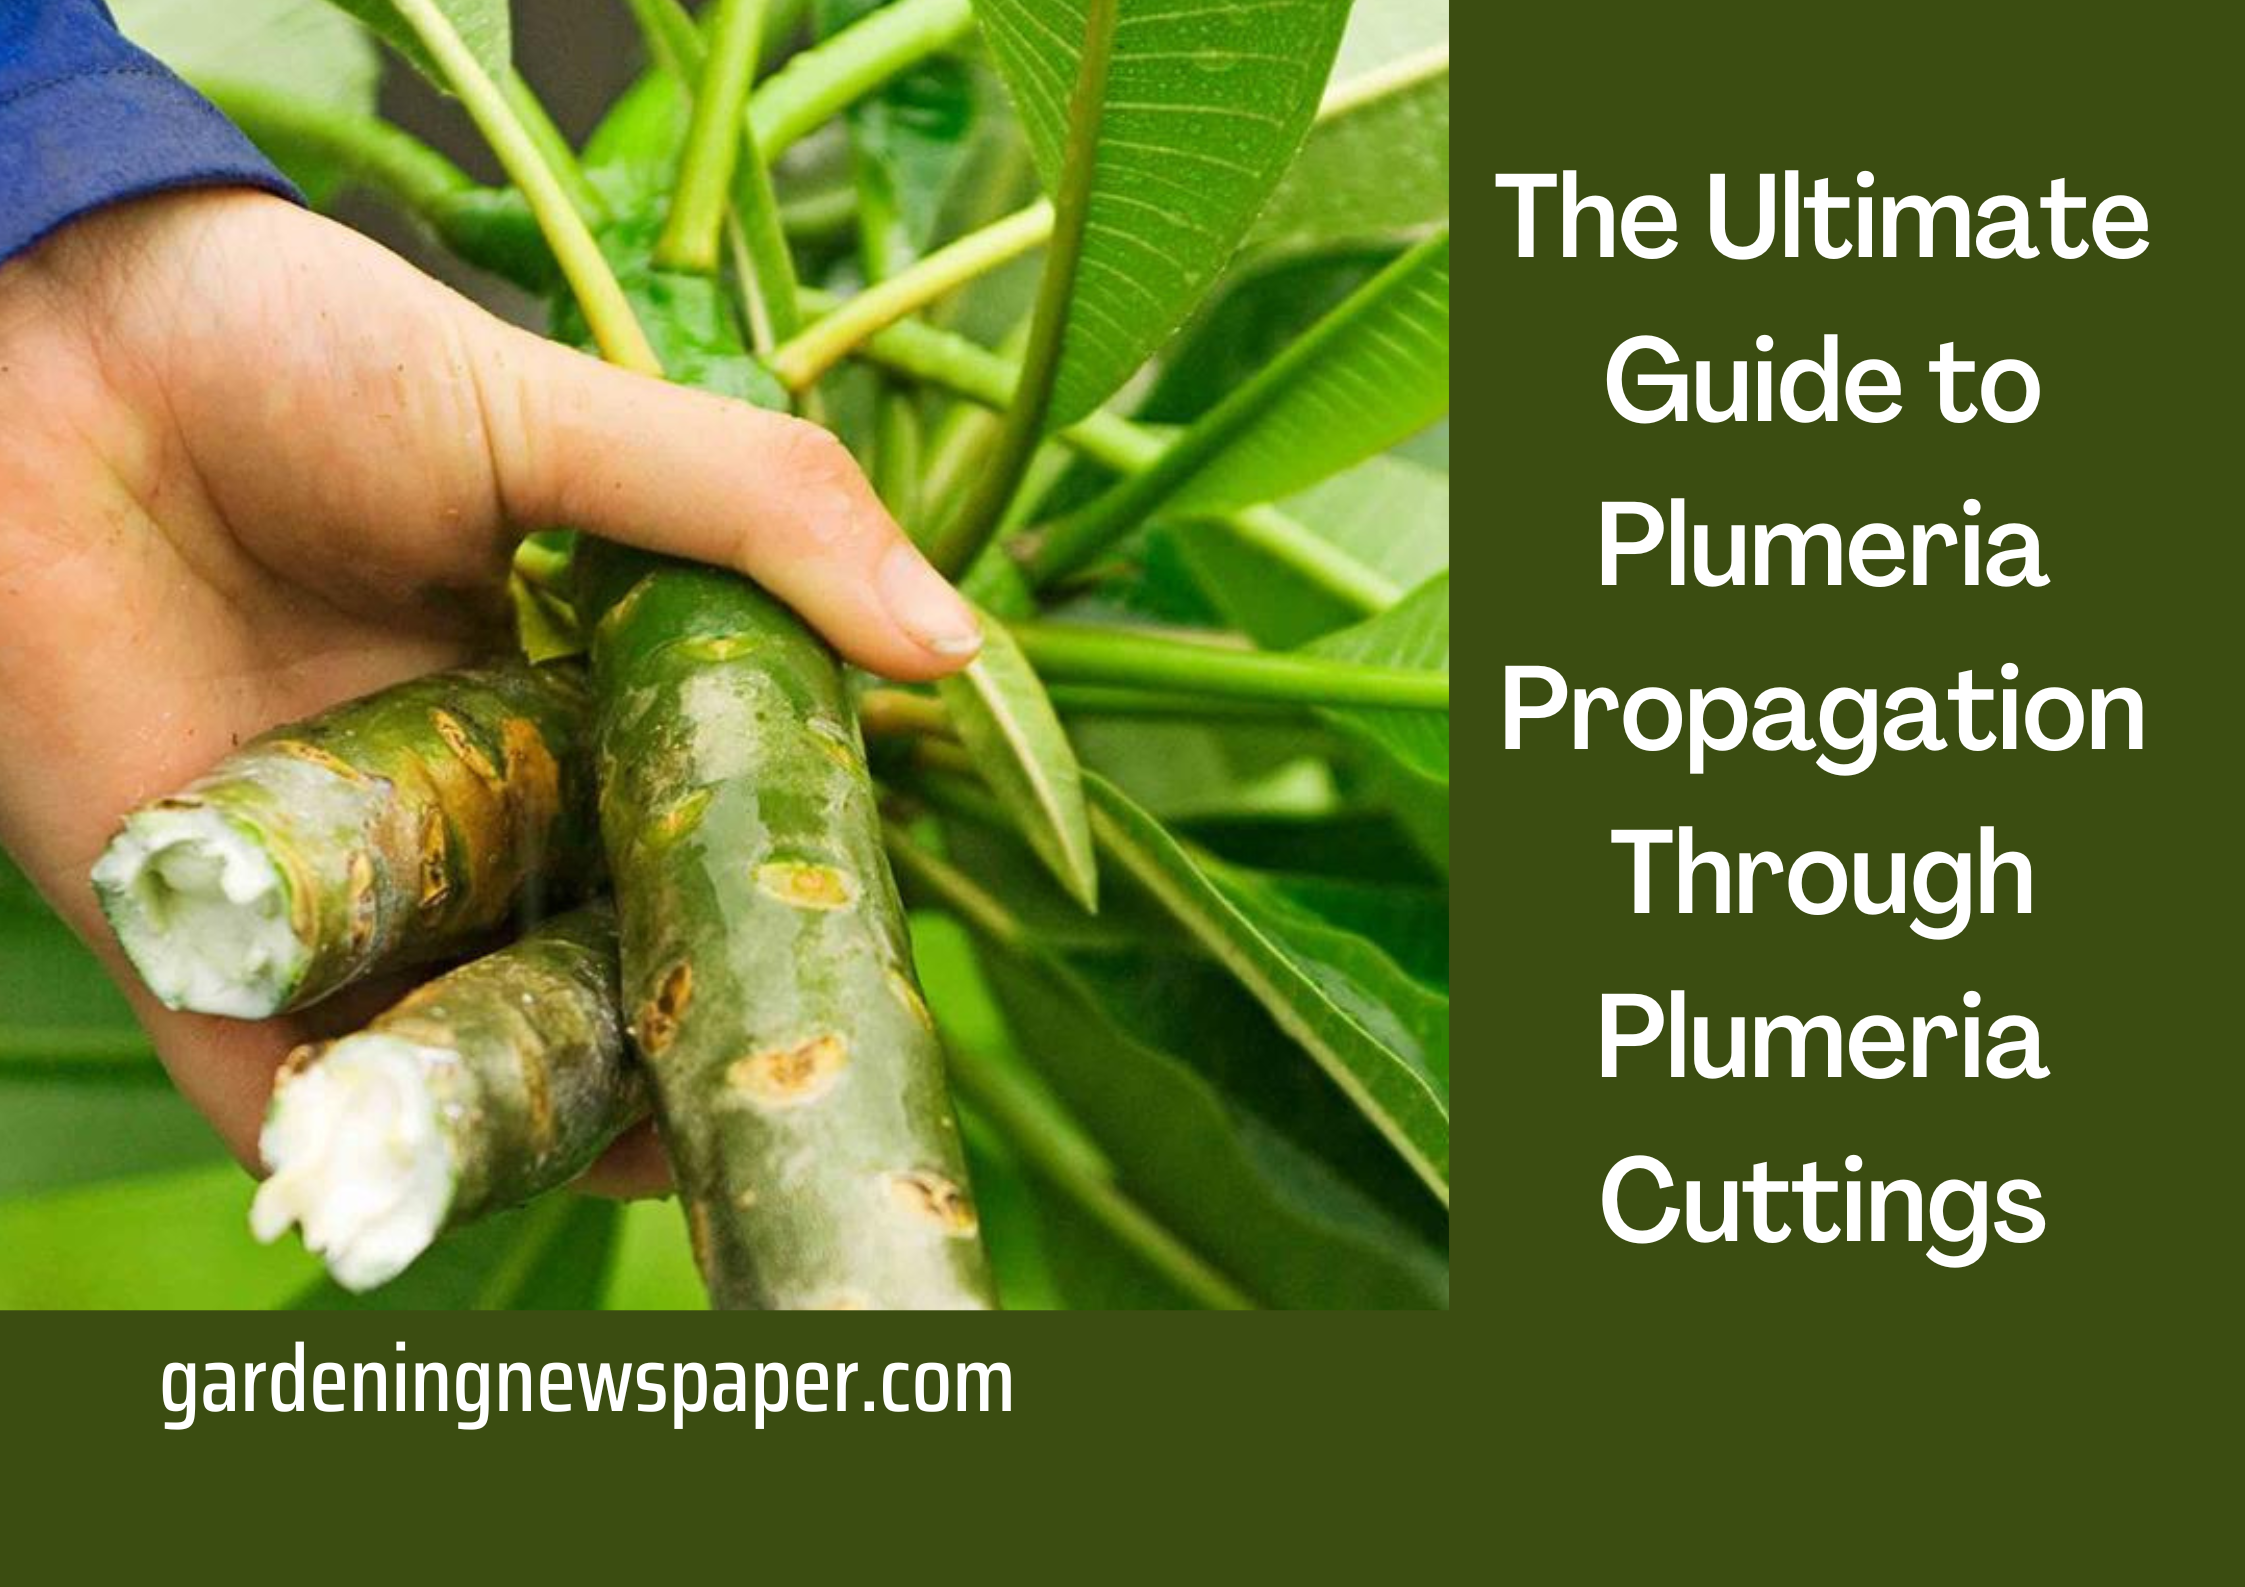
The Ultimate Guide to Plumeria Propagation Through Plumeria Cuttings
Plumeria plants are some of the most beautiful and unique plants that you can find. Propagating them can help you get more of these amazing plants, and it can also be a fun and rewarding project. Here, we’ll provide you with a step-by-step guide to propagating plumeria plants, so you can enjoy their beauty for years to come!
Understanding the Basics of Plumeria Propagation
In order to ensure the successful propagation of plumeria plants, it is important to understand the basics of propagation. To begin, you’ll need two things: a healthy, mature plumeria cutting and some patience! These plants can be easily propagated by rooting the cuttings in water or directly in the soil. Once your cuttings are planted in either a container or ground bed, they should root within four to eight weeks. Taking care to ensure they are watered regularly and under the right conditions, you will soon be well on your way to creating a beautiful plumeria garden!
This includes understanding the ideal climate for growing plumeria plants, the right soil and fertilizer requirements, and how to properly prune and propagate new cuttings Again when it comes to successful plumeria propagation, knowledge is power. Understanding the right climate conditions, soil requirements, and how to properly prune and propagate new cuttings is key. Armed with this knowledge and skill, you can confidently grow your own plumeria plants!
Preparing for Successful Plumeria Propagation
Preparing for successful plumeria propagation starts with knowing the basics and making sure you have the right supplies.
This includes having a pot that’s appropriate for the propagated plants, as well as soil and rooting hormones. Don’t forget to give your propagated plumeria some well-deserved love and attention, otherwise, they may never reach their desired flowering potential. With a little bit of extra effort, your propagation will be blooming in no time! Be sure to water regularly and apply the rooting hormone as directed. With the right tools, a bit of dedication, and some patience, you will soon be basking in the beauty of your very own propagated plumeria!
Once you’ve gathered all of your supplies, you can then move on to preparing your cutting for propagation. This involves trimming off any damaged leaves and stems, and sterilizing the knife or shears used to make the cut. Dipping the cutting into a rooting hormone before planting it in your container with soil.
With a bit of careful preparation and TLC, you’ll be rewarded with some beautiful plumeria plants in no time!
What is Root Plumeria and Rooting Plumeria
Most people think that propagating plumeria is difficult. However, with a little know-how and the right tools, it can be easy to root plumeria. In this article, we will cover everything you need to know about propagating plumeria, from finding the right plumeria cutting to taking care of your new plumeria plant.
When it comes to propagating plumeria, the most important thing is to find a healthy cutting. The cutting should be at least six inches long and should have two or three leaves. Once you have found a suitable cutting, you will need to prepare it for propagation. To do this, you will need to strip the leaves from the bottom half of the cutting.
Next, you will need to dip the stripped portion of the cutting in the rooting hormone. Rooting hormone will help the cutting to develop roots more quickly. Once the hormone has been applied, you can plant the cutting in a pot filled with a well-draining potting mix.
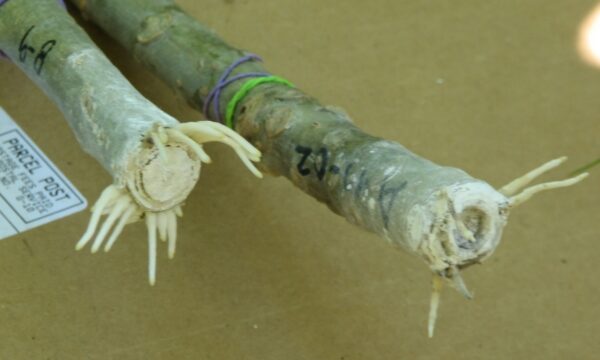
Be sure to keep the potting mix moist but not wet. You can do this by placing the pot in a tray of water and allowing the potting mix to absorb the water from the bottom. After a few weeks, you should see roots developing on your cutting. Once the roots are several inches long, you can transplant your new plumeria plant into a larger pot or into your garden.
Cutting Propagation: Grow Plumeria
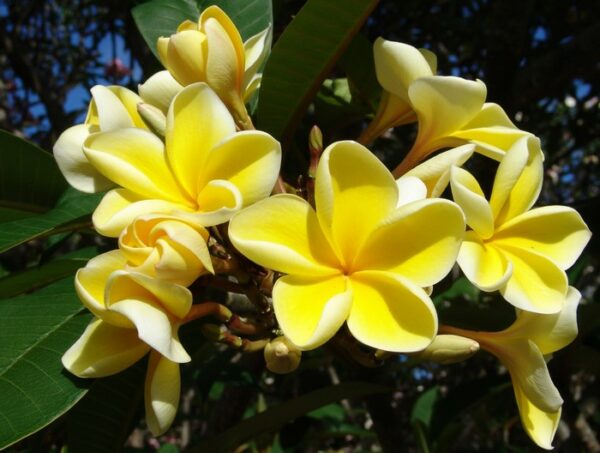
Plumeria, also called Frangipani, is a tropical tree that produces beautiful, fragrant flowers. They are native to Central America, Mexico, and the Caribbean, but can be grown in any frost-free climate.
Plumeria is easy to grow from cuttings. The best time to take cuttings is in the spring or early summer when the weather is warm and the plants are actively growing.
- To take a cutting, use a sharp knife or pruning shears to remove a stem with at least two leaves from the parent plant. The cutting should be about 6-8 inches long.
- Remove the lower leaves from the cutting, leaving only the top two leaves. Dip the base of the cutting into rooting hormone powder or gel.
- Place the cutting in a pot filled with a well-drained potting mix. Water the soil around the cutting, then place the pot in a warm, sunny location.
- Keep the soil moist but not soggy, and in 4-6 weeks the cutting will have roots and new growth. Once the roots are established, you can plant the cutting in a larger pot or in your garden.
The Steps to Propagate Plumeria Plants Through Plumeria Cuttings
Propagating new plumeria plants is an easy way to increase the number of plants in your collection; the process requires a few simple steps. First, you need to carefully choose healthy and mature stems from the existing plant. It’s best to do this in April or May to ensure that the cuts heal quickly. Then, you want to cut them at a 45-degree angle just below a node—a spot where leaves and branches attach themselves to the stem—using sharp garden shears or pruning snips. Finally, let the cutting dry out for 24 hours before putting it in soil with an ample amount of drainage and warmth. Before you know it, you’ll have a beautiful new plumeria ready to join your collection!
1. Plumeria Cutting
Obtain a cutting from an existing plant that has at least three nodes and cut the stem into small segments, each with at least two nodes. This is the foundation of your plumeria propagation journey! The cutting should then be placed in a pot with moist soil and a little fertilizer to give it a boost. To ensure successful propagation, make sure the pot is well-draining and ensure the soil stays consistently moist. Once your cutting has developed roots, try propagating even more cuttings – you can never have too many plumeria plants!
2. Soil Requirements
Select a well-draining potting soil and fill the pot so that the nodes of the cuttings are just below the surface of the soil. After this, all you need to do is add water and wait for the magic to happen! With a little bit of luck, your cuttings will soon start developing roots and your own plumeria plants will be ready for propagation. Who knows, with a little bit of practice you might even become an expert in plumeria propagation!
3. Root Growth
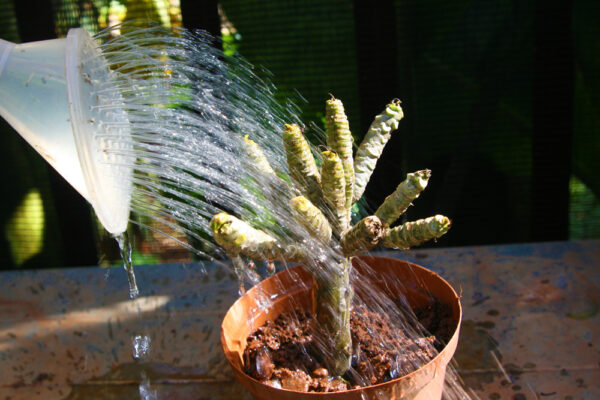
After planting, make sure to water thoroughly, ensuring that all of the soil is saturated – this will help promote root growth and prevent wilting in your new cuttings. Plumeria propagation can be a great activity for gardening enthusiasts and novice gardeners alike! Not only is it an easy and fun way to add more plumeria to your garden, but it’s also cost-effective and a great way to get your horticulture on! Once you’ve planted your plumeria cuttings, make sure to give them ample water and plenty of sun, and soon enough you’ll be able to enjoy the beautiful blooms that come with proper plumeria propagation.
4. Light and Temperature
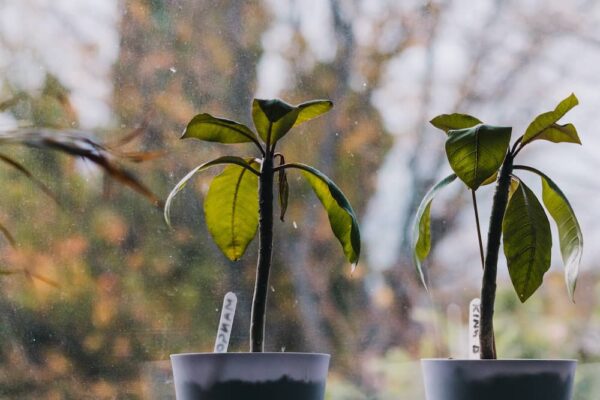
Place your newly propagated plants in a sunny location and keep them consistently moist while they establish themselves and take root – you should see signs of new growth within weeks! Meanwhile, have patience, as plumeria propagation can take some time. With the right conditions, your hard work will pay off and you’ll be rewarded with beautiful, fragrant blooms in no time. Don’t forget to keep your newly propagated plants in a sunny location and keep them consistently moist for the best results. Good luck!
Maintaining Your Plumerias After Propagated
After the plumeria cutting has grown roots, it is important to provide adequate water and light for optimal growth.
Watering the plant deeply once a week should be enough unless there is an extended period of hot or dry weather. Giving your plumeria too much water can actually be more damaging than not enough. Ensure to gauge the temperature, humidity, and your soil quality to ensure it doesn’t become over-saturated. Of course, light is also essential for success in plumeria propagation. Plenty of bright light is needed as this helps the plumeria cutting to adapt more readily and thrive. And there you have it – an easy guide to ensuring that your plumeria cutting enjoys a successful growth phase!
Providing appropriate sunlight exposure is key. Your newly propagated plumeria should be placed in an area that receives full sun for most of the day. This will ensure that the plumeria stays healthy and blooms successfully when it is ready to flower. It is essential to remember that your new plants will need plenty of sunshine and a warm temperature in order to thrive. Take the time to research the best location for your plant, as well as the food and water needs of the plumeria.
With the right materials and a bit of patience, propagating your plumeria plants is a straightforward process. Not only will it provide you with more of these beautiful plants, but it can also be a great way to connect with nature and take care of something that is truly your own. So get out there and give it a try!