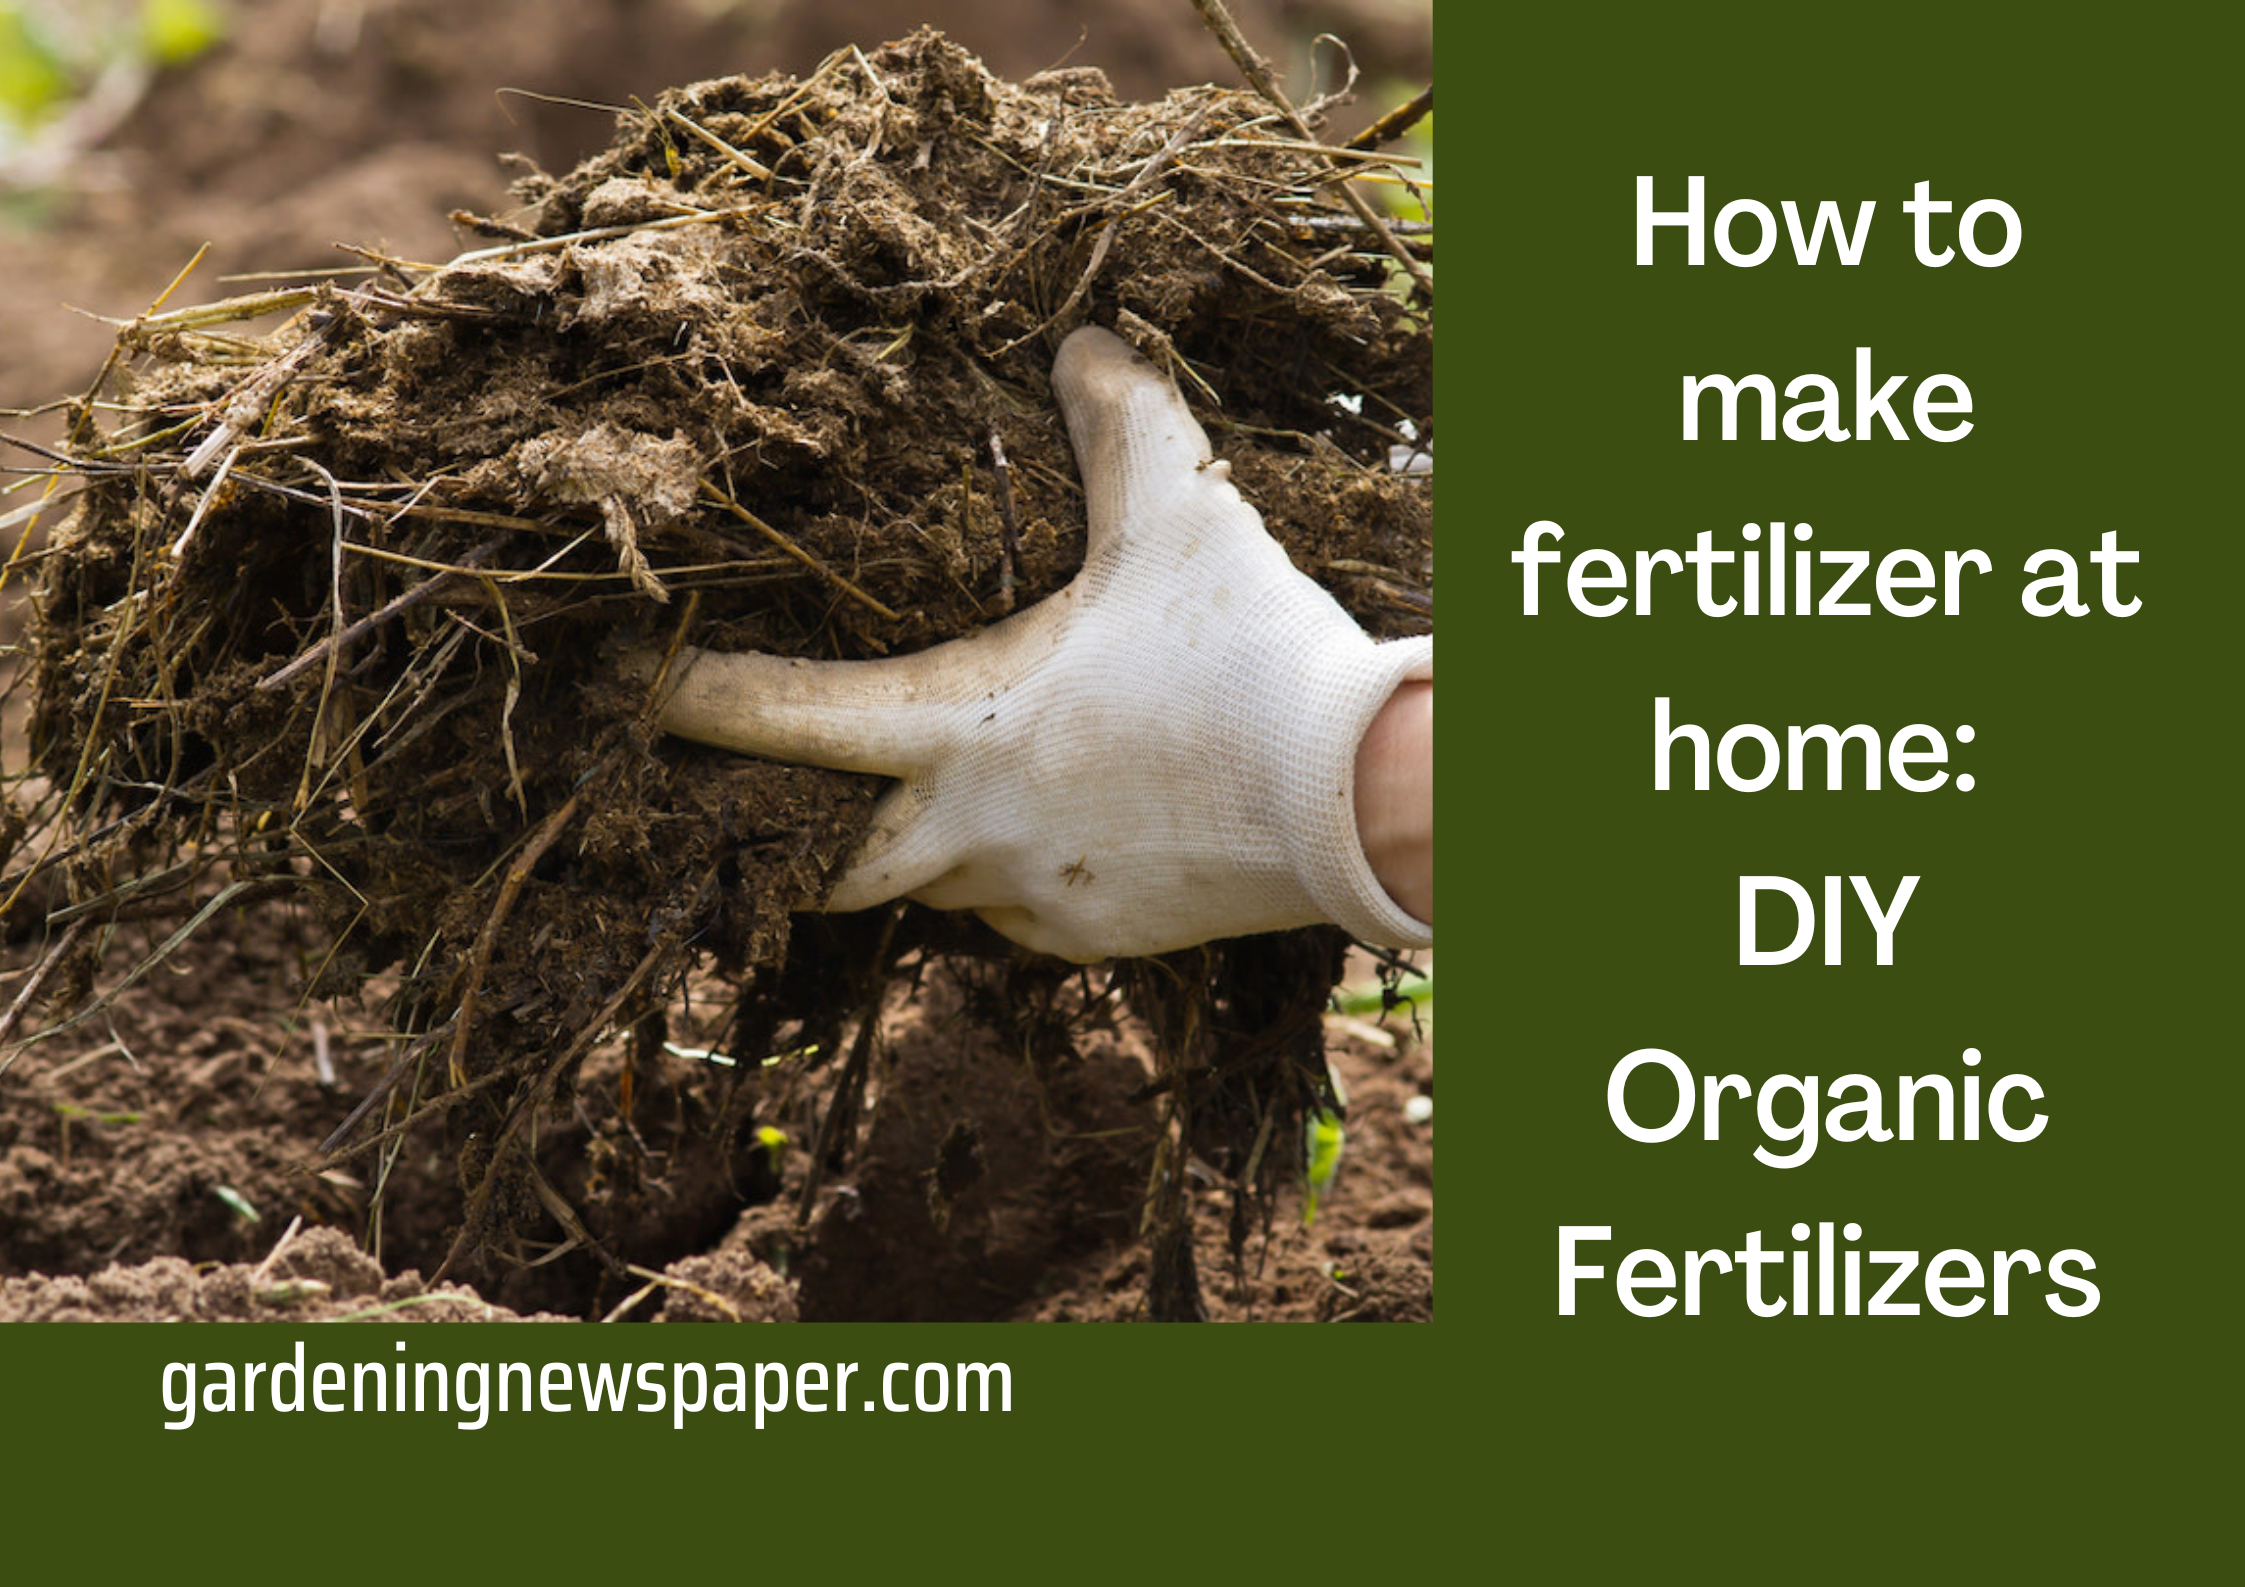
How to make fertilizer at home – 7 DIY Homemade Organic Fertilizers
A lot of gardening beginners get disappointed at the beginning of their trials in gardening that their plants are dying and the reason behind it is unknown. Well, like each human is different, each variety of plants is different as well. Different types of plants need different levels of care and watering.
However, there’s one thing that is common for most plants is fertilizer. What if we tell you that making fertilizers at home is easier and more fruitful than buying them from the market? So, we are here with an article to tell you how to make fertilizer at home like a pro so you do not see a plant die in your garden!
There are 100s of organic fertilizers in the form of foliar sprays, potting mix amendments, etc. available these days commercially which makes it very easy to feed your plants in a variety of ways. So why would you want to make your organic fertilizers:
- As your garden grows so does the need for fertilizers grow and that may get expensive over time or require a dedicated budget (Honestly you would still need a budget)
- Purity and quality of fertilizers: Like any other commodity, cheap fertilizers can also be adulterated with harmful chemicals.
- It is always good to have homemade alternatives.
So besides home composting, there are many types of fertilizers that you can make yourself but the following are some of the simple, tried, and tested organic fertilizers recipes.
Homemade Moringa Foliar Spray
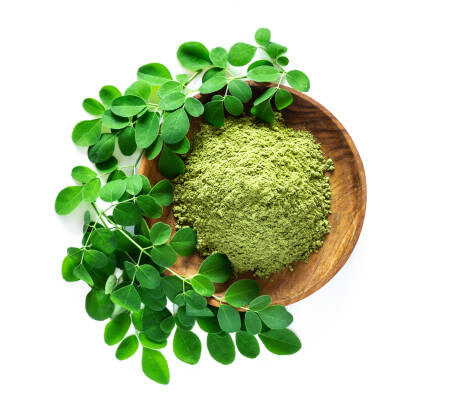
Moringa (Sehjan in Hindi) has recently been gathering so much attention due to its amazing health benefits for humans. Flowers, leaves, and fruits all are edible and have amazing nutritional values thus making them a superfood for humans.
You can find Moringa trees almost anywhere in Indian homes, societies, roadside, highways, and even in forests and that makes the availability of moringa leaves super easy.
We can make an excellent foliar spray fertilizer (a plant growth promoter) for our plants using Moringa leaves. This is practically a free fertilizer for your Terrace garden.
A study published in 2000 shows that Juice from fresh moringa leaves can be used to produce an effective plant growth hormone, increasing yields by 25-30% for nearly any crop. One of the active substances is Zeatin: a plant hormone from the Cytokinines group.
Here is the original recipe from the study on how to make the spray:
- Make an extract by grinding young moringa shoots (leaves) (not more than 40 days old) together with a bit of water (about one liter per 10 kg fresh material).
- Filter the solid out of the solution. This can be done by placing the solution in a cloth and wringing out the liquid. The solid matter, which will contain 12-14% protein, can be used as livestock feed or can be put in compost making.
- Dilute the extract with water at a 1:32 ratio and spray directly onto plants (if the extract is not going to be used within five hours, it is best stored in a freezer until needed). Apply about 25 ml per plant.
- The foliar spray should be applied 10 days after the first shoots emerge from the soil, again about 30 days before plants begin to flower, again when seed appears, and finally once more during the maturation phase.
For container-grown plants, you can spray this on weekly basis for excellent growth.
Another alternative method is to boil the Moringa leaves in water and strain the leaves and spray this liquid on your plants on weekly basis. Take about 5 to 10 kg of leaves and boil them in water. The shelf life of this method is longer as you can keep the liquid for a few weeks. We suggest you make it on monthly basis.
DIY Plant Fertilizer With Coffee
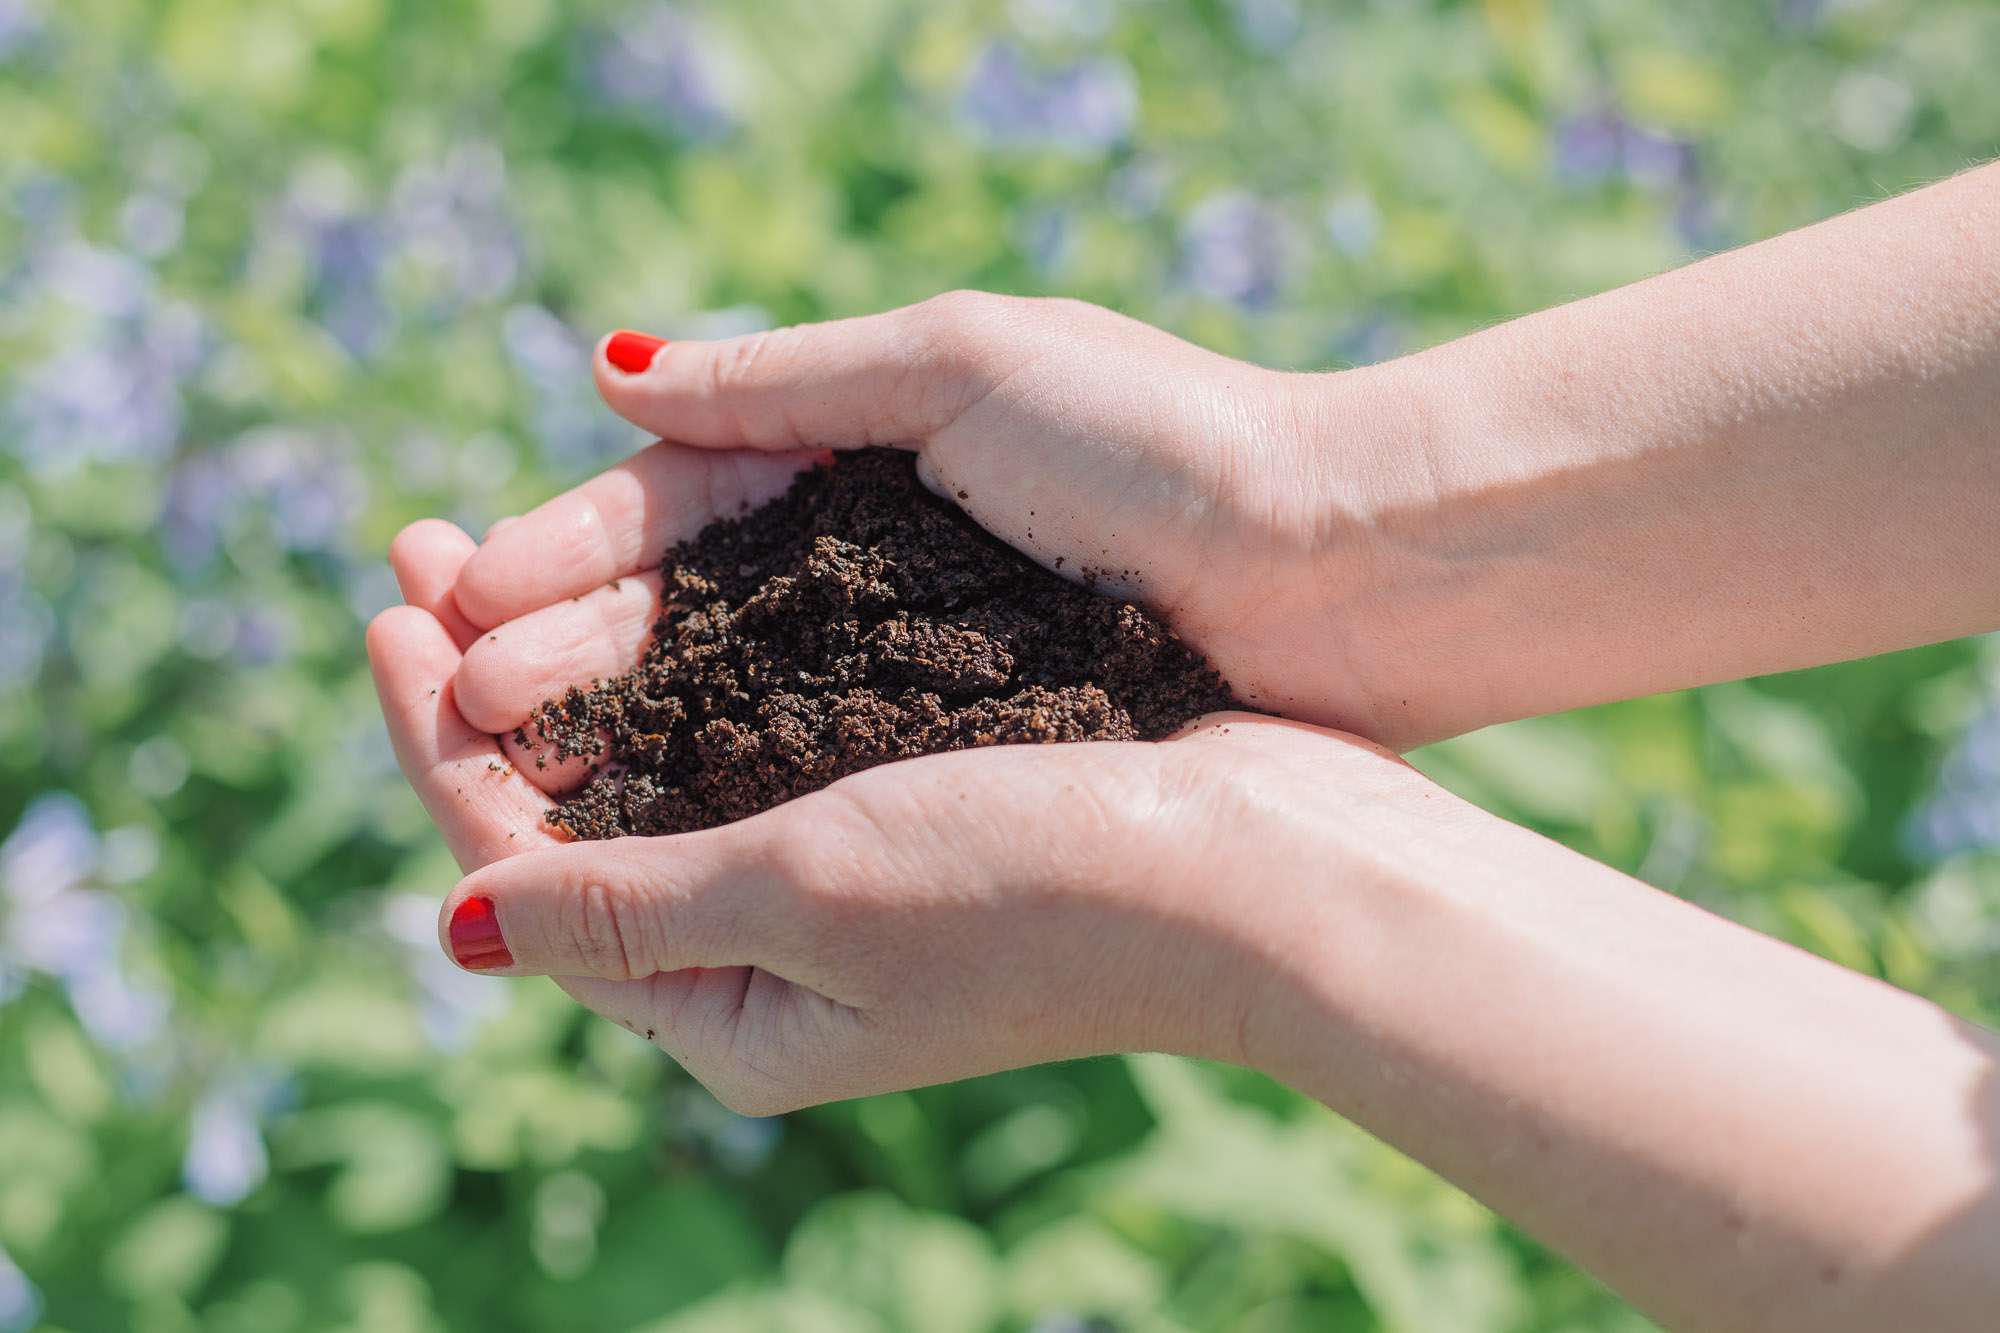
Coffee works great as a fertilizer for acid loving plants like daffodils, marigolds, and some roots like sweet potatoes, potatoes, etc. This is because coffee is capable of regulating nitrogen and acidic levels in these kinds of plants. Also, you don’t have to follow tedious processes to use coffee as a fertilizer!
Well, there are two ways you can use coffee as a plant fertilizer. One, you can sprinkle the ground coffee powder on the soil evenly. Or two, you can mix 1 teaspoon of ground coffee powder in 1/2 liter of water and spray the diluted mixture over your plants.
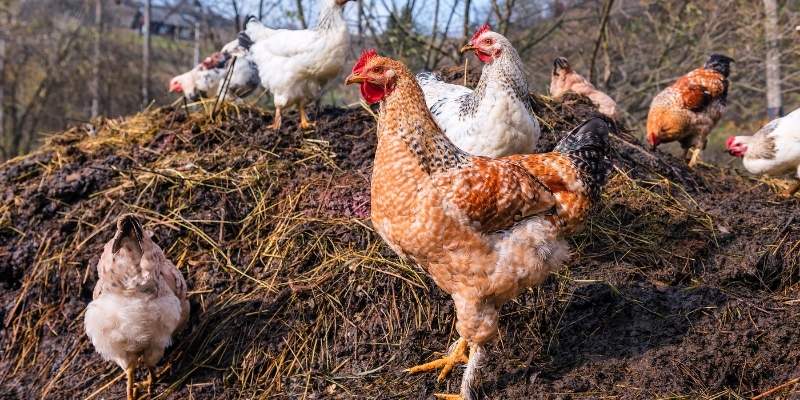
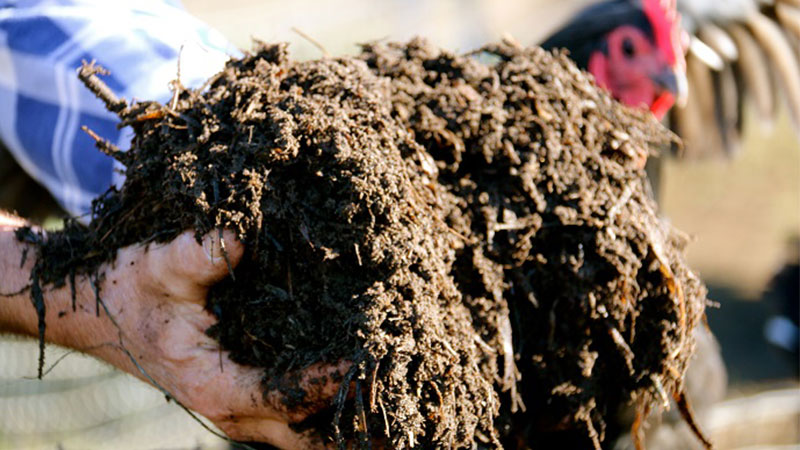
Cow Dung and Cow Urine Foliar Spray

While searching for a low-cost do-it-yourself organic fertilizer made using cow dung. This is a very simple recipe but it results in a great organic fertilizer. Here is the recipe.
- Things you will need: An earthen pot (matka), A 20-liter paint bucket, a piece of cotton string about a foot long, 10 kg fresh cow dung, 10 kg cow urine, about 1kg of neem leaves
- Make a small hole in the earthen pot, about the thickness of a pencil, let the string pass through it, and tie a knot at the end so that it keeps hanging through the hole.
- Mix cow urine and dung nicely. Make neem leaves paste by grinding the leaves and mixing them.
- Place the earthen pot above the bucket and transfer the mixture to the pot. Cover the pot opening with something.
- Over a while there won’t be much liquid left in the earthen pot, this is where you transfer the collected liquid to some air-tight plastic bottle and you may store it from 6 to 12 months. Also, you may add more cow urine to the mixture and let the process start all over again.
- For spray dilute this mixture in a ratio of 1:10 parts of water and spray weekly.
Homemade Plant Fertilizer With Vinegar
Did you know that you can use vinegar as your plant fertilizer? Well, like coffee is for regulating acidity and nitrogen in plants, vinegar is for regulating the alkaline levels of the plants. This can especially be used for small and container-based plants. Vinegar also helps plants in getting rid of ants and unnecessary weeds.
So, how to see this easy-peasy homemade plant fertilizer? We are here to help you with that as well! Do not make the mistake of pouring vinegar into the plants directly. Make sure to dilute 1 cup of white vinegar in 2 gallons of fresh filtered water and use the mixture for watering your plant.
Homemade Plant Food – How to make NPK fertilizer at home?
Well, like we take plants as food, plants need food as well, don’t they?! So the most important elements in the food for plants are nitrogen, phosphorous, and potassium. This combination is also popularly known as NPK. Other elements like magnesium and calcium are also important for a few plant varieties.
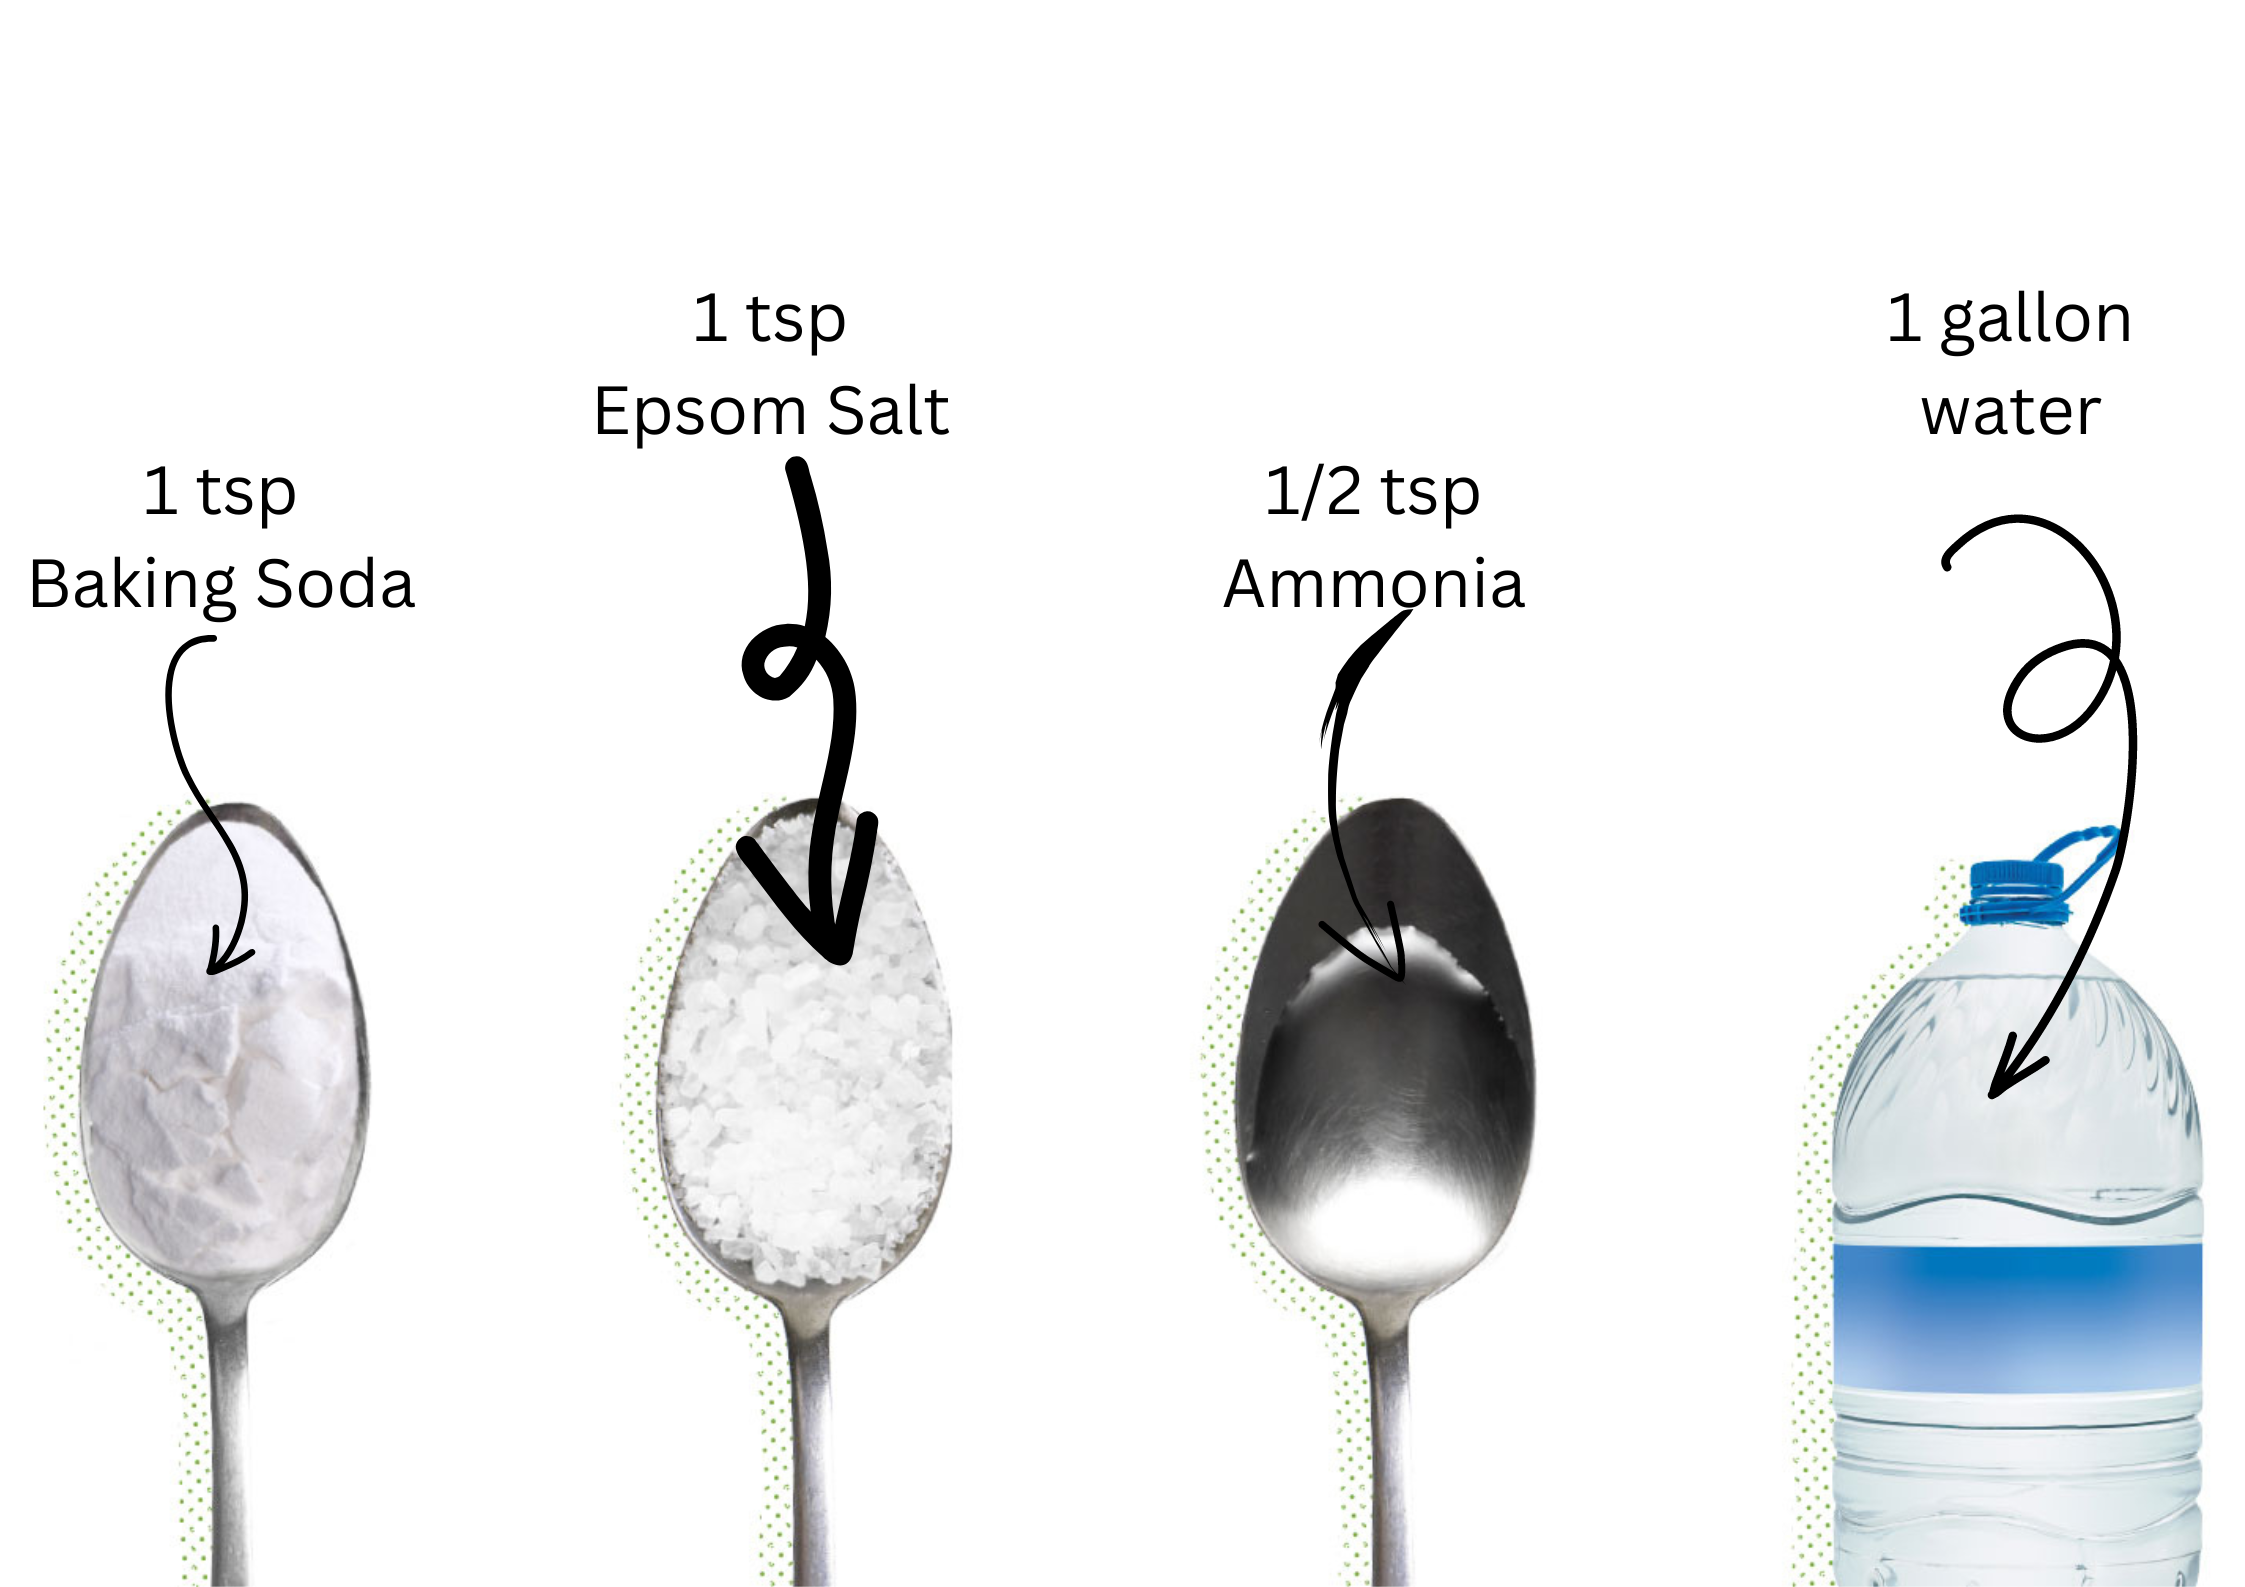
To make this homemade plant food at home, you will need the following ingredients:
- 1 teaspoon baking soda
- 1 tablespoon Epsom salt
- ½ teaspoon of ammonia
- 1 gallon of water
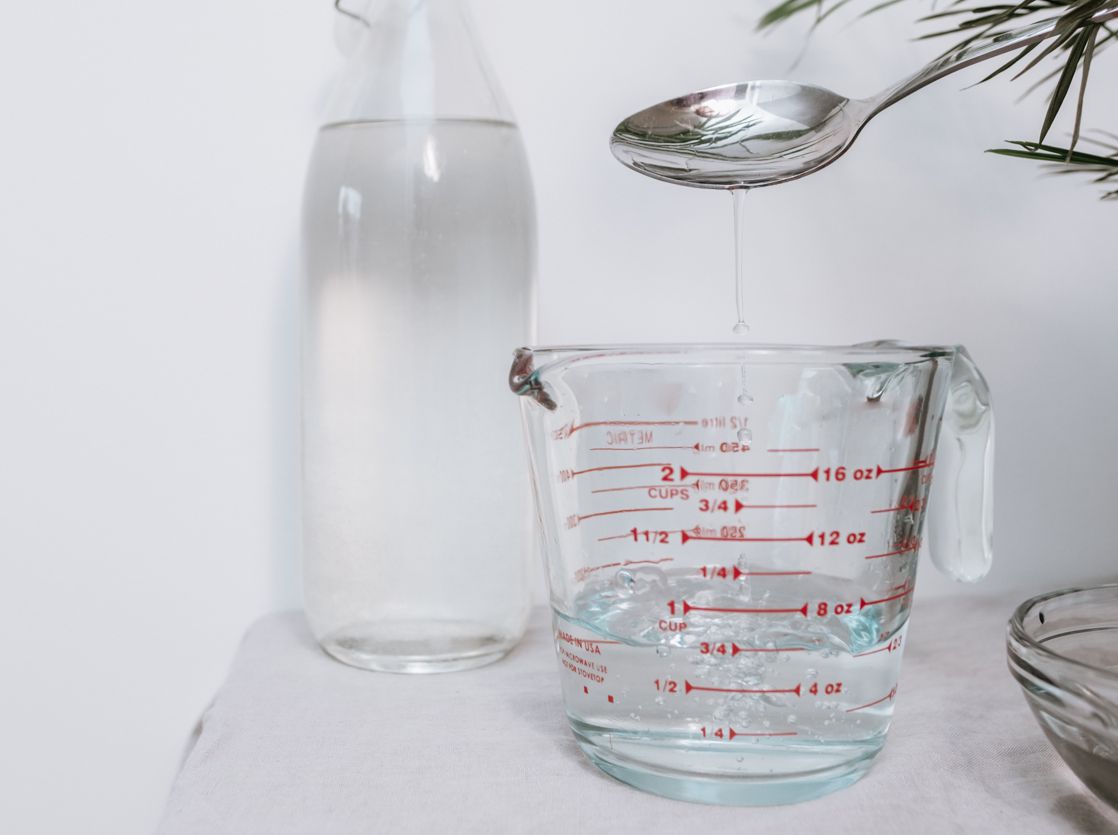
Take an old plastic container, add all the ingredients mentioned above and rest the mixture for half an hour so that the solid ingredients are completely dissolved. You can add this to plants directly once a month and regulate the dose as per the requirements.
Banana Peel Fertilizer
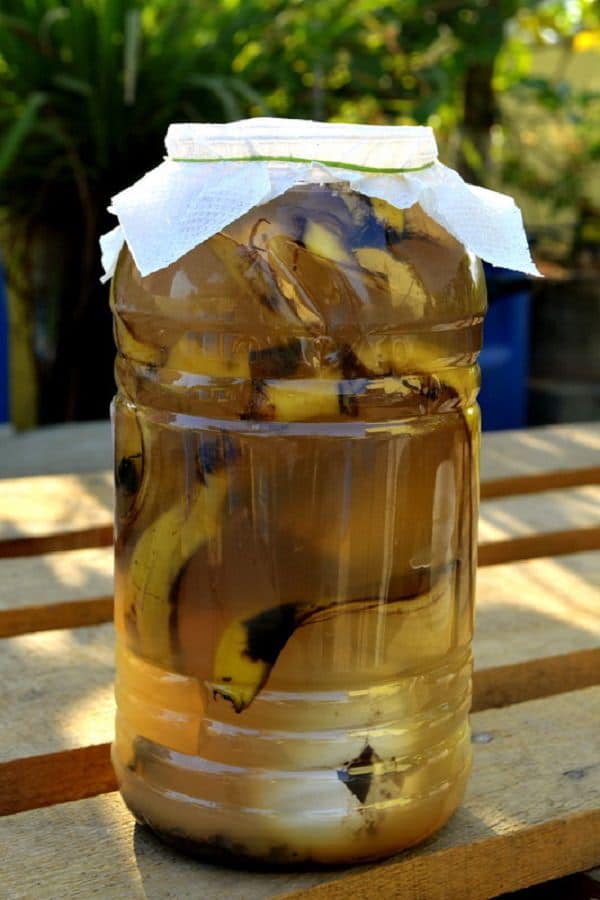
Have you been throwing away the banana peels each time you ate one? Well, you do not know the benefits of them in your beautiful garden! Some plants need more amounts of a particular element, like phosphorous. In that case, you need to use only phosphorus-rich fertilizer instead of an NPK. And banana peels are rich in phosphorous.
To use this ultimate phosphorus-rich banana peel fertilizer, chop the banana peels and add them to fresh water. Soak them in water for at least four days and spray the mixture into the soil. You can also directly borrow the chopped banana peels deep into the soil.
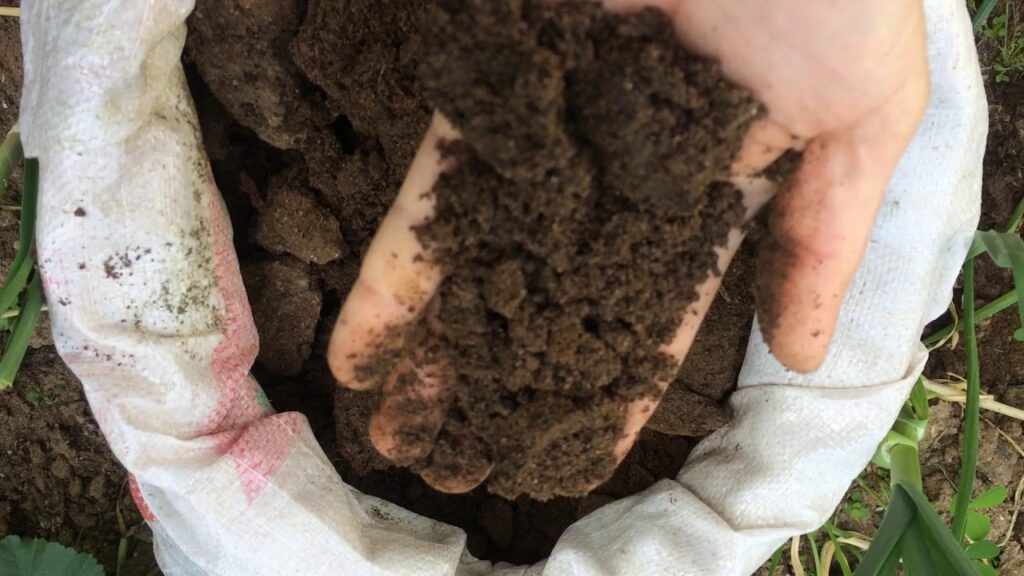
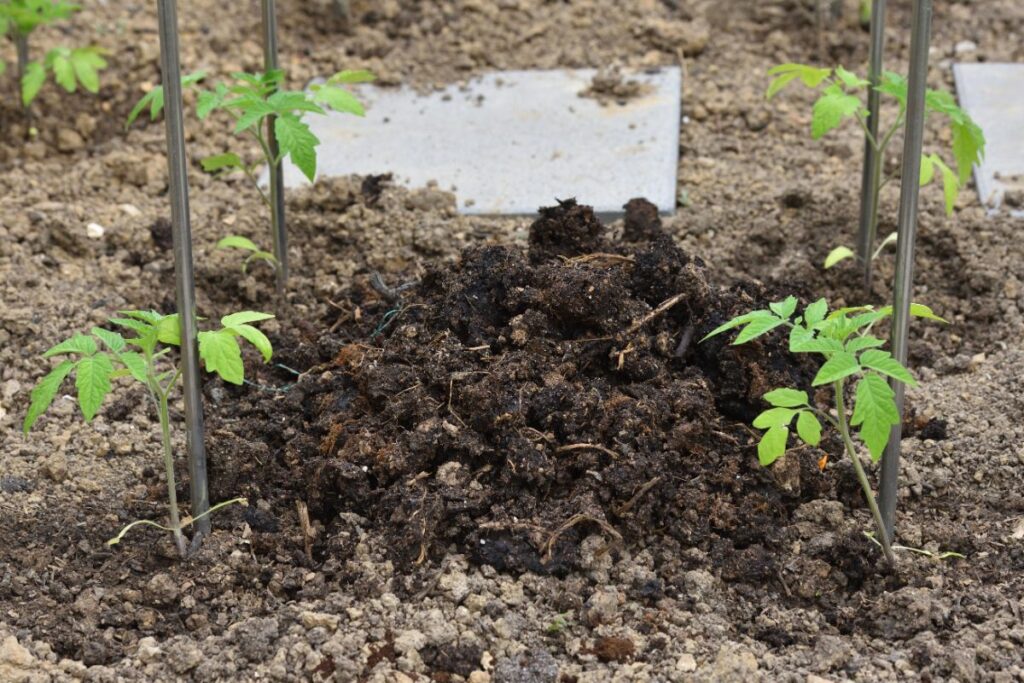
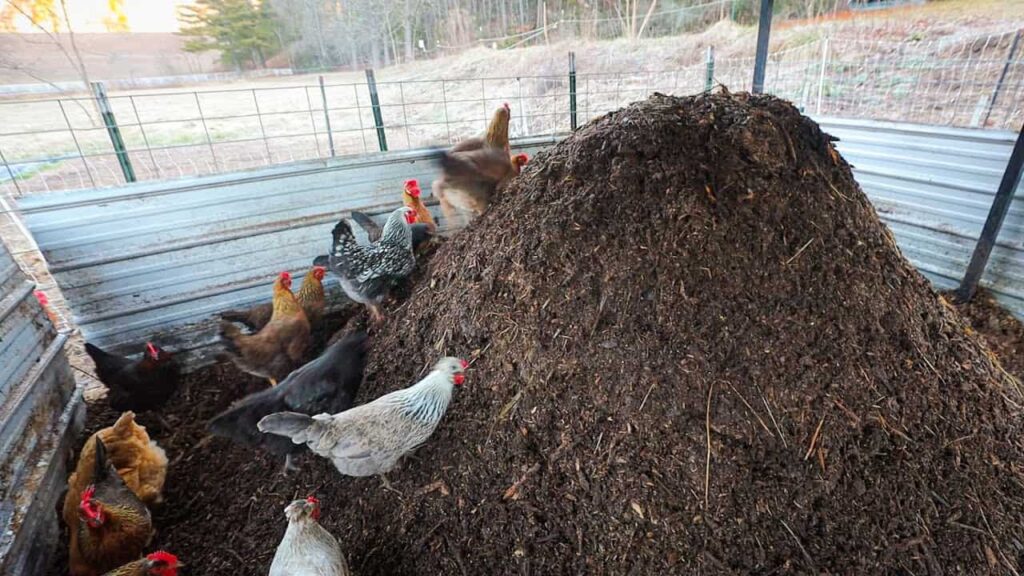
Organic Fertilizer Recipe – How to make organic fertilizer from kitchen waste?
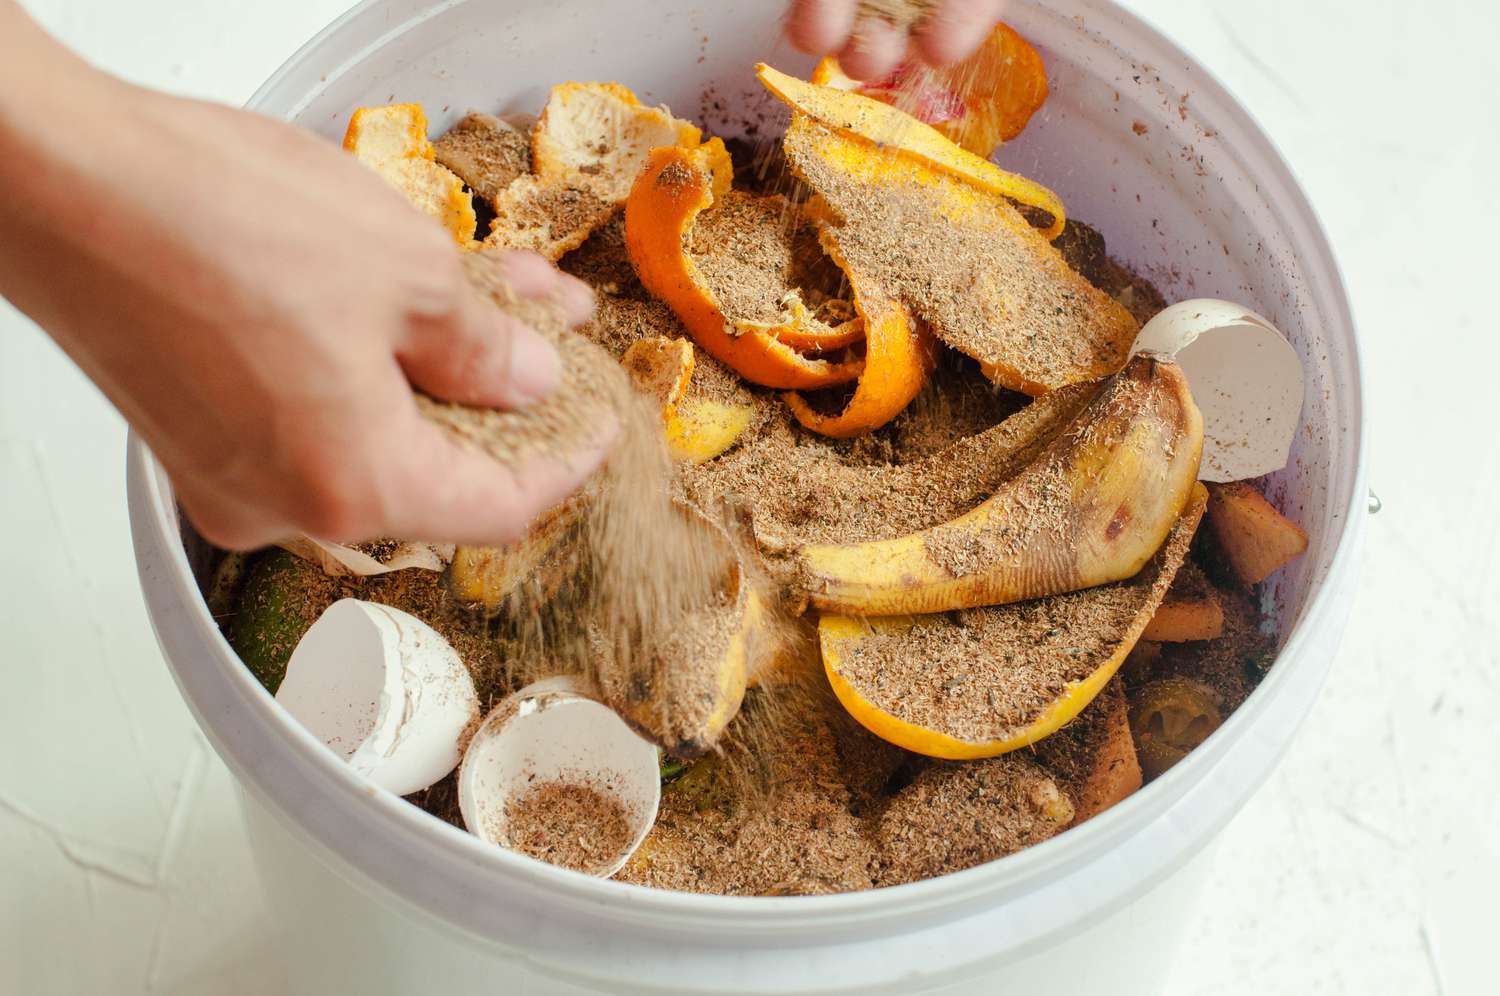
Nothing benefits the plants in your beautiful garden more than organic manure or compost. So, how do you make one at home with something organic and not useful for you anymore? We are here to guide you on that. You will need to add one extra ingredient, i.e; the bokashi powder to ease the process of fermentation.
To make this ultra-easy compost, follow the steps below:
- Take a drum (or a large plastic container will do the job).
- Fit in a tap for it at the bottom or punch a few holes so that the excess water is drained out.
- Add the kitchen waste to the container on a daily basis for a few days and add bokashi powder.
- Around two weeks after adding the bokashi powder, you will notice a white fungus on the top layer.
- Collect the kitchen waste for around a month and let it ferment for another 20 days and your compost is ready to use.