Growing Carrots in 5 Gallon Buckets: Ways to Grow Carrots in Gallon Bucket
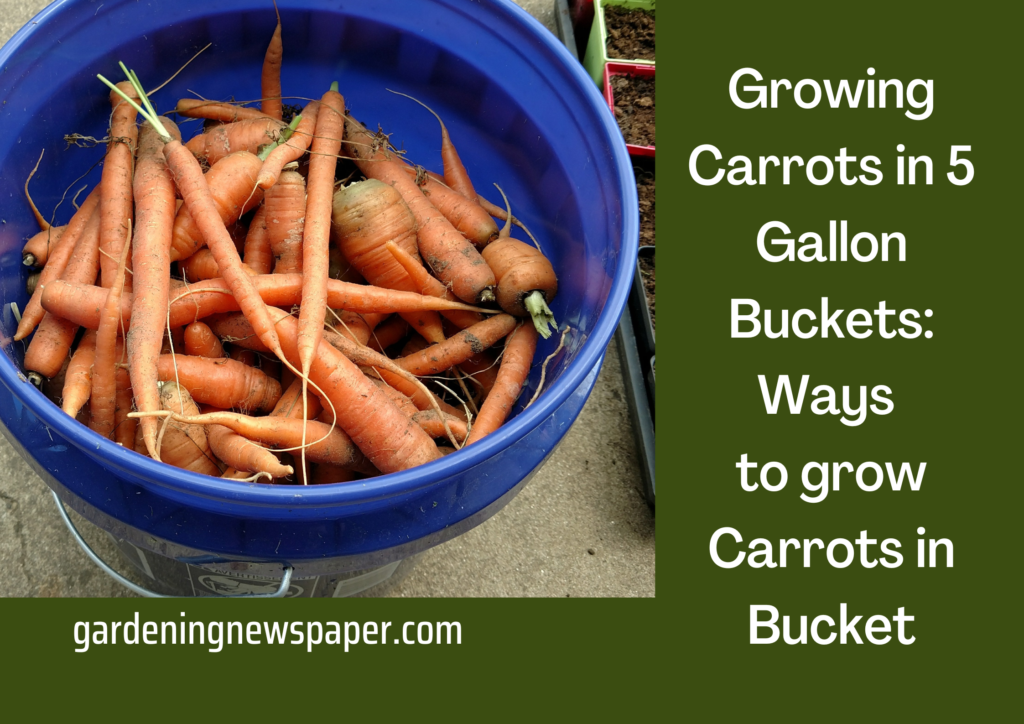
Almost all types of carrots which is one of a nutrition-packed root vegetables can be grown in any container, but long carrot varieties require very deep straight-sided containers. A 5-gallon bucket works best for most carrot varieties and can hold up to 5 Holds 10 carrots per gallon bucket.
One thing to keep in mind when growing vegetables in buckets with quality potting soil or other containers is that plants grown in containers need to be watered more often than plants planted directly in the bucket. As soon as you plant the carrots, start watering them daily for root to strengthen.
Once the seedlings emerge, keep the soil moist throughout the growing season, but do not overwater. To see if carrots need water, dig about inches into the soil. Add more water when dry to within inches.

Whether you grow carrots in 5-gallon buckets or any other type of container, the care instructions are very similar. When growing carrots in 5-gallon buckets, follow these guidelines. Drill as many holes in the soil as possible, keeping 3 inches apart.
Ask your local shop for extra buckets or buy your own at your local hardware center. Most shops receive bulk food items such as pickles in five-gallon buckets. If they don’t have extra on hand, they probably don’t mind saving some for you. Rather than leaving the buckets a color such as white, we recommend spraying painting all buckets in one or more colors to brighten the outdoor space.
Read further for more information:
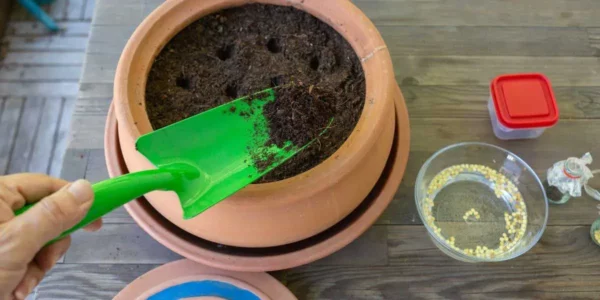
Place 2 to 3 inches of gravel in the bottom of the 5-gallon bucket for good drainage. Then, fill the remaining bucket with equal parts of peat moss, potting soil, and compost. Stir the medium with a garden fork until evenly mixed, leaving a little space above the bucket for the carrots to be planted.
You have to water the carrots when the soil begins to dry out. Water daily, especially in hot or dry weather. Compost provides a good amount of nutrients for carrots during the growing season, but you can also add liquid fertilizer once or twice during the season to enrich the compost and encourage carrot growth.
What requires planting or growing carrots in containers?
Growing carrots in containers require fewer gardening supplies. Growing plants in containers are one of the easiest gardening strategies because it demands minimal supplies. To grow carrots in a container you will need a Bucket to drill a hole with a small bit. However, they cannot simply be mixed in arbitrary proportions. must be integrated for balance. The starting balance is 2/3 potting soil and 1/3 compost.
The gardener should use organic matter made at home and compost. Non-organic options can add nasty toxins and chemicals to the mix. This means drilling drainage holes in both the bottom and sides of the bucket. Without drainage holes, water will pool at the bottom of the bucket. This causes plant roots to deteriorate and die. Similarly, you can grow physalis successfully.
How to Plant Carrots in Containers?
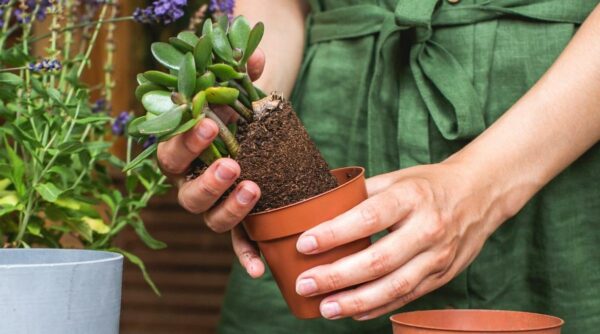
There are two options for planting carrots in 5 gallon buckets. You can transplant carrot seeds indoors or sow them directly into the containers in the garden.

Carrots Grown in Buckets
If you are growing indoors in 5 gallon bucket, read up on how to grow seeds indoors beforehand. Carrots are cold-hardy plants, so they can be planted whenever the soil cools in the bucket. If you grow carrot seeds indoors, transplant them when they are 6 inches tall and have hardened for 1 to 2 weeks at ambient temperature. If you want to sow the seeds directly in the bucket, fill the bucket with a mixture of soil and compost for growing. Then use a pencil eraser to make a hole for the seed in the bucket.
Carrots as veggies should be planted 1 inch deep and 2 to 3 inches apart. If they are planted too deep or too close, there is a risk that the plants will not grow as they should or grow too close together. For this reason, the seeds should be evenly distributed in the bucket.
Proper watering for growing carrot
Carrots should be watered frequently and flat. This equates to about 1 inch of water per week while the seeds are germinating, and about 2 inches of water per week thereafter increase.
If the topsoil dries out and forms a hard crust, the seeds will not germinate and will protrude through the soil in a bucket. A little compost or mulch can help prevent this and keep the surface moist. Most plants germinate within a few weeks, but carrot seedlings can take up to three weeks to germinate in the bucket.
Why Grow Carrots in 5 Gallon Buckets?
There are several reasons why you might want to grow carrots in 5-gallon buckets.
First of all, these containers are perfect for those who want to grow vegetables but are short on space.
Second, buckets make startup easier. No need for various container gardening tools. And since the plants can be started indoors, you don’t even have to till the land or wait for the right temperature to start planting.
In addition, it can eliminate some problems associated with regular gardens, such as small children running around the garden and trampling your plants. Or the vegetables are being eaten by animals such as rabbits or deer and need constant weeding in order for the plants to grow.

What is the best quality potting soil type for carrots grown in 5-gallon buckets?
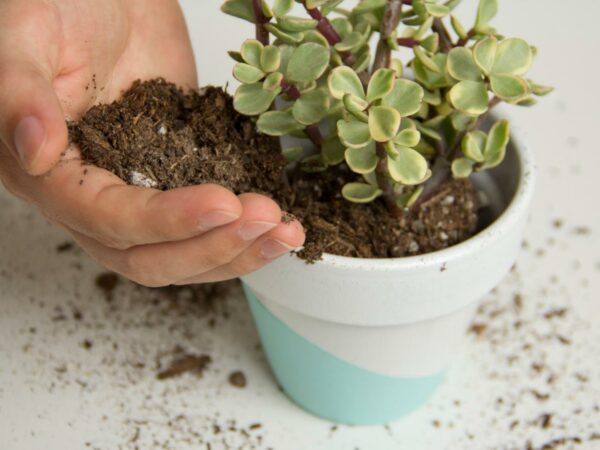
Carrots need fairly loose soil to grow optimally. It does not do pleasingly in rich, condensed soils. Good all-purpose compost or all-purpose potting soil is perfect.
If desired, you can mix 3 handfuls of sand in for better drainage. Press down on the bottom to remove the air pocket.
Carrot seeds are very small, so spread about 1 inch of the carrot seed starting to mix on the surface of the potting soil. This will make it easier for the carrot to germinate. Thoroughly soak the soil with a watering can or garden hose and drain carrot seeds before sowing.

How can I prevent the growing of pests from eating carrots?
Insects and snails are small animals to watch out for in most vegetables, and carrots are no exception. To keep carrot flies away, insert a few short bamboo stalks or pea sticks into the bucket and surround a fine mesh net. Place the net on the stick and pull it down just past the edge of the bucket.
Tie a string around the bucket to secure the net. Tie the string tight enough to hide the snail so the slime ball won’t chew on the carrot. This is a good pest control in 5-gallon bucket tip.
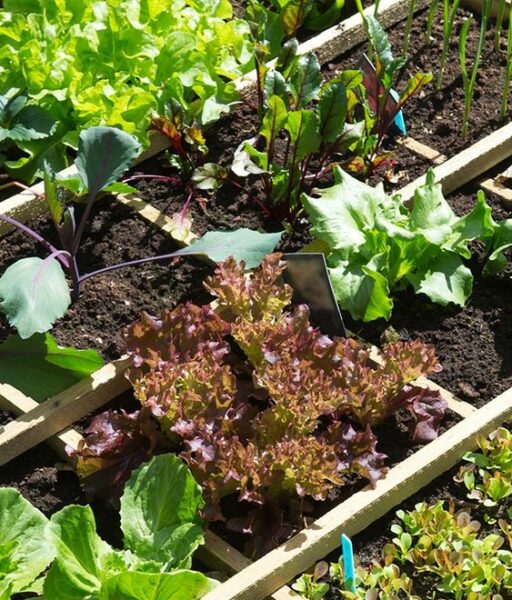
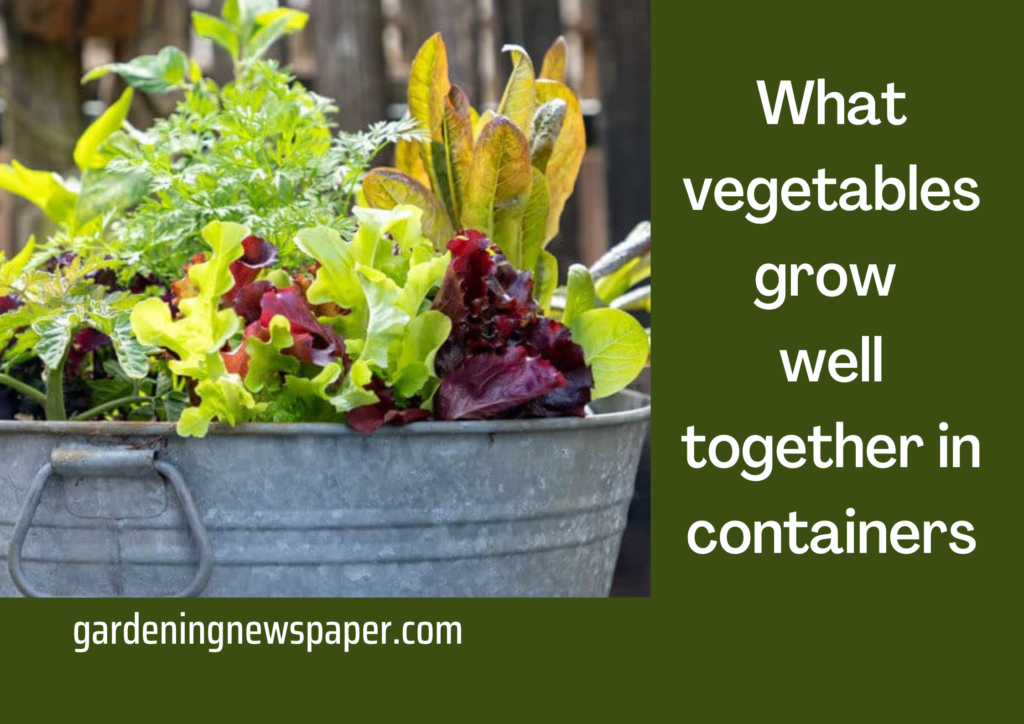
What are good companion plants for carrots?
Companion Planting is a planting strategy that combines fruit and vegetables to help each other grow. Radishes are great companion crops for carrots on a certain level. The harvest time for radishes is when carrots begin to grow long. You can also grow ground cherries companion plants.

The harvesting period of carrots
Carrots harvest after maturity or any time he is 1/2 inch or more in diameter. However, carrots generally taste better the smaller they are. With this in mind, the harvest of spring carrots should be done before temperatures get too hot. The root system does not absorb enough heat of march and can change from healthy roots to fibrous roots, causing stagnant or dead carrots.
Leave the autumn carrots to harvest in the ground. This causes carrots to start storing sugars in their roots for energy. If you want to keep them in the ground pots after the first hard frost, cover them with 12 to 18 inches thick fallen leaves.

How many days does it take for carrots to grow?
The time it takes to develop carrots in pots can vary based on various factors, including the carrot variety, growing circumstances, and desired size. Carrots typically mature and are ready for harvest in between 60 and 80 days. Certain baby carrot cultivars, usually 30 days after planting, can be harvested sooner.
It’s also important to remember that carrots are a cool-season crop, and they grow best at temperatures between 60°F and 70°F (15°C and 21°C). Moreover, carrots require constant moisture throughout their life cycle and thrive in loose, well-draining soil with a pH between 6.0 and 6.8.
How to supply carrots infinitely?
Carrots are biennial. This reason will give you an infinite supply of growing carrots. After harvesting, soak the tops of the carrots in a glass of water. When it starts to regenerate, plant it in the soil like a seed in pots. Your carrots will reappear in next season unless randomly harvested. If you don’t want to plant carrots in tubs, plant in bags as well as pots.
Growing bags come in a variety of sizes, but you need at least a 5-gallon to grow bag for carrots. This will allow you to use the amount of soil you need and ensure your carrots don’t stunt due to lack of space. Giving them plenty of room will help you grow some of the tastiest, healthiest carrots you’ve ever eaten.