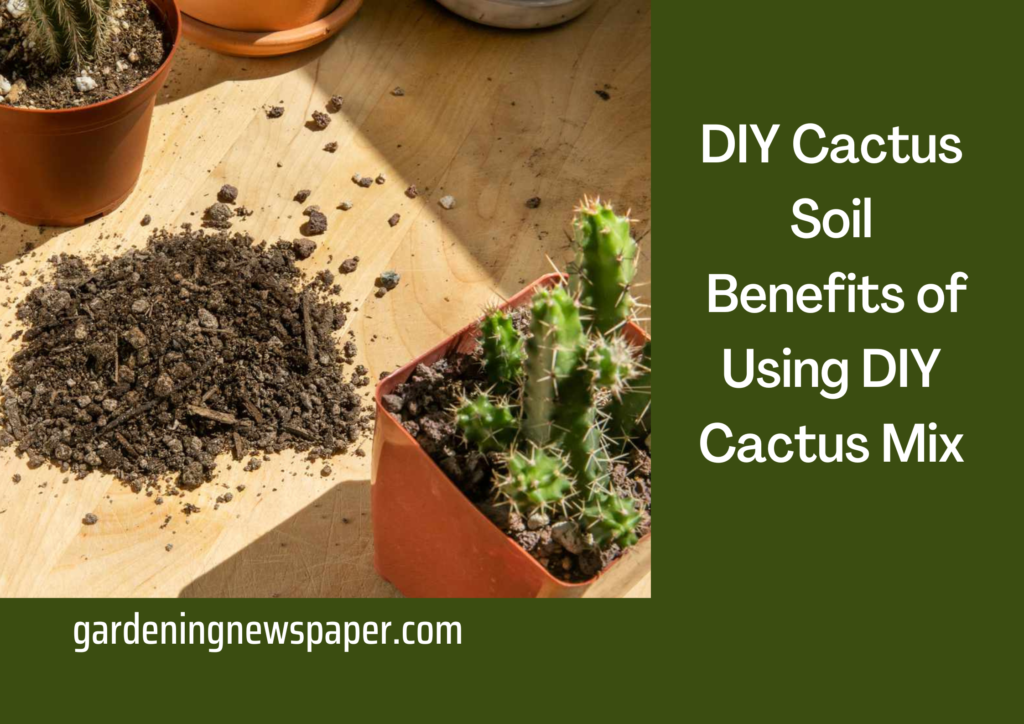
DIY Cactus Soil – Benefits of Using DIY Cactus Mix
Cacti are some of the most popular house plants in the world. They’re easy to take care of, they look great, and they’re also a great way to add a bit of greenery to your home. But if you want your cacti to thrive, you need to make sure you give them the right plant soil and care. In this article, we’ll provide you with the ultimate guide to growing healthy cacti with DIY cacti soil.
What is DIY Cactus Soil Mix?
DIY Soil is a combination of potting soil and other ingredients that you can create at home to use for growing cacti. It requires a unique blend of components that provide the necessary nutrients and aeration to ensure your cactus thrives.
Peat moss, perlite, sand, and your regular potting soil make up the ideal recipe for DIY cactus soil. With these four ingredients, you’ll have everything you need to create an ideal environment for your cactus to grow in – no green thumb required!
The soil mixture should be lightweight and well-draining for optimal growth conditions, typically consisting of a mix of perlite, horticultural charcoal, and composted soil. When making your own DIY cactus soil, it’s important to remember the requirements of cactus soil, namely that it should be gritty and nutrient-rich.
The perlite helps with drainage while the horticultural charcoal adds aeration and porosity which is essential for root health, and the composted soil keeps the pH level balanced and adds organic matter. With this perfect blend of components, you can rest assured that you’ve created a reliable growing environment for your prickly friends!
Different types of cacti may require slightly different soil mixtures to achieve the ideal growing environment, so it is best to research the specific requirements of the particular species you are trying to grow before making your own DIY Cactus Soil Again, how to make the perfect DIY cactus soil can vary depending on the species of cactus you are trying to grow.
It is important to do your research before you start creating your own cactus soil so that you can provide the best environment possible for your plant. Making your own DIY cactus soil is a great way to show some extra love and care to your beloved plants!
Benefits of Using DIY Soil Mix
DIY soil has more advantages than conventional store-bought soil. It has a better texture and helps with moisture regulation, as it is specifically designed to reduce the risk of over-watering, which can be harmful to cacti.
Making your own soil means that you are in control of the requirements of your cacti by adding your own mix of sand and peat moss, ensuring that it is airy, loose, and well-draining for optimal root growth. If you want to get creative, you can even add perlite and vermiculite to make sure your DIY cactus soil is just the way you like it in pots.
Additionally, DIY soil is much cheaper than store-bought products; the majority of ingredients can be gathered from around the house or from your local garden center for a fraction of the cost. Making your own cactus soil is surprisingly easy and a great way to save money.
Finally, a DIY soil mix provides greater control over the nutrients and minerals in the mix, allowing you to tailor your mix to cater to your cacti’s individual needs and preferences. besides how to make DIY cactus soil, it’s important to also know how to effectively use it.
DIY soil provides greater control over the nutrients and minerals in the DIY mix, allowing you to tailor your mix to cater to your cacti’s individual needs and preferences. So, if you’re an avid home gardener looking for ways to actively control the quality of your cacti’s soil, then crafting your own DIY soil is the way to go!
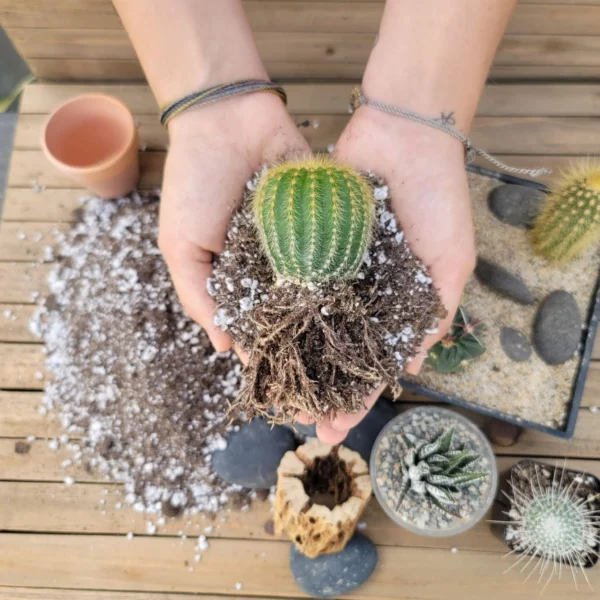
How to Make Your Own Soil Mix?
An easy way to create your own homemade cactus soil is to use a combination of potting soil and sand, which provides the drainage and aeration that cacti need to thrive. With a bit of ingenuity and a trip to the garden store, you can whip up a soil blend that’s sure to make your desert friends happy. Simply combine equal amounts of potting soil and sand in a large bucket, then add perlite for extra aeration and drainage. With this simple soil recipe, you’ll be keeping your prickly pals healthy in no time!

To give your soil an extra boost, you can also add small amounts of perlite or vermiculite, which will help to improve drainage and aeration even further Additionally, creating your own DIY cactus soil is a great way to ensure your cacti grow healthy and strong. With some basic ingredients like sand and compost, plus the addition of perlite or vermiculite for extra aeration and drainage, you’re well on your way to creating the perfect soil mix for your beloved cacti and succulent. After all, how to make DIY cactus soil is an easy task that requires just a few simple ingredients and a bit of know-how!
Can I Use Regular Potting Soil for Cactus?

It is not recommended to use regular potting soil mix for cacti as it tends to retain too much moisture, which can lead to root rot and other issues for cacti that prefer a well-draining soil mix. Regular potting soil typically contains organic matter, such as peat moss and compost, which can hold onto moisture for longer periods, whereas cactus soil mix has more inorganic materials like coarse sand, perlite, or pumice, which help with drainage.
If you don’t have access to the soil mix, you can create your own by mixing regular potting soil with sand or perlite to improve drainage.
Are Coffee Grounds Good for Cactus Soil?
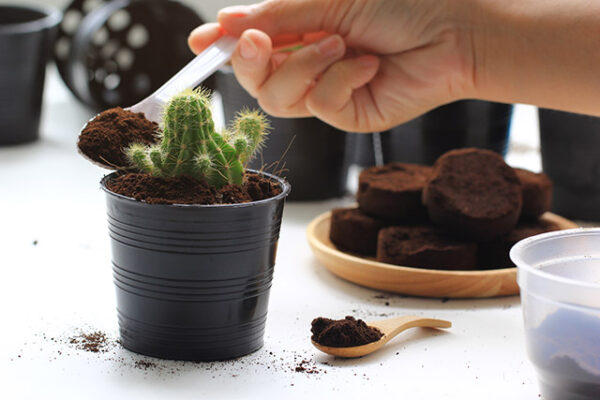
Typically, cactus soil shouldn’t be used with coffee grounds. Even though coffee grounds are a great source of organic matter that can assist the soil’s texture and ability to retain water, cacti typically find them to be excessively acidic since they prefer more alkaline soil. In addition to raising the possibility of bacterial or fungal growth, coffee grinds’ acidity can also injure cactus roots by increasing their risk of development.
Instead of using coffee grounds, it’s preferable to use a specialist cactus soil blend that has the correct ratio of inorganic components, such as coarse sand, perlite, or pumice, to increase drainage and prevent overwatering. Instead, you might want to think about using compost or coconut coir to add organic matter to your soil mixture.
What Is the Best Soil for a Cactus Mix?
A well-draining soil mixture is ideal for cacti because it prevents standing water from damaging the roots by allowing excess water to swiftly drain away. The optimum soil mixture for cacti should contain both some organic matter to supply the plant with nutrients and some inorganic components that aid in drainages, such as coarse sand, perlite, or pumice.
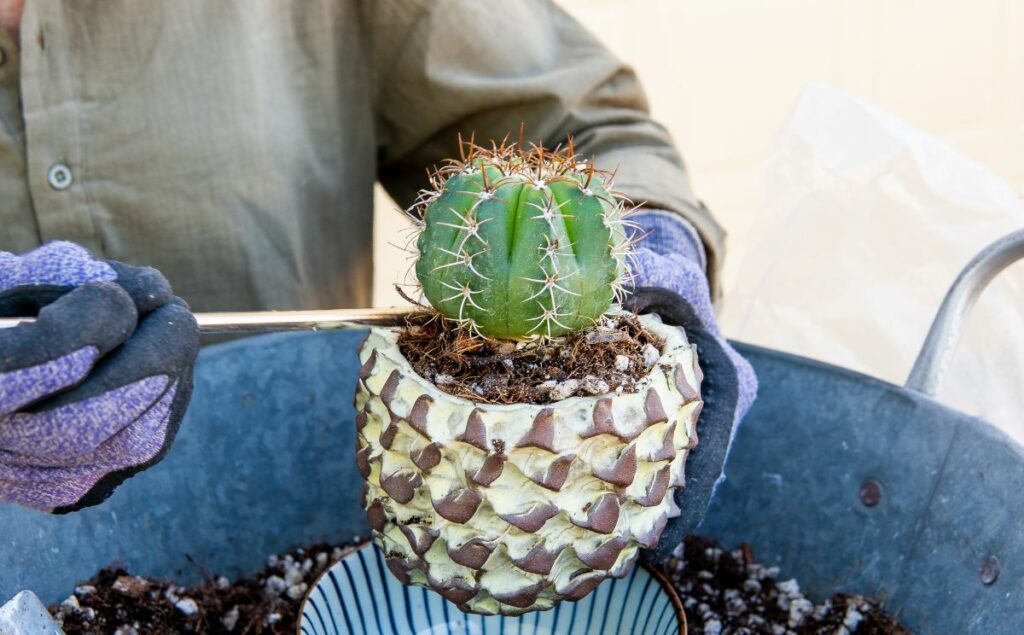
One-part coarse soil or perlite, one part pumice or gravel, and two parts of a high-quality commercial cactus potting mix would make up a standard cactus soil mix. This particular soil mixture will aid in simulating the desert-like environments that cactus like. Additionally, it’s crucial to select pots with drainage holes to let extra water drain.
Avoid compressing the dirt too tightly around a cactus’ roots when potting it up to prevent improper water drainage. When the earth is fully dry, water lightly after allowing the plant to settle naturally. This will assist in ensuring proper growth and avert overwatering, which is the most typical root of cacti issues.
Cactus Soil and How it Differs from Regular Potting Mix
In a few crucial ways, cactus soil is different from the conventional potting soil. Cactus thrive in dry climates and favor soil that drains well and has a low moisture content. Cactus soil is created to replicate the arid environment where these plants normally flourish.
Here are some of the primary distinctions between conventional potting soil and cactus soil:
Drainage: Compared to conventional potting soil, cactus soil has considerably greater drainage, which helps keep water from building up around the cactus’s roots, which it can lead to root rot. The inorganic components of cactus soil, including sand, gravel, perlite, or pumice, don’t hold moisture as well as the organic components of a typical potting mix.
Because cacti have evolved to grow in nutrient-deficient soils, cactus soil has fewer nutrients than conventional potting soil. Cactus must be fertilized with a low-nitrogen fertilizer during their growing season because the inorganic components in cactus soil do not give many nutrients.
pH: It is greater than that of ordinary potting soil. Cactus soil often contains more sand or grit and less peat moss than standard potting mix because cacti prefer slightly alkaline soil.
Cactus soil has a gritty texture compared to conventional potting soil. The inclusion of coarse sand or perlite/pumice in the mixture aids in forming air pockets in the soil, improving drainage and promoting greater airflow around the cactus’ roots.
To ensure health and growth, it’s crucial to use the proper soil. Regular potting soil might work for some plants, but to give cacti and other succulents the optimal growing circumstances, it’s important to use specific cactus soil.
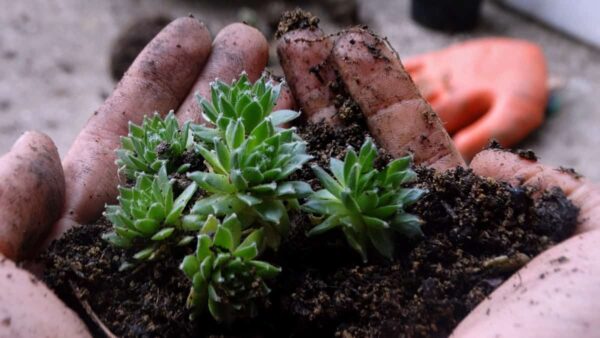
Can You Make Your Succulent Soil?
Yes, it’s possible to make your succulent soil mix. Succulent plants require well-draining soil that doesn’t retain too much moisture, as their roots are prone to rot in wet conditions. Here’s a simple recipe for making your succulent soil:
- Start with a base of potting soil. You can use any commercial potting soil as a base, but make sure it doesn’t contain any added fertilizers or moisture-retaining materials.
- Add in a gritty material such as perlite or pumice. This will help improve drainage and prevent the soil from becoming too compact. Aim for a ratio of around 1:1, or 50% potting soil and 50% grit.
- Optionally, you can add in other amendments like coarse sand or small stones to further improve drainage and add weight to the soil.
- Mix all the ingredients thoroughly, and your succulent soil mix is ready to use.
Remember to always use a well-draining container with a drainage hole to prevent water from pooling in the soil, and water your succulents sparingly, allowing the soil to dry out between waterings.
Tips for Growing Healthy Cacti with Homemade Cactus Soil
When growing healthy cactus with DIY soil, it’s important to make sure that the soil is well draining, so that the roots of the plants can properly absorb water and oxygen. To achieve this, mix coarse sand with a lightweight potting mix; think of the former as providing the “base” for how to make DIY cactus soil, and the latter as providing essential nutrients for plant growth. So, don’t skimp on quality! After all, a healthy cactus starts with good soil.
Additionally, be sure to use the right proportion of potting soil and sand to ensure that the soil has good aeration and drainage without becoming overly dry or compacted. A ratio of 2 parts potting soil to 1 part sand should work well, so you can say goodbye to worrying about how to build the perfect cactus soil! Plus, it’s a great way to save money when doing DIY projects. Who knew sand was such an important ingredient to potting success? Now, you’ll be able to make your mixed cactus soil in no time!
Finally, adding organic matter like compost or aged manure will provide extra nutrients for your cactus. And help balance out the texture and moisture levels of your DIY cactus soil.
Thereafter, it is important to remember the information that when creating your own cactus soil, you must be mindful of meeting the requirements of cactus soil, such as good drainage, coarse particles, and organic matter. Adding organic matter like compost or aged manure will ensure your DIY cactus soil meets these requirements while also providing extra nutrients to ensure your cactus has everything it needs to thrive.
Conclusion
In conclusion, taking care of cacti is not as intimidating as some people may think. With the right soil and knowledge, anyone can grow healthy and vibrant cacti in their own home. So, if you’re looking for an easy way to add a bit of green to your living space, DIY cactus soil is definitely worth trying out!