Routine During Growing Season For Plants – How to repot your plant?
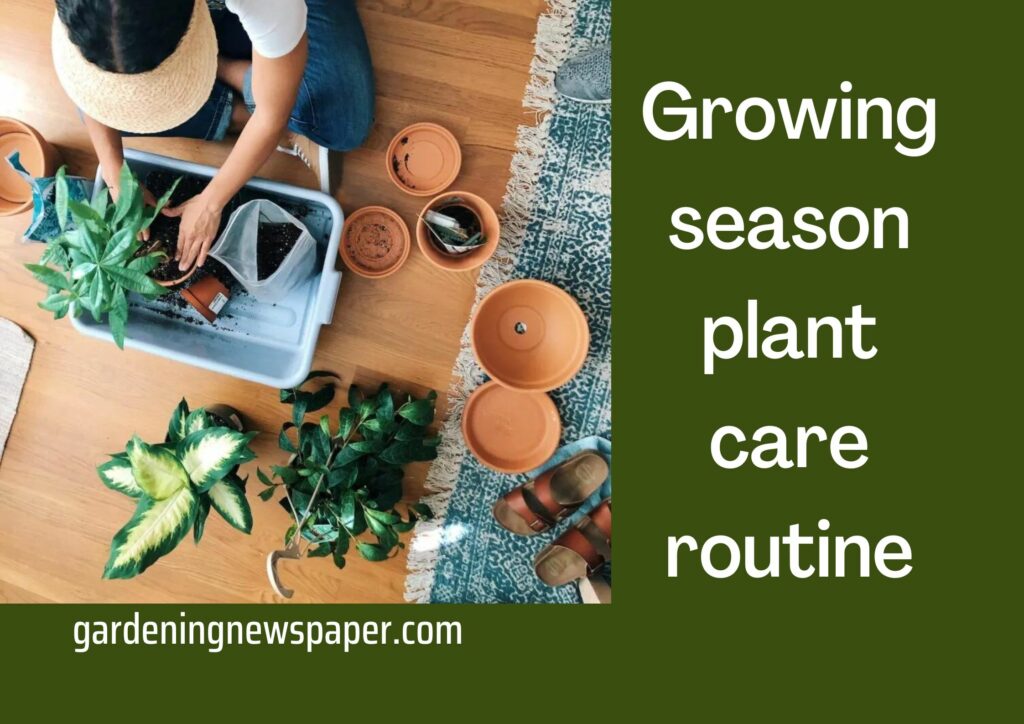
The time of year when a particular plant (plants, cuttings, seeds) shows rapid growth, is called the growing season in simple terms. A growing season provides an optimal environment for the plant to grow and that’s why some gardening activities are done especially during the growing season.
Well, the growing season and the sowing season are two different things! In this article, we will be looking into the growing season plant care routine. You may search the internet to easily find recommended sowing months for a specific variety of vegetables/fruits/flowers. Let’s dive in to learn about pruning, its types, repotting, and how to repot your plant. Happy reading and happy gardening!
For most gardens at home and of course, for most plant varieties, there are two growing seasons in the southern zone of the world during a calendar year:
- Spring Season: March – April (Feb-March (early), Early April in some regions)
- Rainy Season: May end to June (till July in some regions).
And for the northern hemisphere, the growing season usually lasts for 4 to 5 months and begins in early May, and lasts till early October.
Growing season 1: Pruning
When a plant’s dormancy period ends it shows signs of new growth. That is why when you prune a plant it shows new growth with new leaves and branches. For a majority of plants, spring is the best time to prune. The best time to prune in the spring season is from the 1st week of Feb to the 3rd week. Why do you think you need to prune your plants? How should you do it? Let’s find out!
Why prune?
Below are some of the most important benefits of pruning.
- Pruning makes a plant dense by promoting new branches. More branches mean more fruits and flowers. This is especially true if you have fruit trees in your garden.
- Pruning is an opportunity to get rid of old/dead/damaged or malformed (like one over another) branches.
- Some plants can only fruit/flower over new branches for example apple ber, etc.
When to skip pruning?
You can skip pruning in a few cases. Here are the scenarios where you can or should rather skip pruning.
- If your plant is too young like you just bought it from the nursery or it is still establishing in its container. Otherwise, it is suggested to prune young plants to promote growth.
- If your plant is a slow grower.
- If your plant is not healthy.
Hard prune or soft prune?
There are two types of pruning. Take a look at this section to know what works best for your plants.
When you hard prune a plant you do aggressive pruning and leave the plant in a reduced size with all branches (smaller as well as bigger ones) cut to a much shorter length. Hard pruning is usually done on well-established and matured plants.
When you soft prune a plant you cut the smaller branches, trying to maintain the shape of the plant. Soft pruning may also involve defoliation (removal of leaves) to promote new growth but it is not always necessary. Depending on the plants soft pruning can be done almost any time of the year, for example, you may soft prune a bougainvillea plant after every flowering cycle to promote more flowering branches.
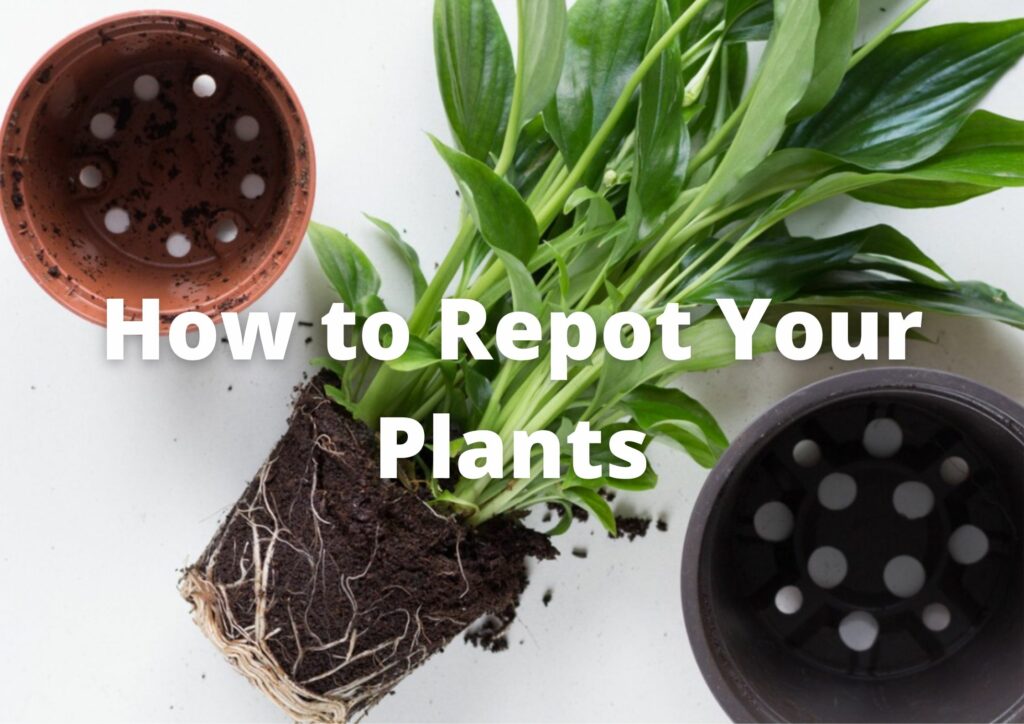
Growing season 2: Repotting
When you have to shift your container plant from one container to another usually a bigger one (but not necessarily), it’s called repotting. Just deciding on repotting your plant isn’t the end! Read on to know about when and why should you repot, if you should repot the plants only during the growing season, and also the most important part, i.e; how to repot your plant!
Why repotting?
Here are the most important scenarios where you need to repot your plants:
- Roots are coming out of the drainage hole at the bottom of the container.
- Roots are growing so thick inside the container, that they are de-shaping the container.
- Signs of stunted growth or slower growth than usual.
- The overall structure has become big and heavy such that it may imbalance the container.
- Leaves are getting wilted out quickly after watering and need more frequent watering.
- Salt deposits on plants or the container.
- Soil is shrinking inside the container.
- To rejuvenate or replace potting mix.
Repot only in the growing season?
Well, it’s a no and a yes! NO, because most of the reasons mentioned above may require immediate action to save your plant. For example, your plant is overgrown or root bound, or not retaining water. Please repot.
In such a case I recommended taking the whole ball out and simply shifting it to a bigger container with fresh potting mix. Lesser or no damage to the plant and a higher recovery rate.
YES because repotting is usually stressful to plant and repotting a plant at the start of the growing season ensures safe recovery of the plant. Also, the plant growth in some plants is better when you re-pot them periodically like annually or once in 18-24 months.
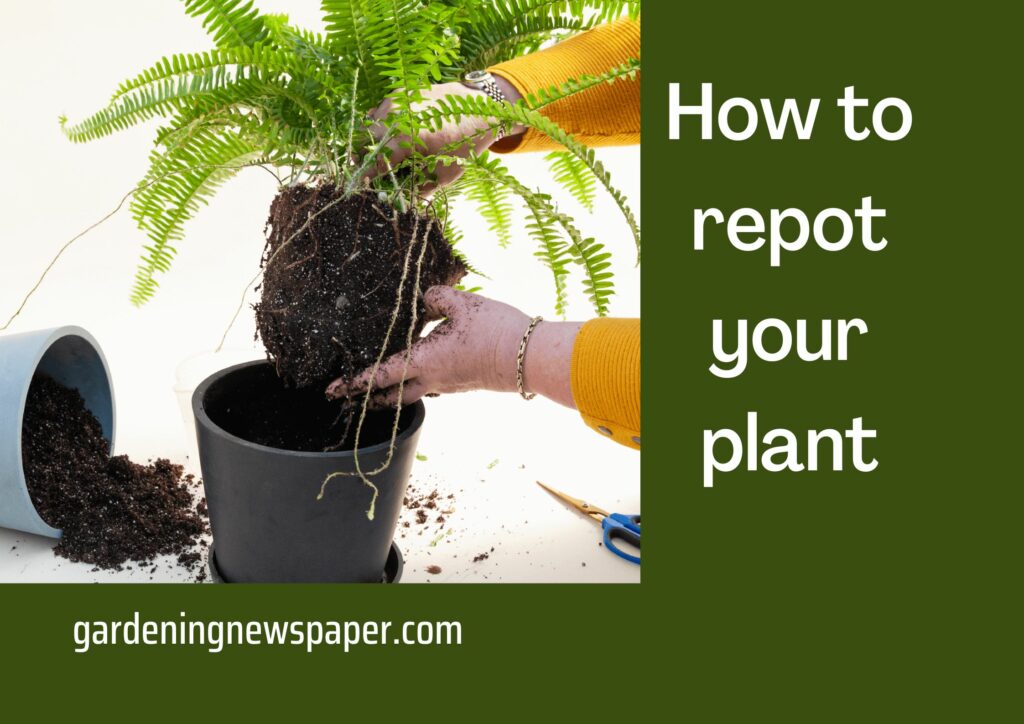
How to repot your plant?
The garden experts say that we can divide the repotting technique into two types as follows:
- Extract and Repot
- Extract, Reduce & Repot
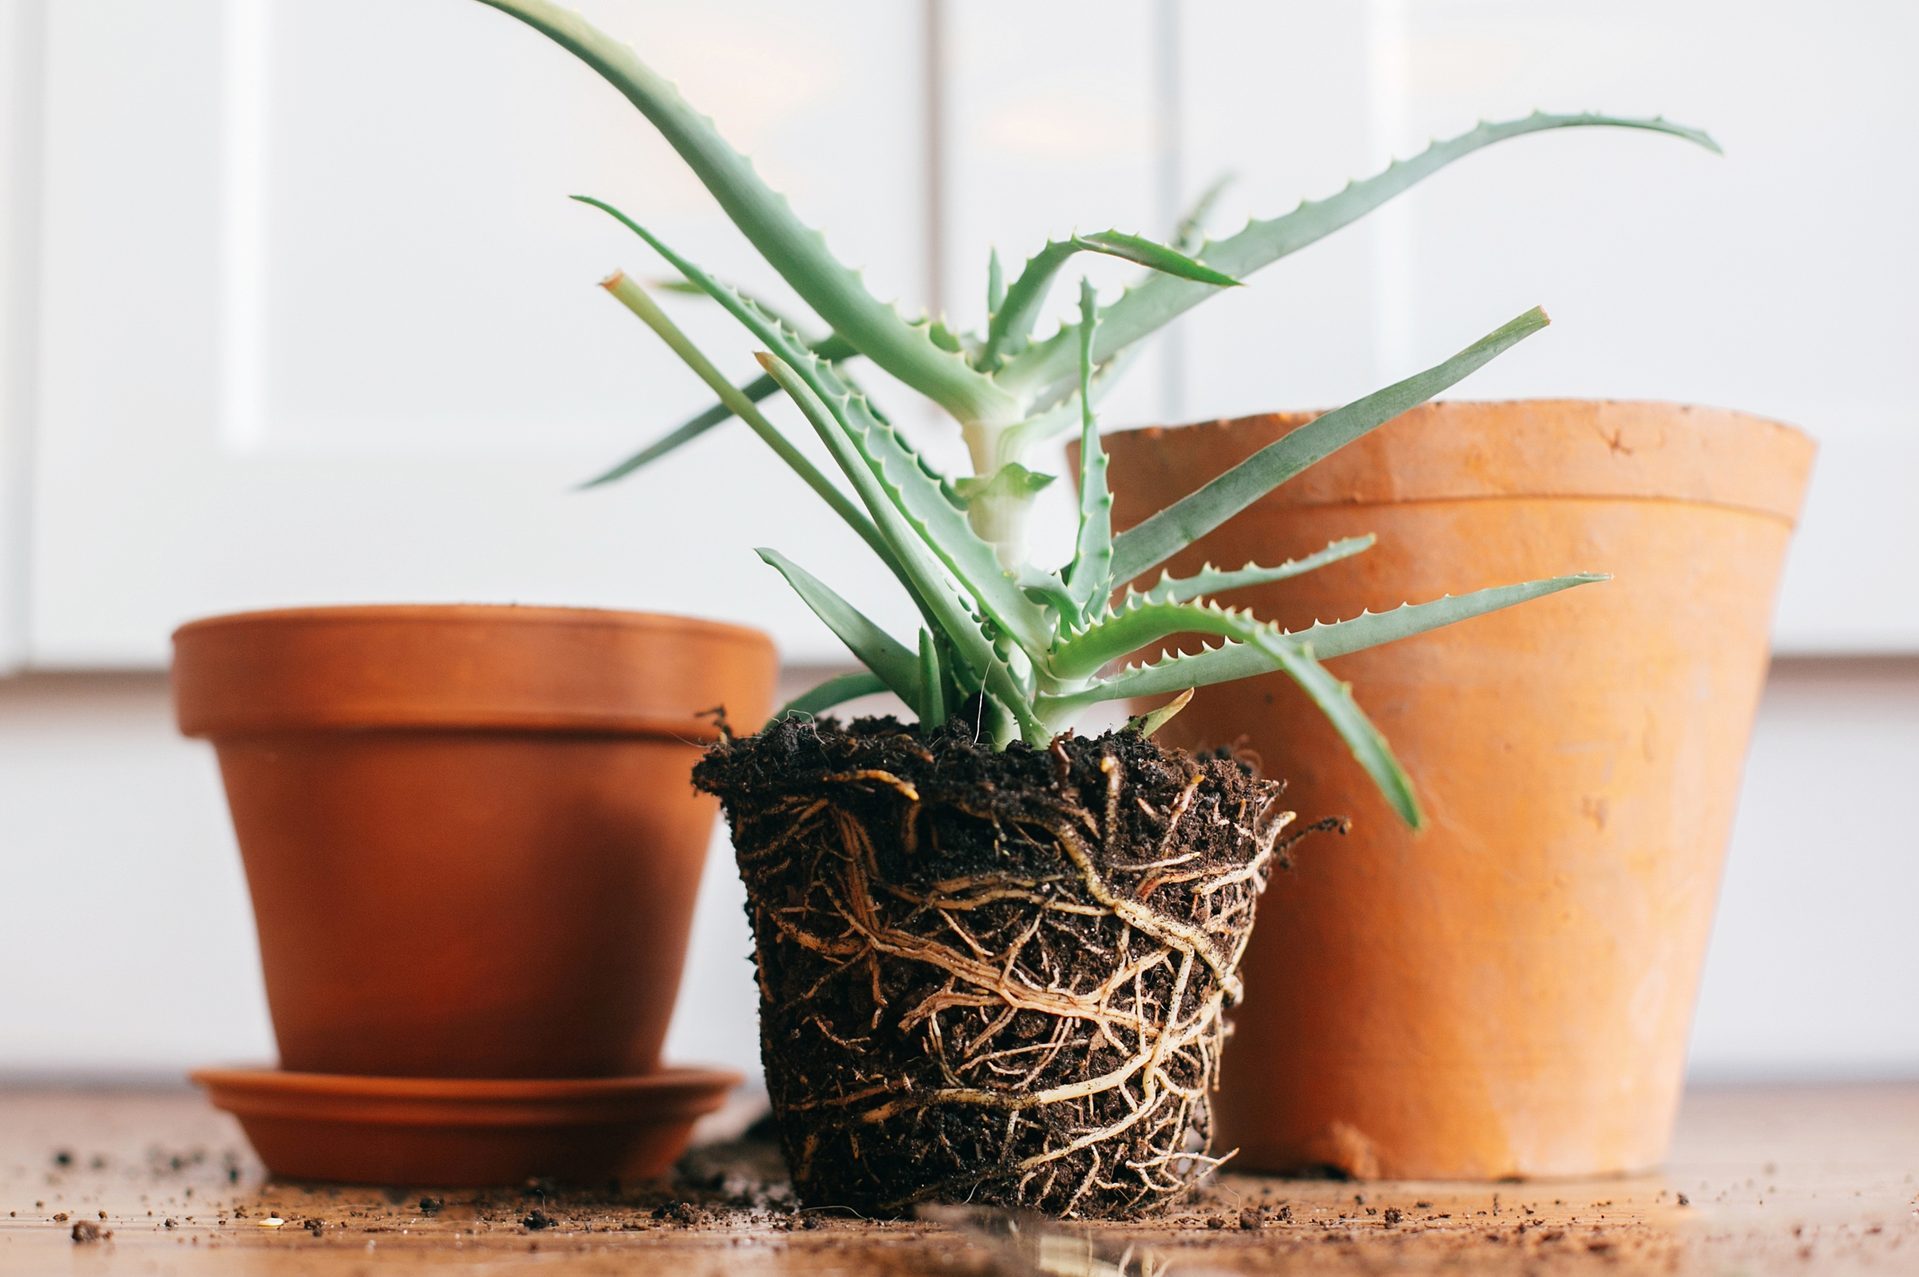
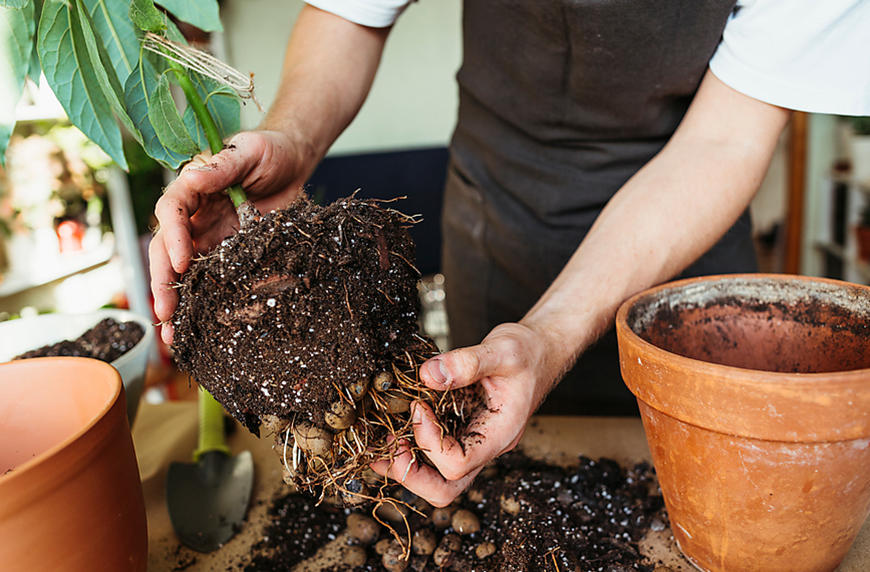
Since both types have an extraction, extraction can be defined as the careful removal of a plant from its container.
How to extract?
- To extract a plant from the container, stop watering the plant a day or two before, this will introduce slight compaction in the mix and allow the mix to move away from the container’s inner wall.
- Then gently pat the container from all sides to further loosen the entire ball.
- If you have followed the advice for larger drainage holes, you may even gently use your fingers to push the ball from the bottom.
- Use gravity to help you if necessary by turning the plant upside down, but be aware that soil may fall out.
- If you have a higher platform/table/stool then place the container lying down and gently pull the plant holding it from the stem, if you sense that the stem is not tightly bound, stop and try to give gentle pushes to the container, making it slightly tilted from the bottom.
- As a final step, gently remove the plastic net/cloth/ or if you have used broken clay pot pieces from the ball. It is okay if tiny roots break a little but not too much.
- A loose textured and well-drained mix will fall on its own without damaging the roots, otherwise, gently brush them to loosen a bit only if they seem tangled otherwise leave them as it is. This will give some air to the roots in the new container and provide space for the mix.
Extract and Repot
When you extract a plant and repot just the way it is in a new larger container with the fresh mix to accommodate the space after putting the entire root ball as it is. Here’s how you do it:
- Prepare your new container preferably larger with some potting mix and place the entire ball inside such that when you add more soil, it should cover the surface to the stem at least an inch.
- Gently poke fingers or stick all around the newly added mix to clear air pockets and add more mix. Keep tapping the container from the sides too.
- Don’t fill the container till its neck. You want some room for water to soak slowly into the container.
- Don’t pack the potting mix too tight by pressing it with your hands, do it gently to provide support let the remaining work be done by watering for you.
- Finally, water the plant generously and that’s it.
Extract, Reduce and Repot
The extraction and repotting processes are just the same with one big difference. Reduction. In this process you will most likely do all or some of the following:
- Shedding as much old potting mix as possible without hurting the root ball attached to the stem.
- Trimming fibrous roots that are overgrown/tangled/damaged/rotted.
- Trimming the entire ball from the sides and bottom sacrificing a lot of roots all across.
- Once you do that, then spray the roots with some fungicide preferably organic like crushed and boiled garlic diluted with water in a ratio of 1:10, or sprinkle Trichoderma powder (available at online stores).
- Prepare a new container with the fresh potting mix, place the reduced ball, and cover it with more potting mix gently pressing from all sides, poking the mix with fingers or a wooden stick to remove air pockets.
- Make sure the ball is well-stabilized and not tilted.
- Water the plant.
- Allow the mix to dry between subsequent watering. For some plants, you may have to wait for very long periods before you water after repotting so that the roots are well settled for example Jade plant, Adenium, or similar succulents or plants specific to such treatment.
Planting a number of plants and getting disappointed when they do not thrive as expected is not okay to do even as a beginner! Mother nature needs a certain amount of love, care, and special attention. We hope that this article could help you understand the growing season plant care routine including comprehensive information about the growing seasons, pruning techniques, its benefits, repotting, and how to repot your plant. Happy gardening!