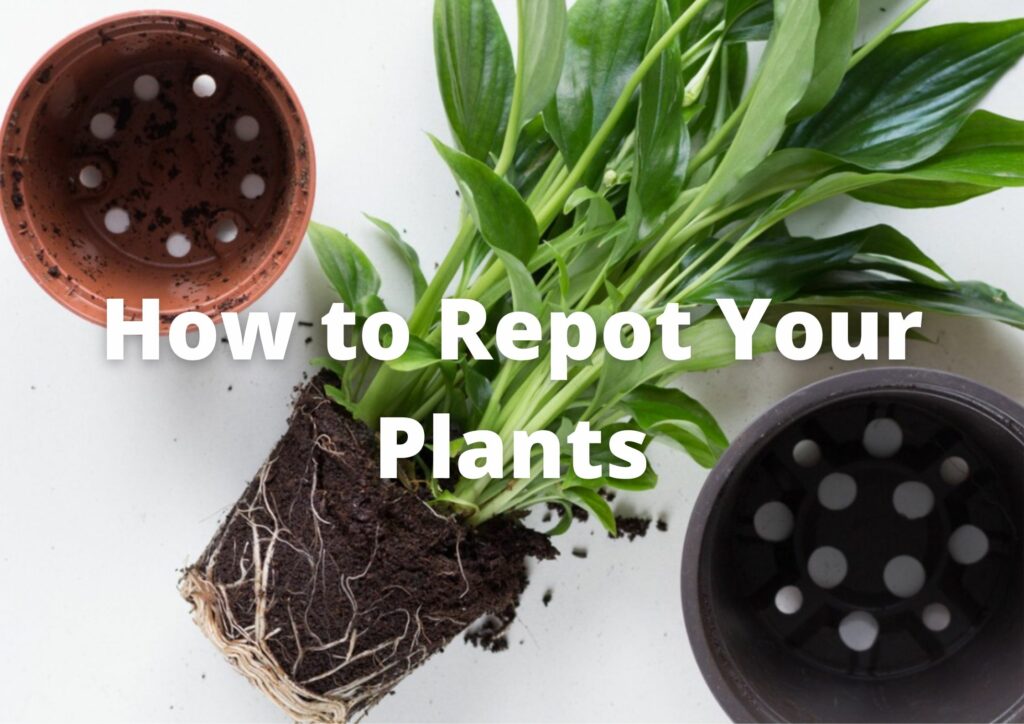
Routine During Growing Season For Plants – How to repot your plant?
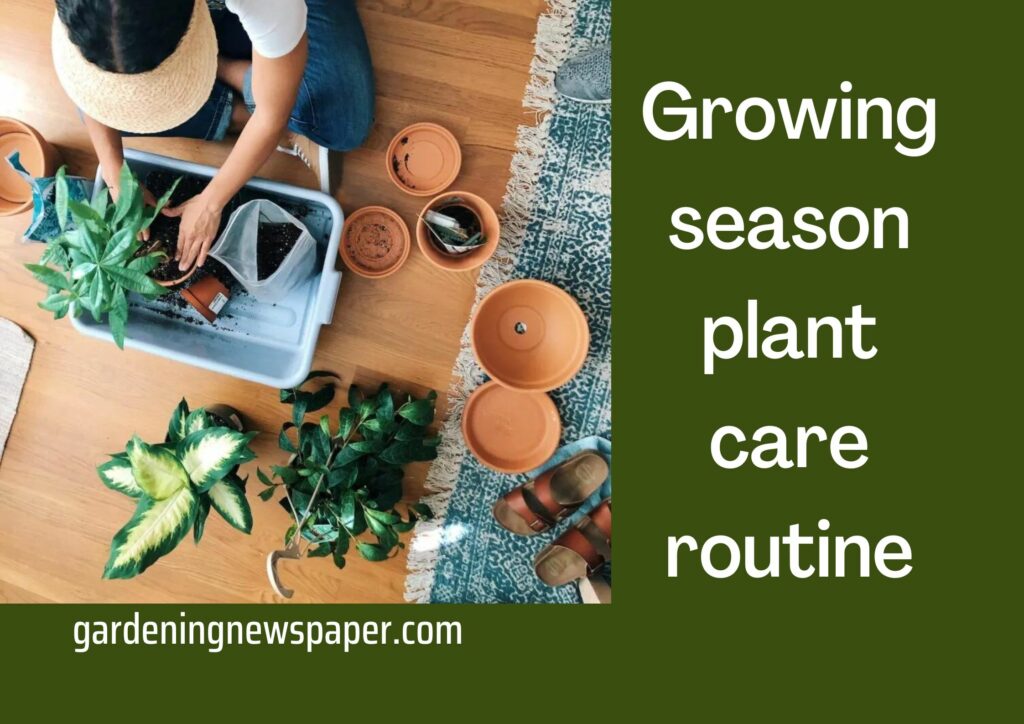
Routine During Growing Season For Plants – How to repot your plant?

The time of year when a particular plant (plants, cuttings, seeds) shows rapid growth, is called the growing season in simple terms. A growing season provides an optimal environment for the plant to grow and that’s why some gardening activities are done especially during the growing season.

Well, the growing season and the sowing season are two different things! In this article, we will be looking into the growing season plant care routine. You may search the internet to easily find recommended sowing months for a specific variety of vegetables/fruits/flowers. Let’s dive in to learn about pruning, its types, repotting, and how to repot your plant. Happy reading and happy gardening!

For most gardens at home and of course, for most plant varieties, there are two growing seasons in the southern zone of the world during a calendar year:

  1. Spring Season: March – April (Feb-March (early), Early April in some regions)
  2. Rainy Season: May end to June (till July in some regions).

And for the northern hemisphere, the growing season usually lasts for 4 to 5 months and begins in early May, and lasts till early October.

Growing season 1: Pruning

When a plant’s dormancy period ends it shows signs of new growth. That is why when you prune a plant it shows new growth with new leaves and branches. For a majority of plants, spring is the best time to prune. The best time to prune in the spring season is from the 1st week of Feb to the 3rd week. Why do you think you need to prune your plants? How should you do it? Let’s find out!

Why prune?

Below are some of the most important benefits of pruning.

  • Pruning makes a plant dense by promoting new branches. More branches mean more fruits and flowers. This is especially true if you have fruit trees in your garden.
  • Pruning is an opportunity to get rid of old/dead/damaged or malformed (like one over another) branches.
  • Some plants can only fruit/flower over new branches for example apple ber, etc.

When to skip pruning?

You can skip pruning in a few cases. Here are the scenarios where you can or should rather skip pruning.

  • If your plant is too young like you just bought it from the nursery or it is still establishing in its container. Otherwise, it is suggested to prune young plants to promote growth.
  • If your plant is a slow grower.
  • If your plant is not healthy.

Hard prune or soft prune?

There are two types of pruning. Take a look at this section to know what works best for your plants.

When you hard prune a plant you do aggressive pruning and leave the plant in a reduced size with all branches (smaller as well as bigger ones) cut to a much shorter length. Hard pruning is usually done on well-established and matured plants.

When you soft prune a plant you cut the smaller branches, trying to maintain the shape of the plant. Soft pruning may also involve defoliation (removal of leaves) to promote new growth but it is not always necessary. Depending on the plants soft pruning can be done almost any time of the year, for example, you may soft prune a bougainvillea plant after every flowering cycle to promote more flowering branches.

Growing season 2: Repotting

When you have to shift your container plant from one container to another usually a bigger one (but not necessarily), it’s called repotting. Just deciding on repotting your plant isn’t the end! Read on to know about when and why should you repot, if you should repot the plants only during the growing season, and also the most important part, i.e; how to repot your plant!

Why repotting?

Here are the most important scenarios where you need to repot your plants:

  • Roots are coming out of the drainage hole at the bottom of the container.
  • Roots are growing so thick inside the container, that they are de-shaping the container.
  • Signs of stunted growth or slower growth than usual.
  • The overall structure has become big and heavy such that it may imbalance the container.
  • Leaves are getting wilted out quickly after watering and need more frequent watering.
  • Salt deposits on plants or the container.
  • Soil is shrinking inside the container.
  • To rejuvenate or replace potting mix.

Repot only in the growing season?

Well, it’s a no and a yes! NO, because most of the reasons mentioned above may require immediate action to save your plant. For example, your plant is overgrown or root bound, or not retaining water. Please repot.

In such a case I recommended taking the whole ball out and simply shifting it to a bigger container with fresh potting mix. Lesser or no damage to the plant and a higher recovery rate.

YES because repotting is usually stressful to plant and repotting a plant at the start of the growing season ensures safe recovery of the plant. Also, the plant growth in some plants is better when you re-pot them periodically like annually or once in 18-24 months.

How to repot your plant?
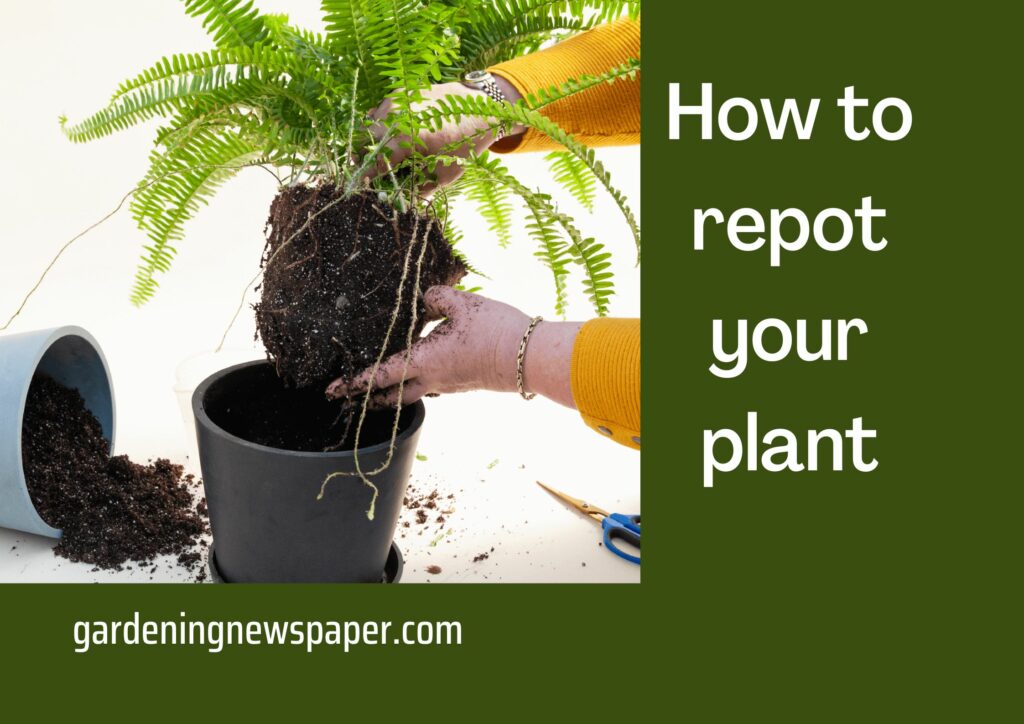
The garden experts say that we can divide the repotting technique into two types as follows:

  • Extract and Repot
  • Extract, Reduce & Repot

Since both types have an extraction, extraction can be defined as the careful removal of a plant from its container.

How to extract?

  1. To extract a plant from the container, stop watering the plant a day or two before, this will introduce slight compaction in the mix and allow the mix to move away from the container’s inner wall.
  2. Then gently pat the container from all sides to further loosen the entire ball.
  3. If you have followed the advice for larger drainage holes, you may even gently use your fingers to push the ball from the bottom.
  4. Use gravity to help you if necessary by turning the plant upside down, but be aware that soil may fall out.
  5. If you have a higher platform/table/stool then place the container lying down and gently pull the plant holding it from the stem, if you sense that the stem is not tightly bound, stop and try to give gentle pushes to the container, making it slightly tilted from the bottom.
  6. As a final step, gently remove the plastic net/cloth/ or if you have used broken clay pot pieces from the ball. It is okay if tiny roots break a little but not too much.
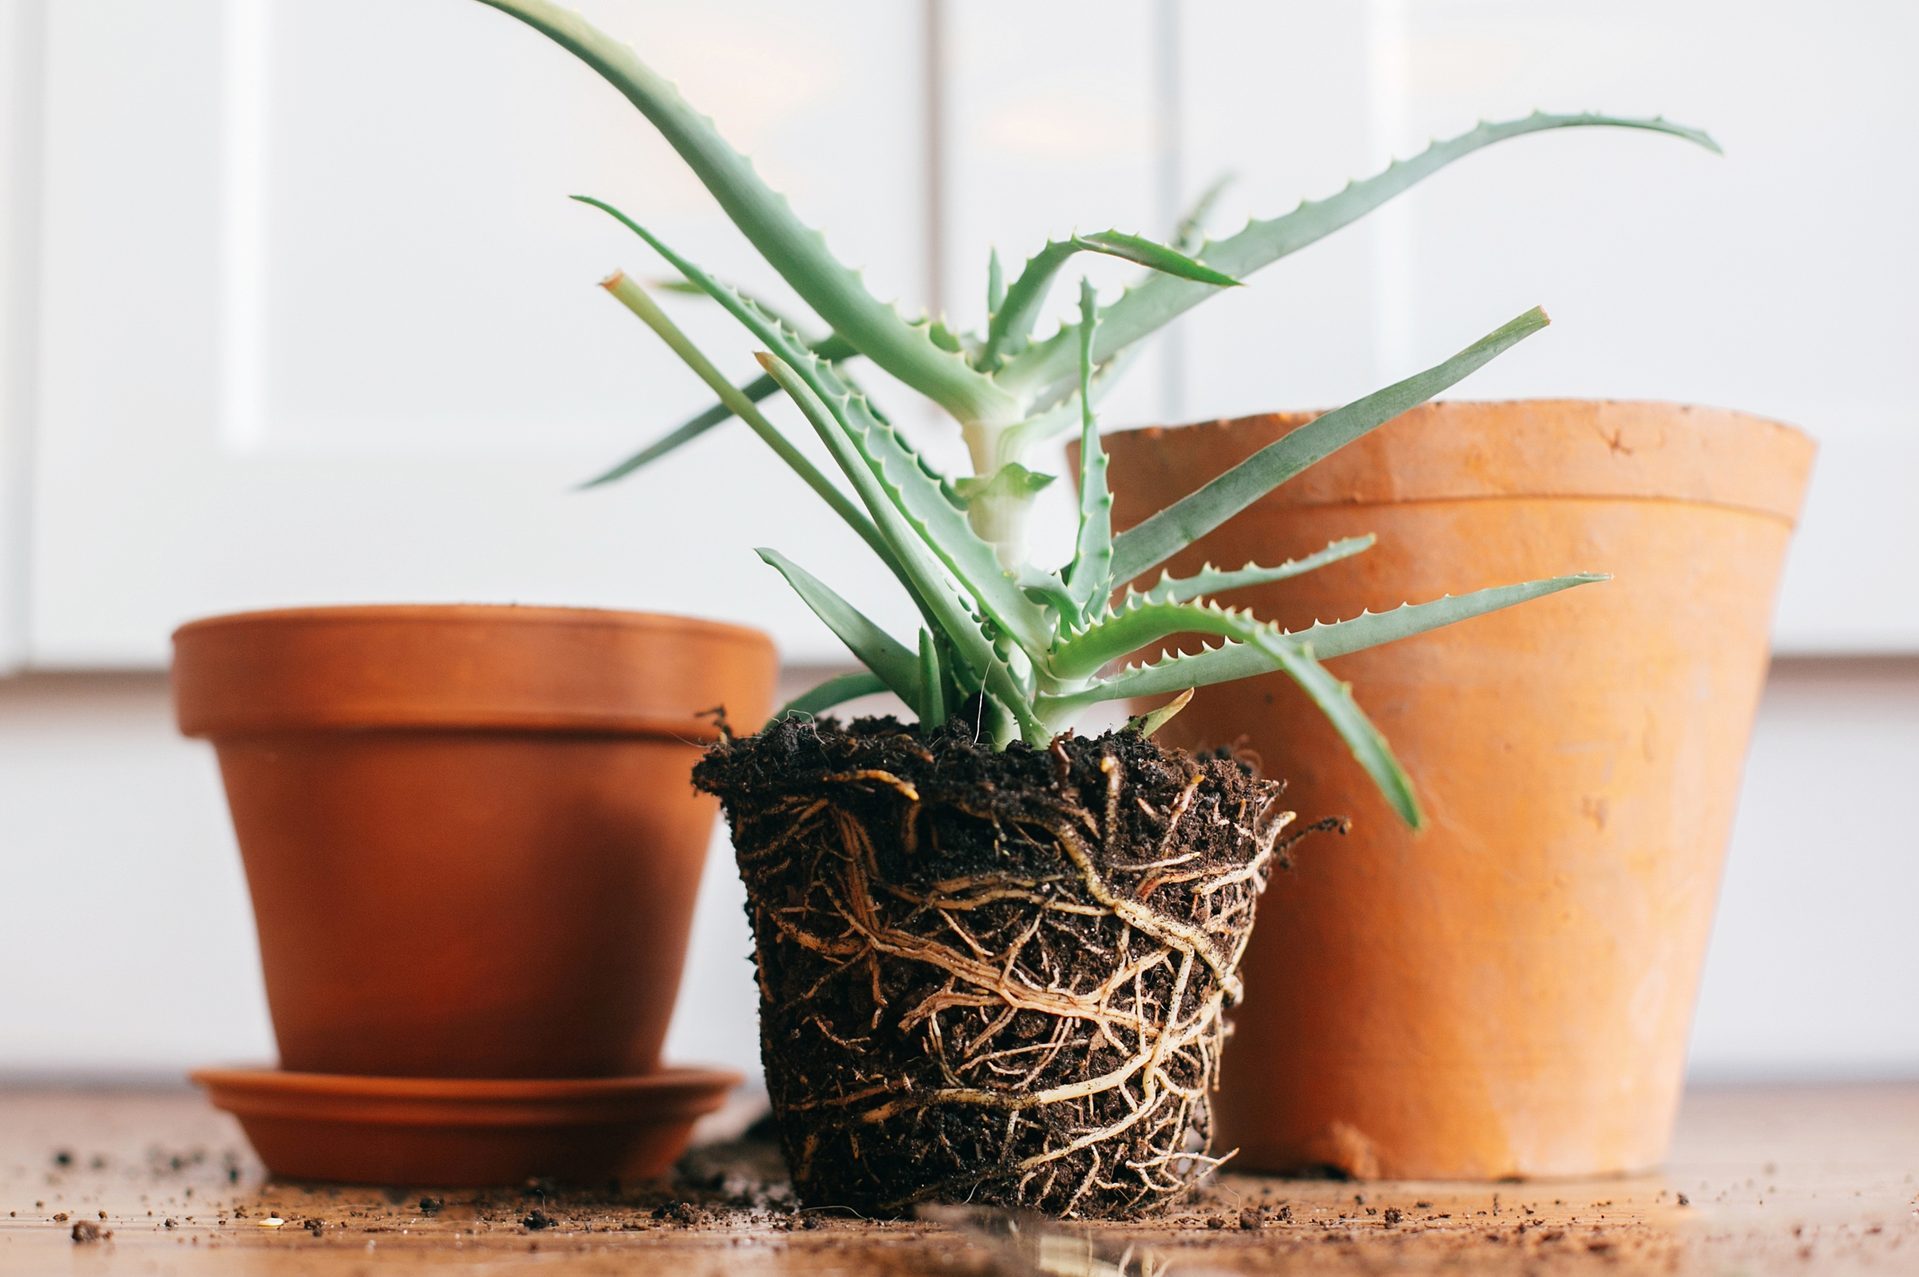
  7. A loose textured and well-drained mix will fall on its own without damaging the roots, otherwise, gently brush them to loosen a bit only if they seem tangled otherwise leave them as it is. This will give some air to the roots in the new container and provide space for the mix.

Extract and Repot
Extract and Repot

When you extract a plant and repot just the way it is in a new larger container with the fresh mix to accommodate the space after putting the entire root ball as it is. Here’s how you do it:

  1. Prepare your new container preferably larger with some potting mix and place the entire ball inside such that when you add more soil, it should cover the surface to the stem at least an inch.
  2. Gently poke fingers or stick all around the newly added mix to clear air pockets and add more mix. Keep tapping the container from the sides too.
  3. Don’t fill the container till its neck. You want some room for water to soak slowly into the container.
  4. Don’t pack the potting mix too tight by pressing it with your hands, do it gently to provide support let the remaining work be done by watering for you.
  5. Finally, water the plant generously and that’s it.

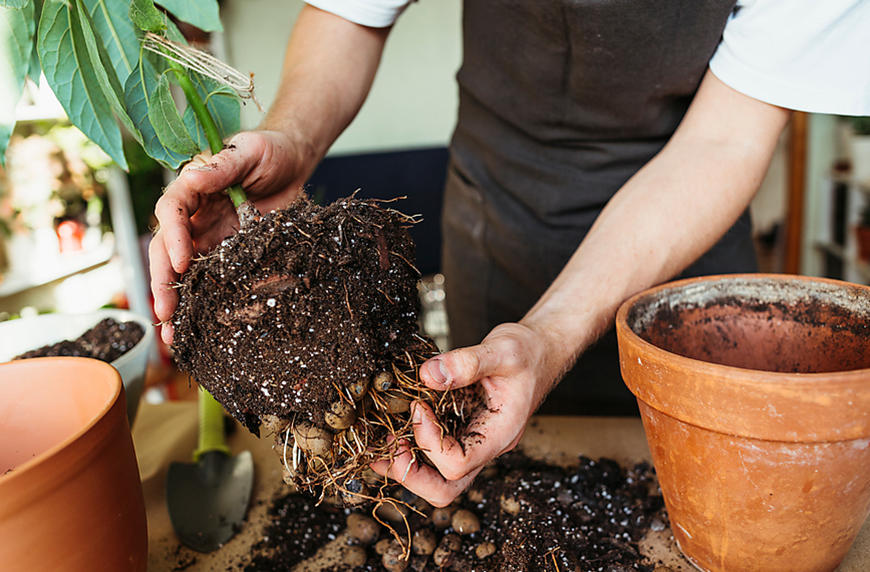
Extract, Reduce and Repot
Extract, Reduce and Repot

The extraction and repotting processes are just the same with one big difference. Reduction. In this process you will most likely do all or some of the following:

  • Shedding as much old potting mix as possible without hurting the root ball attached to the stem.
  • Trimming fibrous roots that are overgrown/tangled/damaged/rotted.
  • Trimming the entire ball from the sides and bottom sacrificing a lot of roots all across.
  • Once you do that, then spray the roots with some fungicide preferably organic like crushed and boiled garlic diluted with water in a ratio of 1:10, or sprinkle Trichoderma powder (available at online stores).
  • Prepare a new container with the fresh potting mix, place the reduced ball, and cover it with more potting mix gently pressing from all sides, poking the mix with fingers or a wooden stick to remove air pockets.
  • Make sure the ball is well-stabilized and not tilted.
  • Water the plant.
  • Allow the mix to dry between subsequent watering. For some plants, you may have to wait for very long periods before you water after repotting so that the roots are well settled for example Jade plant, Adenium, or similar succulents or plants specific to such treatment.

Planting a number of plants and getting disappointed when they do not thrive as expected is not okay to do even as a beginner! Mother nature needs a certain amount of love, care, and special attention. We hope that this article could help you understand the growing season plant care routine including comprehensive information about the growing seasons, pruning techniques, its benefits, repotting, and how to repot your plant. Happy gardening!

How to rejuvenate old garden soil – While repotting, Old potting mix and more

Rejuvenating potting mix – How to rejuvenate old garden soil

A potting mix will be depleted of nutrients over time, this is a reality that most gardeners don’t realize until their plants stop growing or show poor signs of growth.

But why does potting mix get depleted of nutrients over time?

  • Leeching of nutrients through drainage and continuous rains.
  • Slow release of organic matter through drainage.
  • Plant’s growth, age, and root system.
  • Heavy feeder plants

To understand how plants deplete the potting mix, let’s understand that plants are:

  • Light feeders
  • Medium feeders
  • Heavy feeders

Consumer in place of feeder for easy of understanding that plants that are are heavy consumers deplete the potting mix of nutrients faster than light consumers.

There are 3 ways you can keep your potting mix fertile.

Top up method – How to add nutrients to old potting soil

Just like a prepaid mobile recharge to keep the phone services running, the top-up is probably one of the best methods to keep your potting mix full of nutrients and fertile. How to do that:

  • Prepare a uniform mix of the following items in the given proportions:
    • 500 grams vermicompost
    • 500 grams of cow manure powder
    • 100 grams neem cake powder
    • 100 grams of mustard cake powder
    • 100 grams bone meal powder (only for acidic potting mix)
    • OPTIONAL: 100 grams of wood ash
    • OPTIONAL: Handful of perlite, it won’t hurt to add a bit of drainage and aeration but it is not necessary.
    • OPTIONAL: Handful of cocopeat if your plant needs to retain more water.
  • When you are plant is due for watering, spread a 1-2 inch layer of this mix on the surface of potting mix in your container.
  • Water slowly first only so that the top mix is wet. After you finish watering all containers with this addition. Then water again from the first container but this time do deep watering till the water starts draining out. This is not necessary to do but in my experience, I have noticed that the first round of water settles the mix well on the surface so that when you water again, it gets distributed uniformly.
  • This method works great for perennials and fruit trees.
  • It takes anywhere between a fortnight or month for organic fertilizers to break down and start providing nutrients to plants therefore this is a great slow-release feeding method.
  • This method also helps in mimicking the natural ecosystem in forests where layers of organic matter on the surface are formed over years, proving home to helpful fungi, bacteria, and food for the plant.

Rejuvenate while repotting

When your plant outgrows your container or if the container is broken or when your plant is struggling for space to grow then it is time to repot your plant.

Repotting is a great opportunity to make up for the loss of nutrients in the soil.

There are two ways to re-pot:

  • Repotting with the entire pot ball of the plant: In this method, you extract the plant with the entire mix that has formed the shape of the container over time. This is usually done when you did not expect the plant to outgrow the pot so fast.
    • Make sure the plant is not watered for a day or two.
    • Extract the plant gently by tapping the sides and loosening the mix.
    • Fill the new container with the fresh potting mix, press it to clear air pockets
    • Put the full ball so that the surface of the plant matches the surface of the new container.
    • Fill potting mix across all sides pressing firmly.
    • Water thoroughly.
    • Keep in partial shade for a day or two.
  • Repotting with root pruning and trimming: In this method as the name suggests, you prune the excess roots (mostly the thin fiber-like from the sides) from the plant.
    • The steps are similar to the aforementioned but once the plant is extracted, gently dust off the potting mix from all sides to expose thin fibrous roots.
    • Then using a sharp sterilized scissor trim the roots. To reduce the size of the ball.
    • Don’t do it excessively unless you plan to make a bonsai out of the existing plant.
      If roots are outgrowing the old container from the bottom, you may chop them off too.
    • Get rid of the clay soil as much as possible.
    • Now prepare a liquid mix of 5ml liquid Humic acid + 1 ml of liquid seaweed extract in 1 to 1.5 liter of water and drench the plant after you finish adding the potting mix. This will help the plant recover from the shock, promote faster root growth, and also promotes microbial activity in the mix.

Rejuvenate old potting mix – Rejuvenating old potting soil

Potting mix is a precious commodity in your Terrace garden. When you have a lot of plants this may certainly add to your expenses unless you are making your compost, getting cow manure for free. But whether or not you have a zero-budget garden, it is a good idea to reuse old potting mix after rejuvenating it. But let me tell you that this is a tedious process although the result is rewarding.

How to rejuvenate old potting mix

Before we talk about rejuvenating potting mix, let’s understand how to choose a potting mix for reuse:

  • If your plant suffered through bacterial or fungi infection or was affected by insects in some way, then I would not recommend it for reuse. However you still want to use it, you may have to use it by worm composting[7] according to research at Cornell University (NY USA)
  • Don’t reuse potting mix if you have grown heavy feeders last year. Such potting mix has a higher level of nutrition depletion.
  • Check for Ph levels
  • This works great for vegetables and kitchen gardens.

How to rejuvenate old potting mix: Here is the step-by-step way to rejuvenate your old potting mix:

  • You would need a large plastic sheet, a large container with drainage holes, a trowel, and a rake if possible. Large plastic bags.
  • Spread your mix on the plastic sheet, a rake comes in handy here. Remove pieces of roots any unwanted stones etc. Loosen any clumps that may have formed.
  • Wash your mix: Take a large barrel with drainage holes, covered with a plastic net. Fill it with soil and saturate it with water.
  • Once the water stops draining, pour the potting mix back onto a plastic sheet, spread it, and leave it in the sun till fully dry and fluffy
  • 50/50: Once the mix is dried, take an equal quantity of the fresh potting mix and mix them both.
  • OPTIONAL: To adjust Ph add Neem cake or bone meal powder or lime.
    Put this mix in bags and leave them in dark & dry storage for about 2 weeks to cure and brew.
  • That’s it your rejuvenated potting mix is ready.
  • When you use it to plant, don’t forget to add the Humic + Seaweed mix mentioned while repotting.
  • You may do this process 2 times for your old mix and in some cases maybe 3. After that, your mix loses its ability to recharge itself.

How to safely repot plants without killing them

How to safely repot plants without killing them

This step-by-step guide will help you pot your houseplants with enough plant care. It includes information on snake plants, aloe and peace lilies.

Repotting can be daunting if you are new to caring for plants. There are many houseplants that are nearly impossible to kill. These include air plants, yuca plants and spider plant. However, there may be a time when you need a new pot. We have a step-by-step guide to how you can repot your plants.

As time goes by, some plants outgrow their owners. You should repot your baby plants approximately every 12-18 months. If your greenery is slow-growing, such as a cactus or a tree, repotting should be done every 2 to 4 years. We’ll show you how to keep your vegetation safe throughout and after this process. Also, check out these air purifying options for cats.

How to Repot Your Plants

Repotting a plant is easy and inexpensive. Here are some things you need to have in order to get started.

How to Repot Your Plants

Your current plant (or a new plant if your room needs a change)

  • Your Planter: If you have an older one, clean it before you start the repotting process. Fresh potting soil: It’s essential that your houseplant thrives by using fresh potting soil.
  • Gloves: These will not only keep your hands clean but will help with any irritating plants such as Ficus elastica.
  • A watering container: If your sink is not working, you might consider using a watering bottle or watering can.
  • To keep your space clean, use a potting mat. You can also use the newspaper.

How to identify when your plant needs to be repotted

It is essential to identify the type of plants you have and how to care for them. This will help you determine how often your plant should be repotted.

  • Nutrient accumulation: You may notice a buildup on the soil’s surface. This blocks water from reaching the roots.
  • Roots that are too large: Pay attention to whether roots are reaching the drainage holes in your planter. You should also check if roots are pushing the plant from the pot.
  • The plant has grown too large: This sign is easy to spot. It’s time for a new planter if the foliage grows too thick. If the plant is on the verge of tipping over, this applies as well.
  • Soil compaction: Soil compaction occurs when the soil pieces are pressed together. This stops water from reaching the roots. You’ll also notice that the liquid sits on top of the soil instead of getting soaked in.

Here are some tips to repot your plants

Take the plant out of its original planter. Be gentle. Turn the plant sideways by holding onto its stems or leaves. Tap the bottom of the vessel until the plant falls out. Gently tug at the base of the stems if your greenery is not slipping out.

  • Remove any roots that are too long. You can also trim the thicker roots at the base. Before trimming the roots, check to make sure they are not growing in circles around your plant’s base.
  • Remove old potting mixture: When your baby plants grow, the nutrients are removed from their soil.
  • Mix new potting soil: Put your new potting mixture into a planter. Then, sand it to get rid of any air pockets. If your pot does not have drainage holes, you can add lava rocks to the base to drain the water.
  • Add your plants: Now, it’s time for you to put your new or existing plant in its pot. Before placing the new layer of the potting mixture on top, make sure that your plant is properly centered. Add more potting mix to your plant to secure it.

Don’t add too much soil to your pot. Your roots won’t have enough room to breathe.