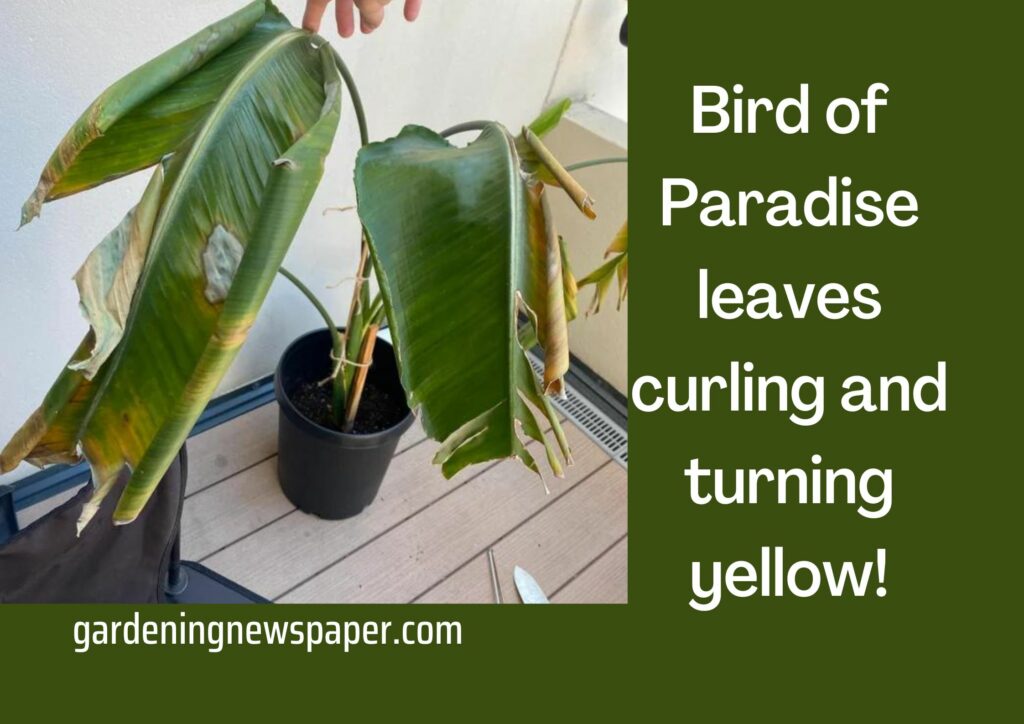
Why is my elephant ear plant turning yellow?
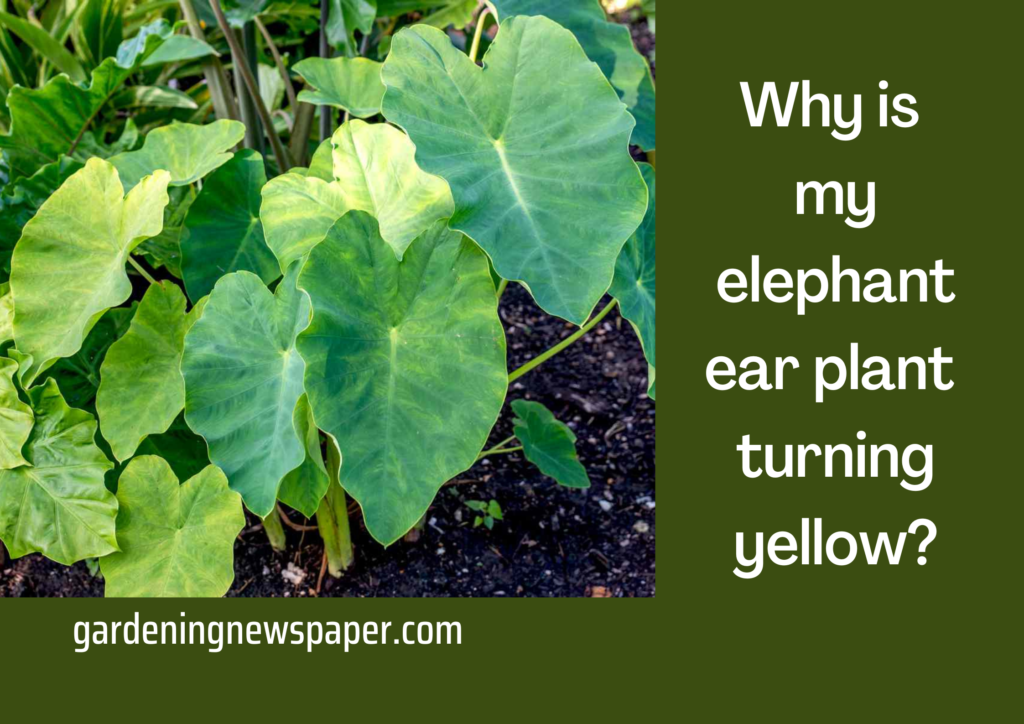
What is the reason my elephant ear plant leaves turning yellow? What should I do? The better news is that the maximum reasons why this happens are quite typical and nothing to worry about. Some reasons are simpler to heal than others. In this article, you can know the reason and cure for your elephant ear plant.
Elephant ear plants indoors (Colocasia) are certainly fascinating plants. Their name came from their tall stems and big leaves and giving them an exquisite look. Plus, their deep, gorgeous green color is sure to please the eye. Maintaining an elephant ear plant gives real pleasure both indoors and outdoors. It is also a great choice for beginning gardeners who want a focal point in their home or garden, as the plant is quite easy to look for.
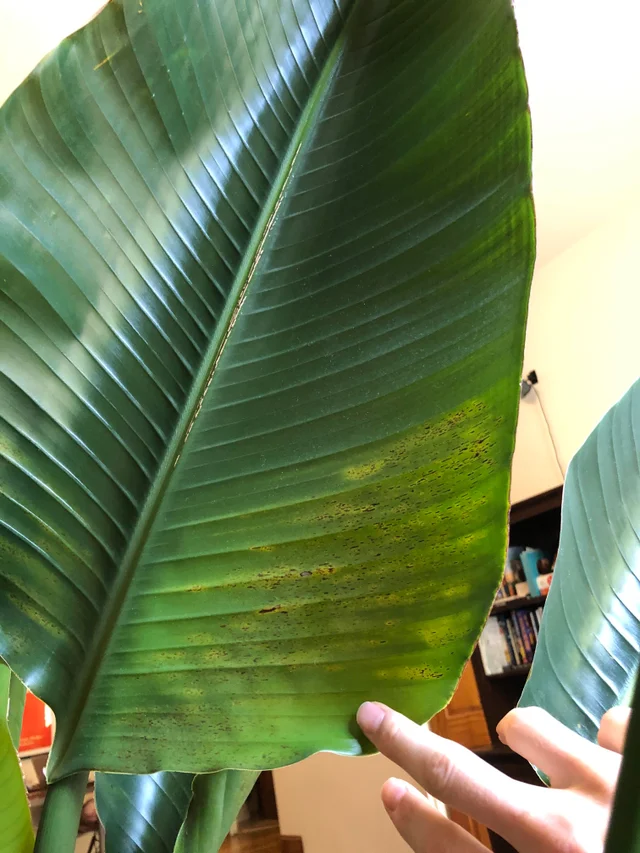
It may be cause for alarm if you see that the leaves of your cherished plant are becoming yellow or brown. To stop future harm to your plant, it’s critical to determine the underlying cause of this, which can happen for a number of different causes. It is advisable to look into the particular needs of your plant species in order to solve the problem.
You will learn about eight possible reasons why elephant ear plants may yellow in this article.
Here are some reasons for elephant ear plants turn into yellow leaves.
Due to the biological life cycle
- This is a normal reason and usually occurs due to the seasonal cycle nothing to worry about. When it gets cold, the plants prepare for dormancy.
- In such cases, it’s a good idea to prune the yellowed leaves to make room for new growth in the spring. Plants with large leaves turn yellow in late fall. Some plants, like hosta, have large leaves that make them appear yellower than they actually are. Given the natural life cycle of plants, there is not much to do as that is plant life.
- Due to lack of humidity.
- If they’re watered inconsistently.
- An imbalance in light to water ratio.
- That’s a good reason for the relief. Just making sure the plants are at the right temperature when they transition to dormancy can really make a difference when they come back in the spring. Recommended to cover it with mulch if you have it. This will protect the plant from harsh winter temperatures.

Due to sunlight
- In keeping with the temperature, you should know that this particular plant likes warmth. Direct sunlight is not recommended for these plants. Colocasia prefers filtered light coming from the penumbra.
- Colocasia shows yellowish leaves earlier because they are light-sensitive. This way you can get the temperature you need to grow without the risk of burning your leaves. Keep in mind that if the leaves of the plant are brown and have a crunchy texture, they are probably in the wrong place and should be moved as soon as possible.
- Plants may also become yellow if they are kept in an environment with too much shadow. Since sunshine is essential for photosynthesis, the process by which plants make food, keeping plants in a gloomy environment without exposing them to regular sunlight can be hazardous. Lack of sunshine can starve plants, which will eventually result in lower leaves that become discolored and yellow and eventually fall off the plant.
- This indicates that the plants are not getting enough sunlight. You can see that the yellowest areas are in the areas with the least amount of sunlight. You can give your plants a boost by placing them in the right place in your garden or home.
Soil requirement for elephant ears
- Haven’t watered yet but be aware that poor soil conditions can cause discoloration. As mentioned above, the soil used should be porous and well-drained to avoid moisture from watering. Crumbly clay should work well.
- Avoid rocky soils as this can damage the plant’s tubers. Additionally, a good soil pH is important for Colocasia. These plants prefer acidic soil with a pH of 5.5-6.5. Exceeding that can adversely affect plant health and cause yellowing and browning.
- Plant nutrition is significantly influenced by the pH of the soil. Plants cultivated in soil with an incorrect pH level won’t thrive, even with fertiliser. You can use a soil test kit to find out your soil’s pH level, and it might also offer recommendations for bringing it closer to the optimal range.
- To ensure that plants receive the proper nourishment, soil must also be improved with organic matter, such as fertilizer and compost. Poor soil quality can cause plant starvation and yellowing if there is insufficient organic matter in the soil.

Proper fertilizing usage
- Overfeeding elephant ear plants can also cause the leaves to turn yellow. Elephant ears are generally a powerful bait, so this can shock you.
- This can cause problems that manifest themselves as leaf discoloration. We recommend using a water-soluble fertilizer that is high in nitrogen and stimulates leaf production and growth.
- You should apply fertilizer only once a month don’t exceed it. Applying more frequently increases the risk of over-fertilization, which can lead to yellow leaves. Nitrogen deficiency can also cause leaf discoloration. But it usually gives different results. Old leaves may turn yellow, but young leaves are very bright green.

Give proper nutrition.
- The main problem that causes plants to discolor is a lack of nutrients. As mentioned earlier, this can be caused by inadequate sunlight, inadequate watering, and unfavorable soil conditions.
- Nutrient deficiencies are detrimental to the health of all living things, and elephant ear plants are no exception. Nutrient deficiencies can be recognized by yellow leaf tissue and green veins. You’ll also notice that the top leaves turn yellow first.
- Too little fertilizer is easily remedied by caring for the plants with plant fertilizer. However, it is important to follow the package instructions whenever possible.
- Too much fertilizer can also burn plants and cause discoloration, so follow directions carefully. If you want to keep Colocasia as a houseplant, buy fertilizer for houseplants and fertilizer for spring and summer.
Root deterioration
- Root damage can also lead to discoloration. Pots too small, shovels too rough, or even root rot. Dense roots develop as your plant grows beyond the pot it lives in.
- Elephant Year plants tend to grow beyond the pot fairly quickly. This inhibits the movement of oxygen, water, and nutrients, which can cause leaves to turn yellow or drop off.
- Looking at the bottom tray of the plant can help determine if the plant is growing out of its pot. When the roots come out, it’s time to change the pot. This will make the plants healthy again. Make sure to check the roots often as the plants grow, as they may need to be checked fairly often to make sure they have enough space.
- With sideways plantings, you can prevent root damage, just make sure that the plant gets well-aerated soil. Well-drained soil, both indoors and outdoors, will prevent root compaction.
- Pay attention to the color when looking at the roots of the plant. Pale, white, yellow is the original color of a healthy root. Dark roots often indicate rot, especially if they smell bad. In that case, unfortunately, it’s time to ditch the plant and start over.

How to stop elephant ear leaves turning yellow?
There could be a number of reasons and issue why your elephant ear plant is turning yellow. Overwatering or inadequate drainage is one of the main culprits. The roots may rot in perpetually wet soil, turning the plant yellow and making it wilt. Make sure your plant receives water only until the top inch of soil feels dry to the touch, and check that the pot has drainage holes so that any extra water can drain.
Lack of nutrition may also be the cause of fading elephant ear leaves. Make sure you are using a high-quality fertiliser with the right ratio of nutrients since elephant ear plants need fertilisation to develop and thrive. Avoid overfertilizing as this can also result in yellowing and other issues.
Elephant ear plants also require direct, strong light to survive. Your plant may begin to discolor and weaken if it doesn’t receive enough light. Try relocating it somewhere brighter but stay out of direct sunlight to prevent scorching the leaves.
Tips for growing elephant ear
Elephant ear plants are tropical plants known for their large, heart-shaped leaves. They can add a tropical feel to any garden or indoor space. Here are some tips for growing elephant ear plants:
- Soil: Elephant ear plants prefer rich, well-draining soil that have good moisture but not waterlogged. You can add compost or other organic matter to the soil to improve its fertility and drainage.
- Light: Elephant ear plants prefer bright, indirect light. They can be grown indoors near a window that receives filtered light or outdoors in a partially shaded area.
- Watering: Elephant ear plants require regular watering to keep the soil moist but not waterlogged. You should water them when the top inch of soil feels dry to the touch.
- Fertilizer: Elephant ear plants benefit from regular fertilization during the growing season. You can use a balanced fertilizer or one that is high in nitrogen to promote leaf growth.
- Temperature and humidity: Elephant ear plants thrive in warm, humid environments. They should be kept in temperatures between 65-80°F (18-27°C) and in a location with high humidity.
- Propagation: Elephant ear plants can be propagated by dividing the rhizomes, which are underground stems. Wait until the plant has finished its growing season before dividing the rhizomes and planting them in separate pots or locations.
- Pests and diseases: Elephant ear plants can be prone to spider mites, mealybugs, and other pests. Keep an eye out for any signs of infestation and treat with insecticidal soap or neem oil. Overwatering can also lead to root rot, so make sure the soil is well-draining and not too wet.
How to take care of elephant ear plant leaves?
Improving the quality of elephant ear plant leaves is an important aspect of growing these plants. Here are some tips for caring for elephant ear plant leaves:
- Clean the leaves: Elephant ear plant leaves can accumulate dust and dirt, which can interfere with their ability to photosynthesize. Wipe the leaves with a damp cloth or sponge to keep them clean.
- Prune damaged or yellow leaves: If you notice any yellow leaves or damaged leaves on your elephant ear plant, prune them off with a clean, sharp pair of scissors or shears. This will help redirect the plant’s energy towards healthy leaves.
- Support large leaves: As elephant ear plant leaves can grow quite large, they may need support to avoid bending or breaking. Use stakes or plant ties to support the leaves as needed.
- Provide adequate light: Elephant ear plants require bright, indirect light to grow healthy leaves. If the plant is not receiving enough light, its leaves may become smaller or turn yellow.
- Monitor humidity levels: Elephant ear plants thrive in high humidity environments. If the air in your home or growing space is dry, consider using a humidifier or placing a tray of water near the plant to increase humidity levels.
- Water correctly: Overwatering or underwatering can cause problems with elephant ear plant leaves. Water the plant thoroughly when the top inch of soil is dry, but make sure not to let the soil become waterlogged.
- Fertilize regularly: Elephant ear plants benefit from regular fertilization during the growing season. Use a balanced fertilizer or one high in nitrogen to promote leaf growth. Follow the instructions on the fertilizer packaging for best results.
Conclusion for elephant ear turning yellow.
In conclusion, if the leaves of your ear plants turning into yellow is one of the issues for you then it is because of many reasons such as root damage, over-watering, full sunlight, and improper nutrition. Follow the remedies of this article on the basis of your problem.