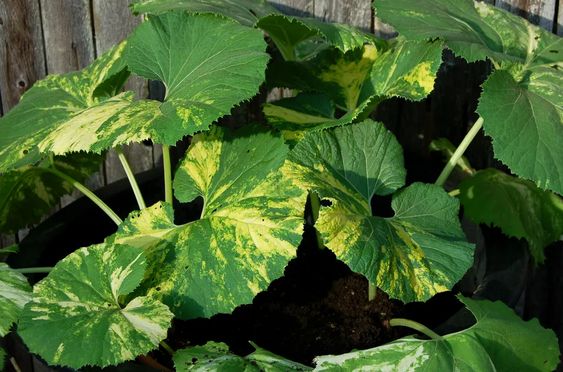
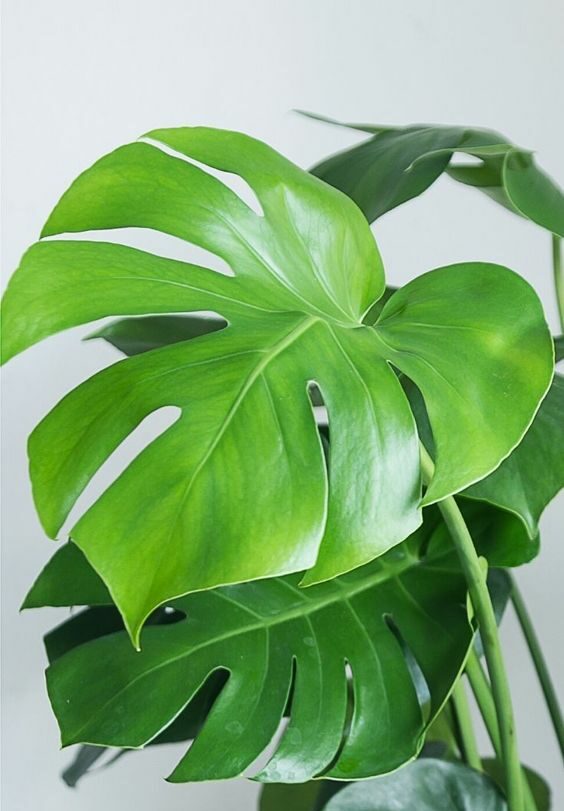
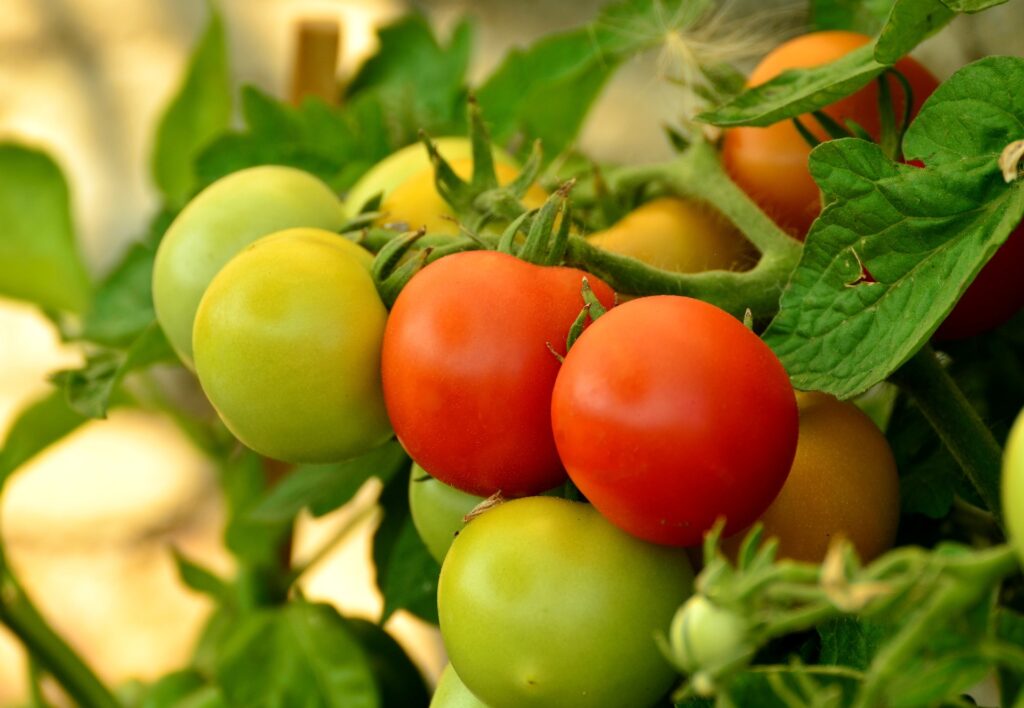
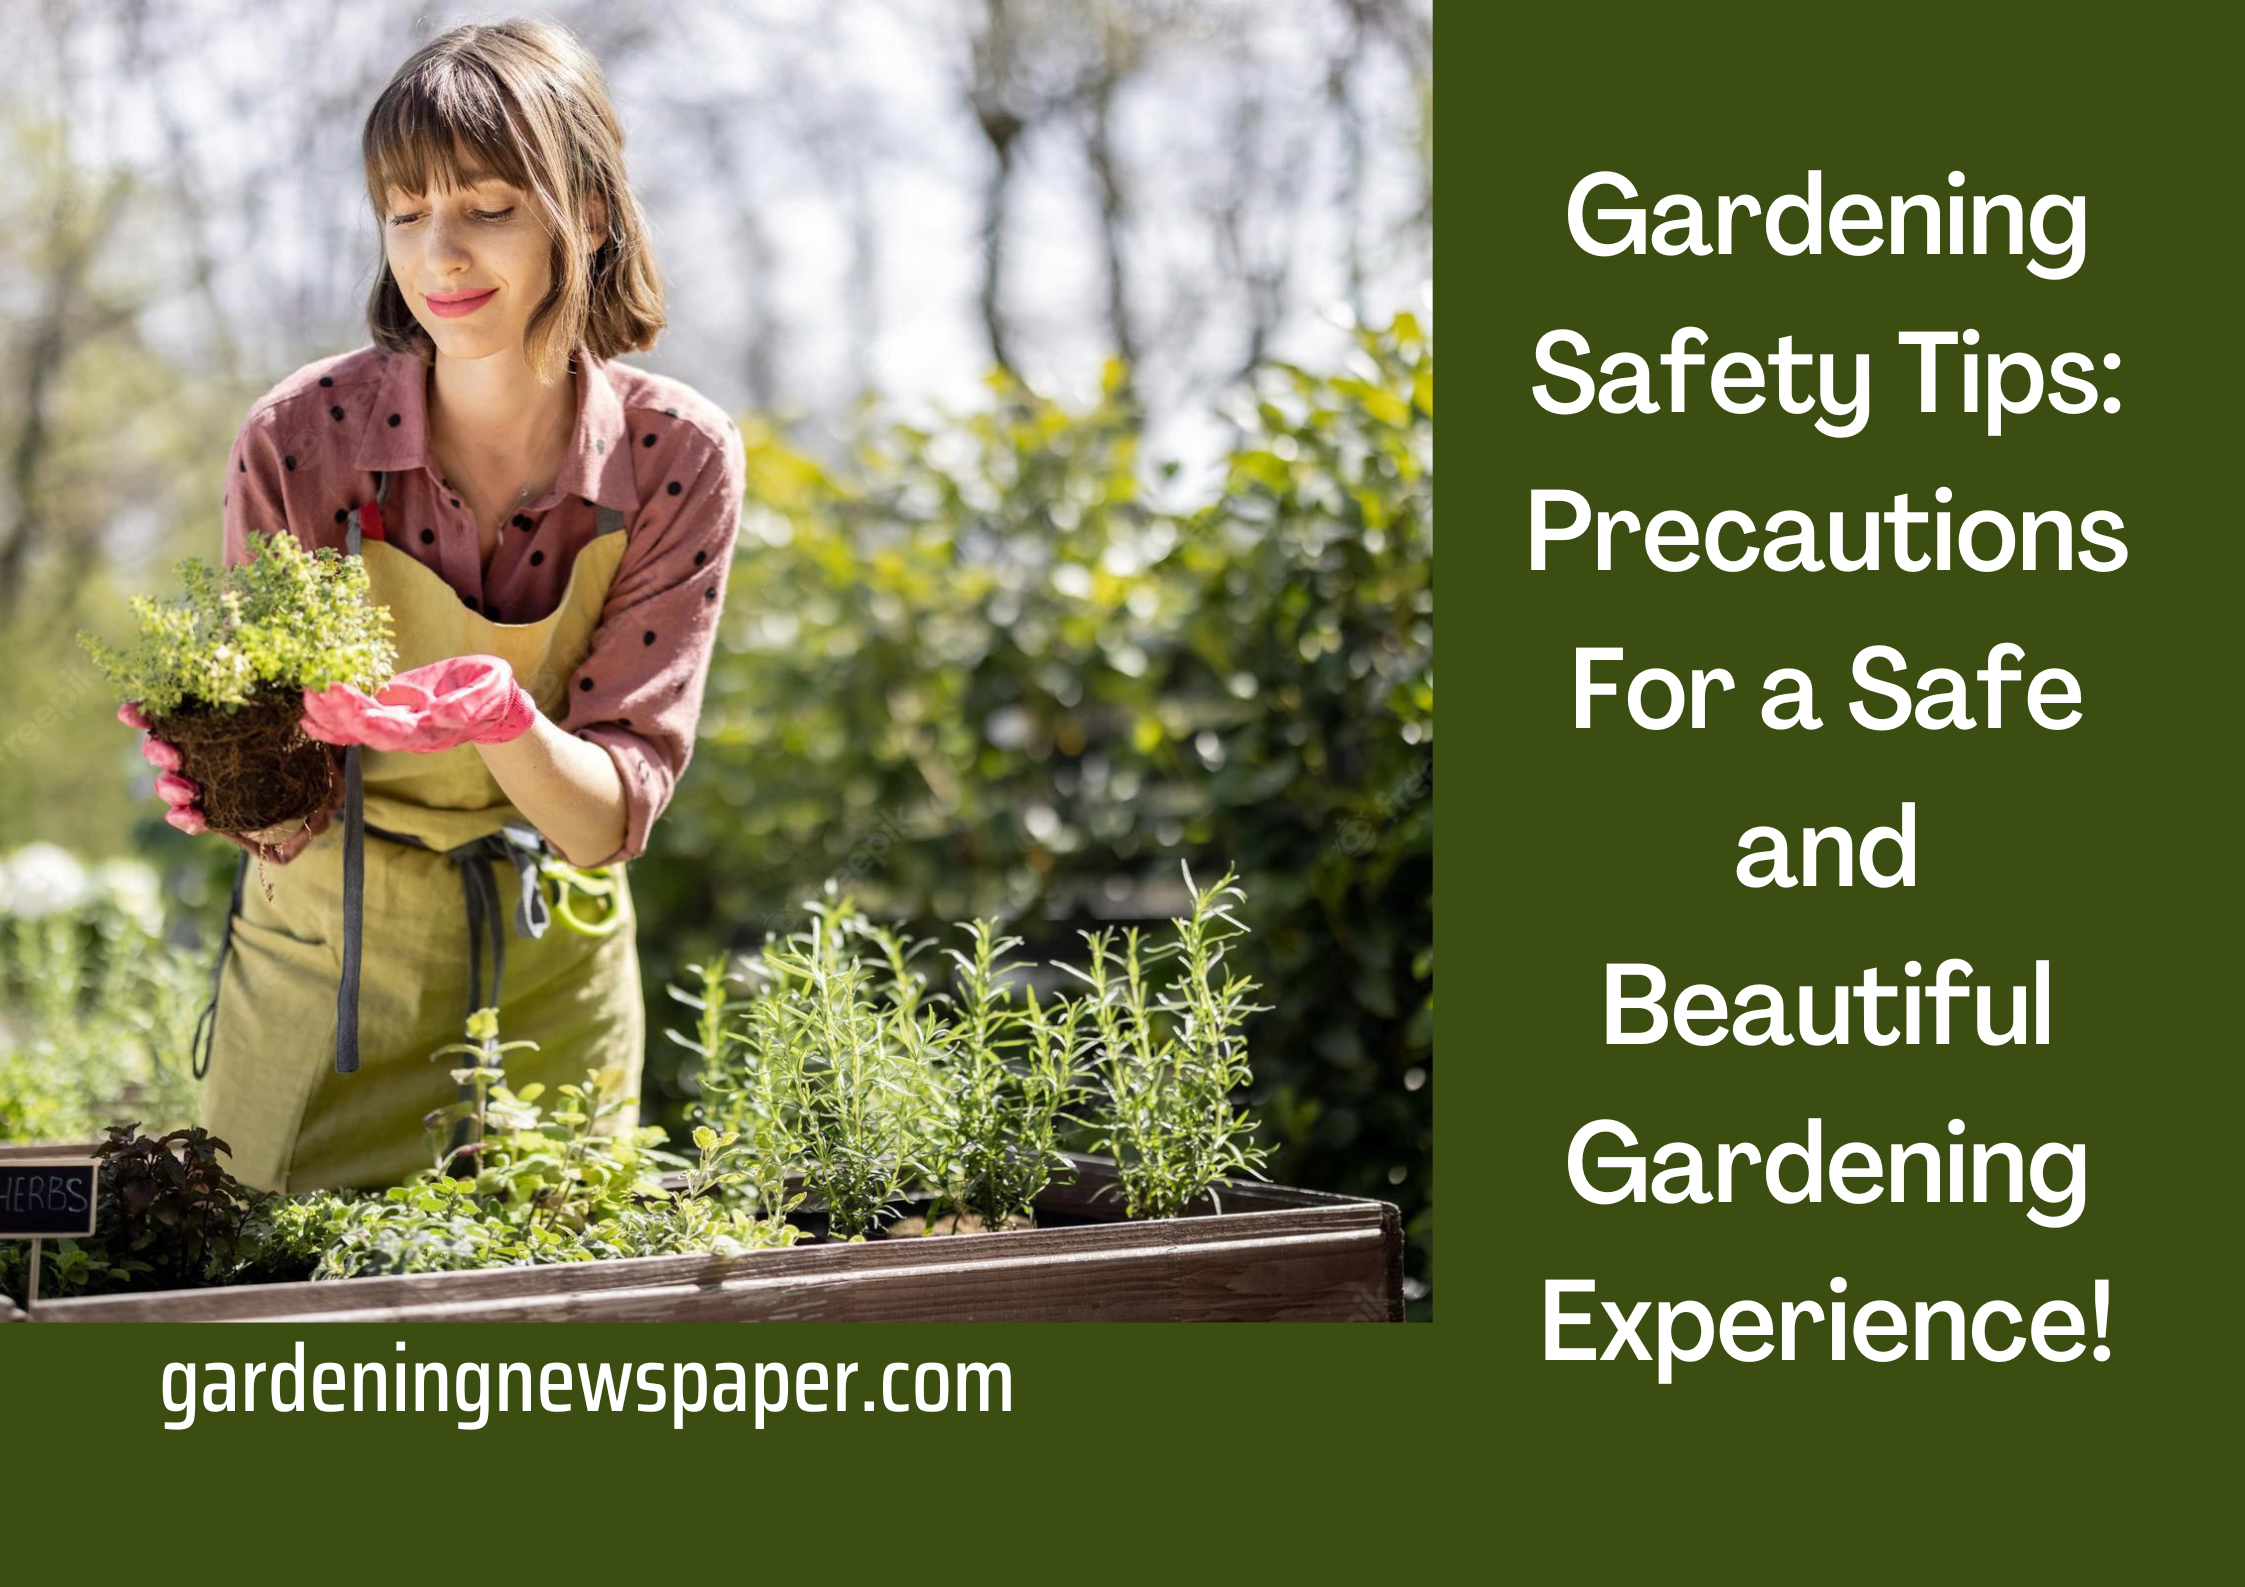
Gardening Safety Tips – Precautions For a Safe and Beautiful Gardening Experience!
We, gardeners, believe that everything that belongs to nature is pure and sacred. This is true and that’s the reason we can work with nature to build our natural spaces in the form of home lawns and terrace gardens. Gardening is often considered a safe hobby and majorly it is but it can certainly lead to illness or injuries if you are not careful with the tools, or even some varieties of plants.
Unfortunately, safety and self-care are often taken for granted while gardening. Let’s understand some of the most important gardening safety tips, self-care routines after gardening, and life-saving tips on gardening equipment safety. Happy reading and happy gardening to you!
5 Safety Practices in Gardening – Gardening Equipment Safety
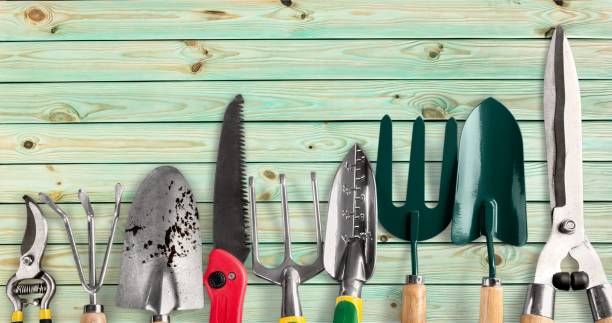
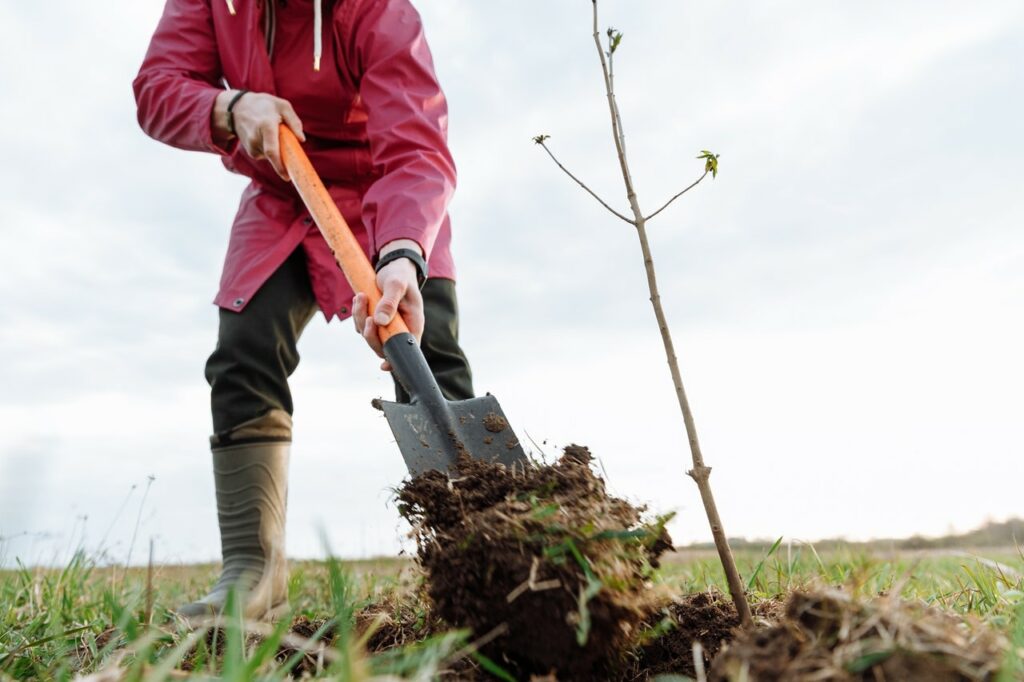
Before we begin discussing gardening safety tips, one of the most important tasks that we need to do is inspect the gardening tools that we use. The safety suggestions include the various things from the beginning to the steps for inspecting your tools. Take a look before you take a leap into actual gardening.
- If you are a beginner in gardening, we advise you to attend a class on using various gardening tools, safety measures, their uses, etc., or learn from an experienced gardener.
- Check for damages in your gardening tools. before you start working with them
- Check for cuts, breaks, molds, etc. in the handles of your gardening tools before working with them.
- Wear protective eye glasses while working closely with sharp gardening tools.
- Also, it is always best to wear gloves while working with gardening tools, lawn movers, etc.
Gardening Safety Tips – Backyard gardening safety precautions to be observed
Well, we tend to learn some of the most important things in life only after we experience them. So, the smartest thing that one can do is to learn from others’ experiences. Since we think that you are smart enough to grab these life-saving garden safety tips, let us dive right into the topic!
Wear Gardening Gloves
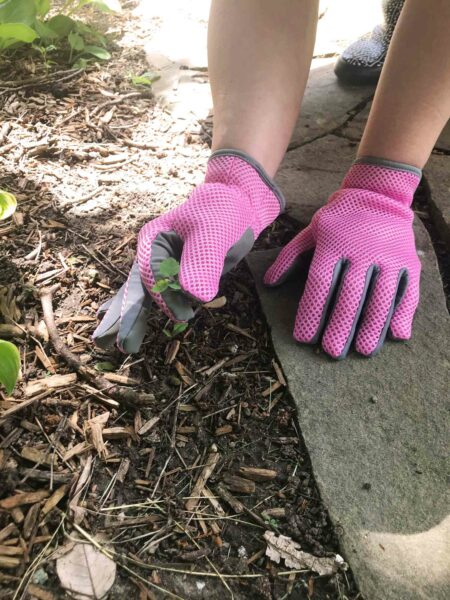
The thing about gardening is that you can never know what you will begin to do in your garden.
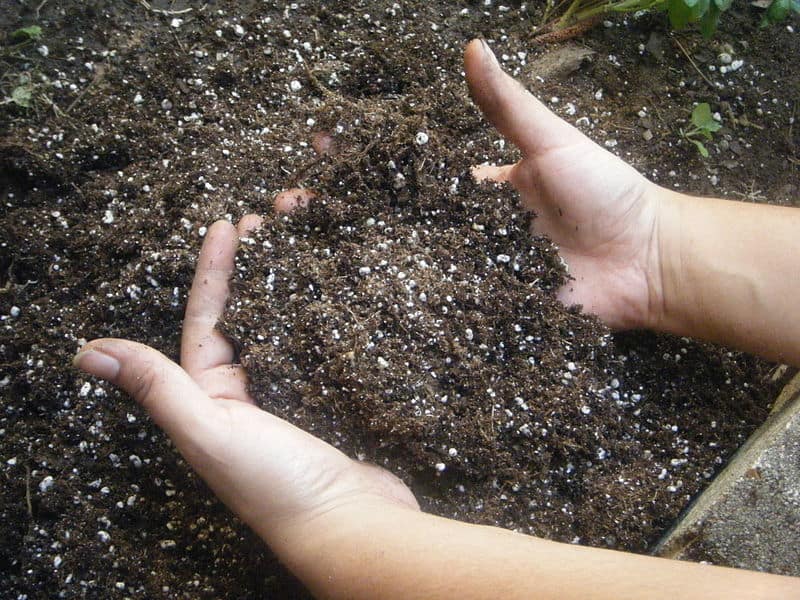
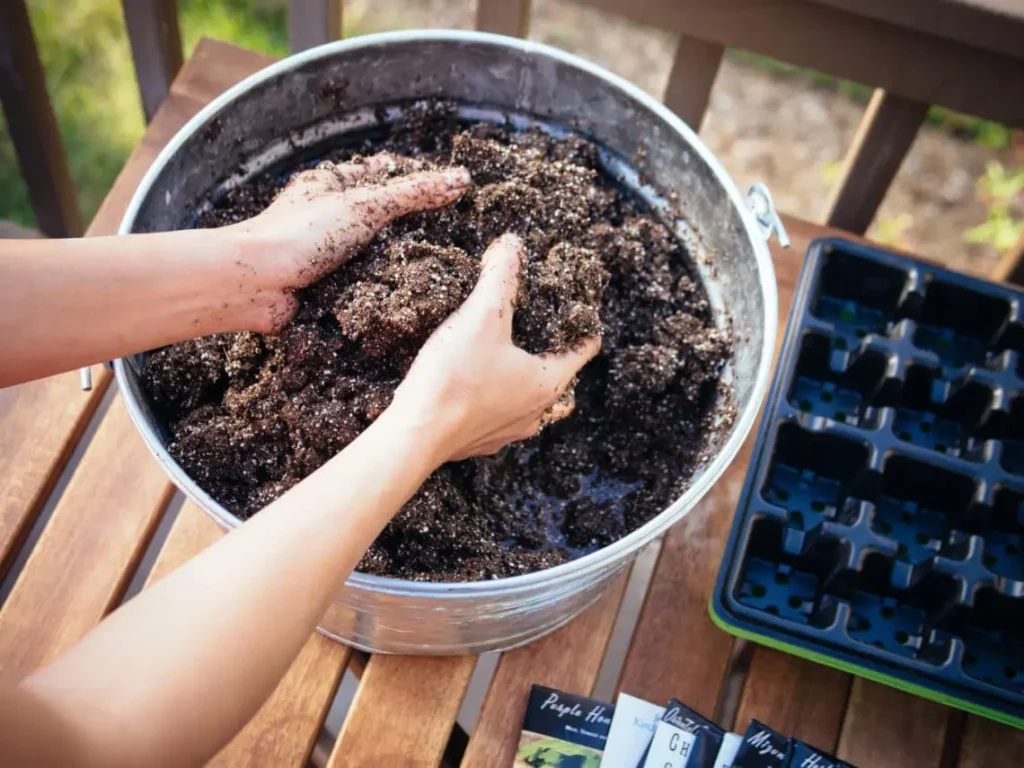
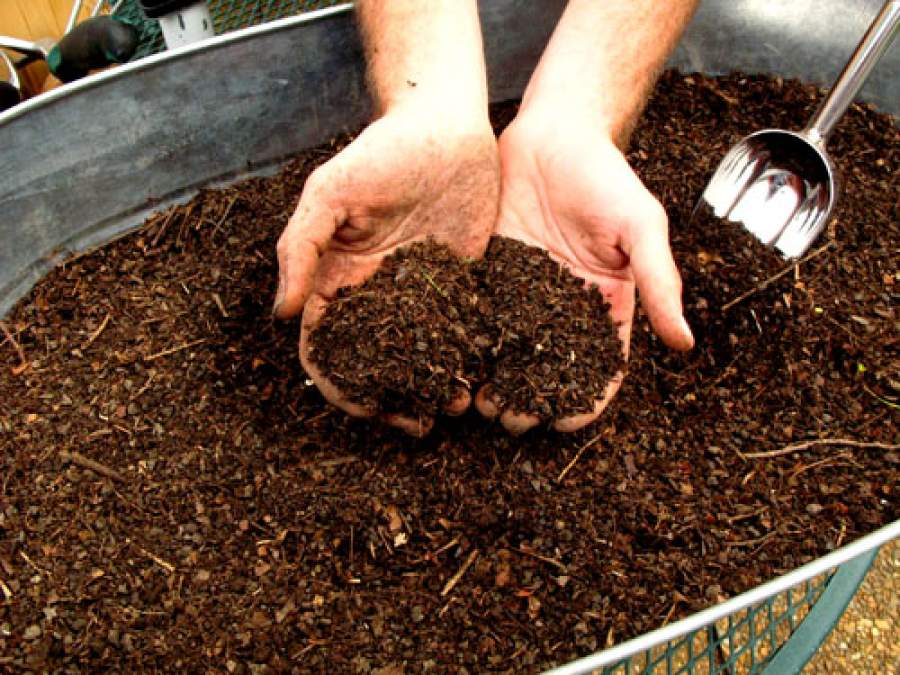
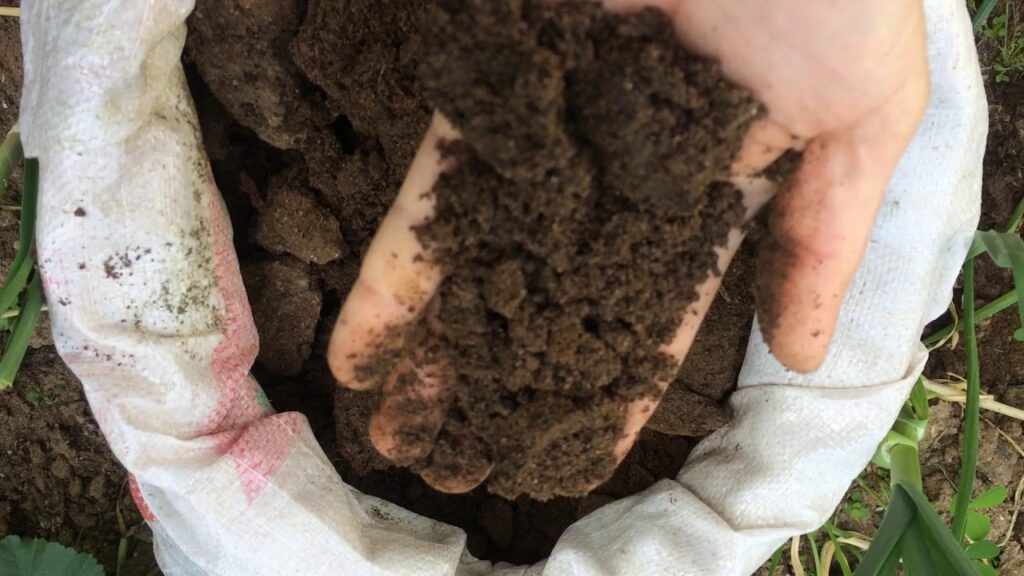
- Plant lovers love to feel the texture of the soil with their bare hands but wearing gloves protects me from nicks and cuts, sharp tools, blisters, fertilizers, pesticides, bacteria, viruses, and fungi.
- Buying a good-quality garden glove is worth an investment.
Wear protective clothing
Whenever you are up for gardening, make sure you have a separate set of clothing for the purpose.
- Wearing a simple apron can protect your clothes and you from direct exposure to any unwanted materials that may be harmful to your body.
- Wearing a long sleeve top, with a cap can be of additional help.
- Wearing safety goggles while cutting, pruning, and drilling is an absolute must for the protection of your eyes. Better safe than sorry.
Wear mask
If there is one thing the Wuhan virus pandemic has taught everyone is to wear a mask. So, why wear a mask while gardening?
- It saves you from dust/droplets/pollens which can be a cause of allergic reactions plus asthma attacks.
Use right tools
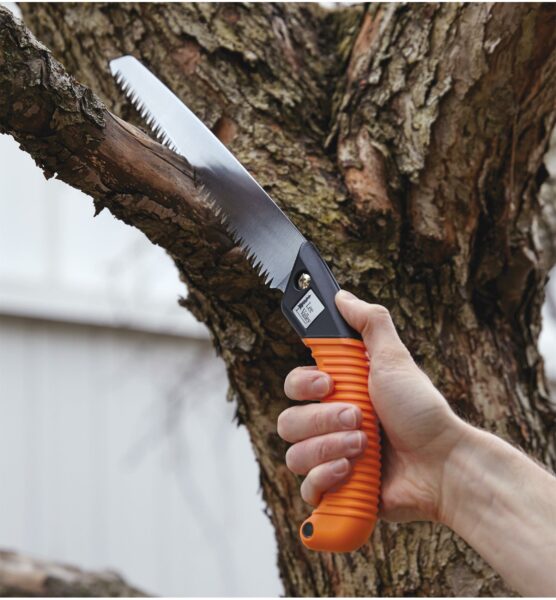
Choosing the right tool for the right job can help you prevent a lot of fatigue during gardening and injuries.
- For example: while a pruning shear is used most frequently, using a pruning saw for thicker branches is efficient, saves your energy, and is safe.
Correct body posture
While you are fully involved in gardening chores it is easy to get into the habit of working with incorrect body postures. We don’t blame you for that! It is all in the happiness and pleasure that gardening gives you.
- Pay attention to your postures while doing heavy-duty tasks like lifting pots, and stretching your body to reach difficult-to-reach places.
- You should not use your back to carry heavy objects. You can emphasize your legs and keep the load close to your body when carrying.
- Avoid bending your back, instead, try kneeling as it will put less strain on your back. For extra comfort, you may choose to wear knee pads.
Avoid working under the hot sun
Everyone loves the sun but gardening in extremely hot weather is a big no-no!
- Plan your gardening activities according to the season and time of the day.
- Working in hot weather can lead not just to tanning but can also badly dehydrate your body, which may lead to serious health issues.
Work in breaks
You may have just ten plants or a hundred of them in your garden, if you get caught in the habit of working till you are dead tired, you may end up doing a lot of harm to your body in the long run. So use this pro tip for almost everything you do in daily activities including gardening and thank us later!
- Take breaks while working in the garden. You can use a Pomodoro timer.
- Make sure to work in slots of 25 minutes and then rest for 5-10 minutes.
- After about 4 such intervals, take a longer break for 15-30 mins. This way your body does not get tired and at the same time, you can finish the task at hand more efficiently.
Drink water
Even if you are not working under the hot sun, getting yourself hydrated at regular intervals is extremely important.
- Make sure to keep a water bottle at a distance. As soon as your Pomodoro rings, go have a gulp of water between your gardening sessions.
Self-Care Tips while Gardening
Safety and self-care go side by side in terms of gardening. Caring for yourself is important before you think of going into your garden the next morning. Well, you can not pour from an empty cup after all! Over the years, you will learn that putting yourself first not just helps you stay hygienic and healthy but also protects your home and family, and of course your beautiful garden.
Washing hands
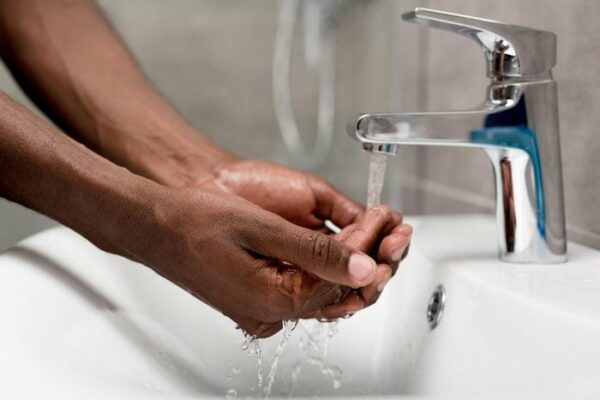
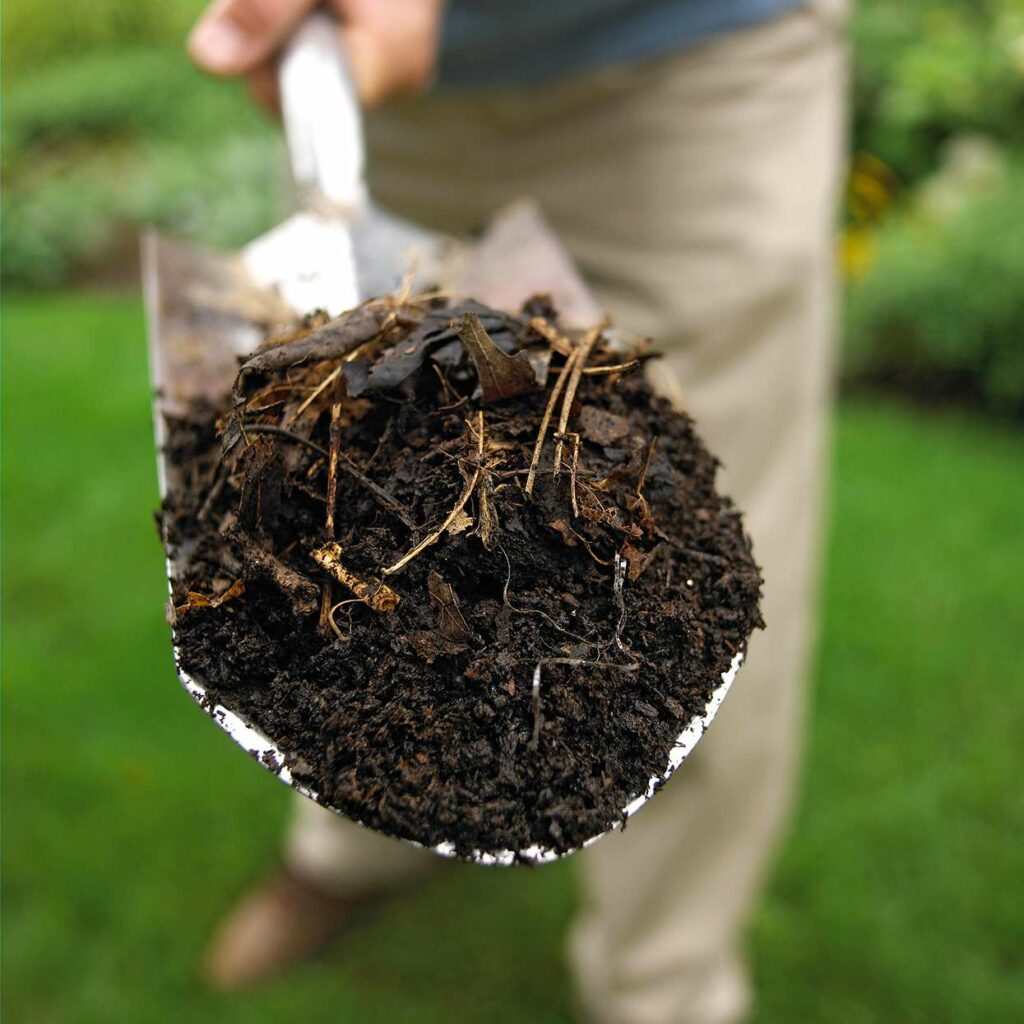
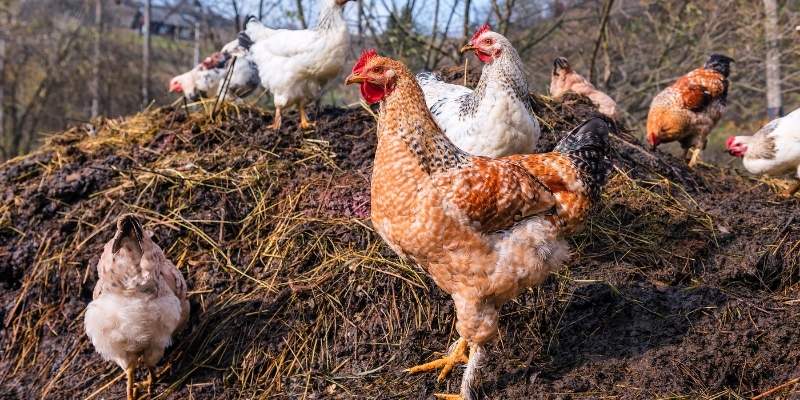
As simple as it sounds, washing your hands is the first line of defense against viruses like tetanus (present in the soil), E. coli (cow manure), etc.
- Whenever you are back from your garden be it just a casual walk while inspecting your plants, touching leaves, or checking the soil, always remember to wash your hands with soap.
Nails Trimmed
Do you ever recall your school days or the hygiene lessons that your mum taught you? The most important lesson at school that we forgot is to keep our nails always trimmed.
- Believe it or not a majority of disease-causing pathogens found in different organic matter go inside our bodies because it gets stuck in our nails and sometimes even after a good handwash, it is not cleaned.
- Well, we are not against your acrylic and gel nail sessions! But as a gardening lover, you need to keep your nails clean all the time.
Take a shower
Taking a shower after a good tiering session of gardening has two benefits!
- After working in the garden for a couple of hours, a good shower will not only relax you but will also clean and protect you against a lot of unhealthy substances that you may have come in contact with while working in your garden.
Skincare
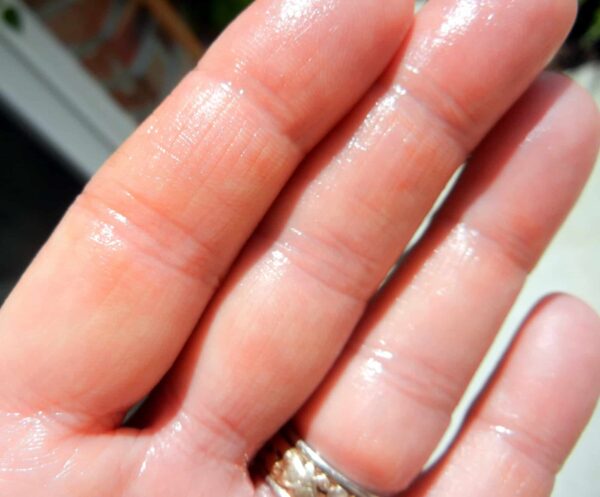
Any experienced gardener would say that rough hands and cracked heels are not something you can avoid while gardening. You won’t want to touch your beloved or children with those rough hands of course!
- Applying a deep moisturizing lotion after you wash your hands or shower and some cream on the heels will protect your skin from getting rough and cracked.
First-aid
Well, having a first aid kit at home is all things fine, but we recommend having one first aid kit handy in your garden is extremely important.
- You can even have some cotton balls, a tube of anti-septic lotion, and a couple of bandages stored in a container. Tightly close the container with the lid and store it on the top shelf of your tools rack!
Don’t push your limits
Some of the studies from various universities across the world prove that having a garden and working on it is therapeutic and it can certainly help you feel better and recover faster from any kind of illness. However, pushing your limits to work in your garden even when your body is not cooperating much is not advisable, for obvious reasons!
- Give your body some rest if you feel exhausted due to various things in life. You may give the responsibility of simple things like watering the plants, etc to your children or your spouse for a day or two and that’s okay!
- Taking a walk, or just sitting in the middle of the garden while you are not feeling well is quite necessary for your to have a quick recharge.
Gardening is the most therapeutic activity one can ever pick up as a hobby or a passion. We hope that this article on gardening safety tips could share some knowledge about some of the most important tips on gardening tools to keep yourself as safe and beautiful as your garden is!