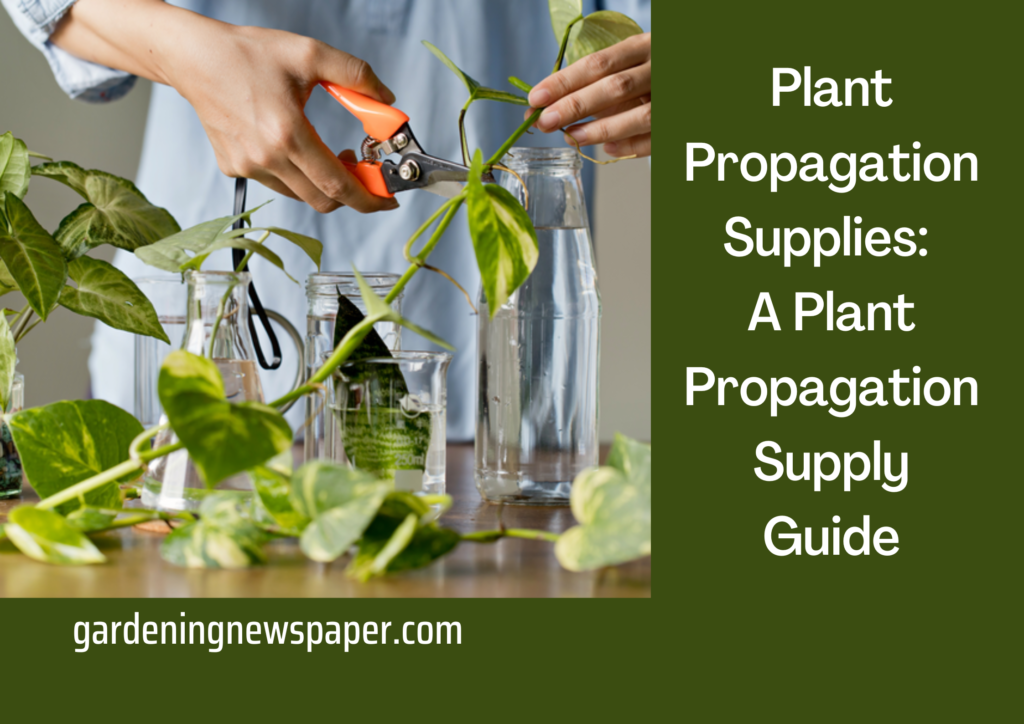
Plant Propagation Supplies: A Plant Propagation Supply Guide
Propagating plants is a great way to multiply your plants without having to purchase new ones. It can also be a fun and rewarding experience.
There are a few things you will need in order to successfully propagate plants. These include a growing medium, pots or containers, plant food, water, and patience! I will go into detail about each of these things in future posts. For now, we hope this gives you a general idea of what you need to get started with plant propagation.
Introduction to Plant Propagation
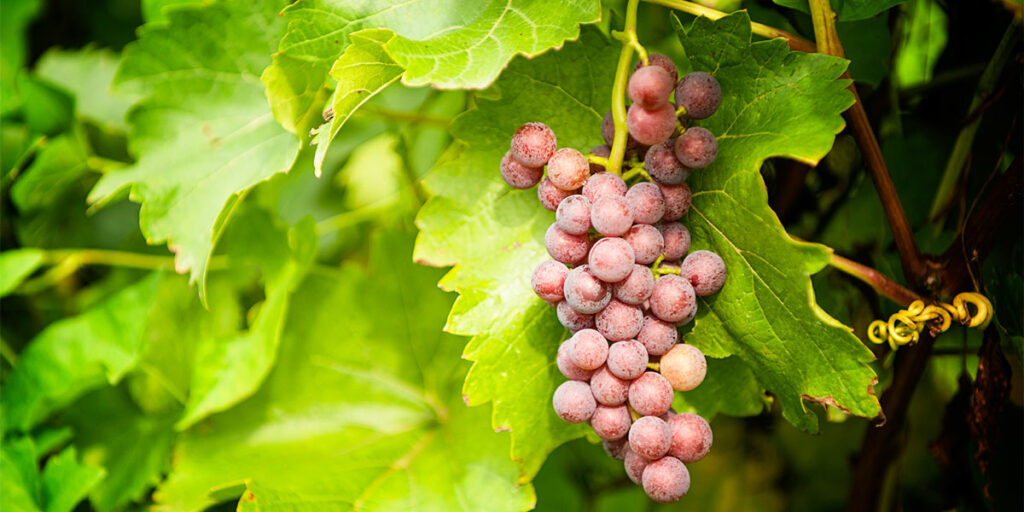
Plants can be multiplied vegetatively, such as through seeds, cuttings, or division. Although certain plants are easier to propagate than others, most plants may be done successfully with some practice.
- Use of clean, sterile propagating equipment is among the most crucial considerations when propagating plants. Your plants will have the best chance of success and the spread of illness will be curbed.
- Despite the wide variety of plant propagation products available, starting off doesn’t require a big financial commitment. A pair of razor-sharp scissors or a knife, some pots or trays or propagation trays, and some potting mixes are all you need to get started.
- When you have everything, you need, you can choose the propagation method that is best for the plant you want to grow more of.
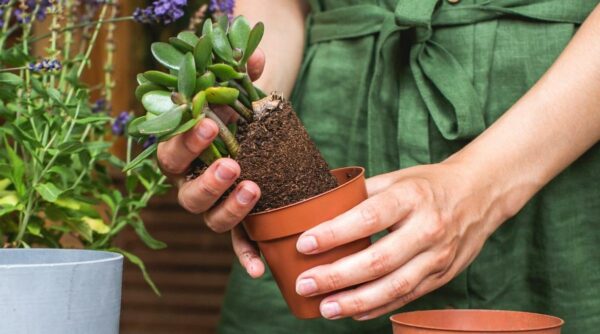
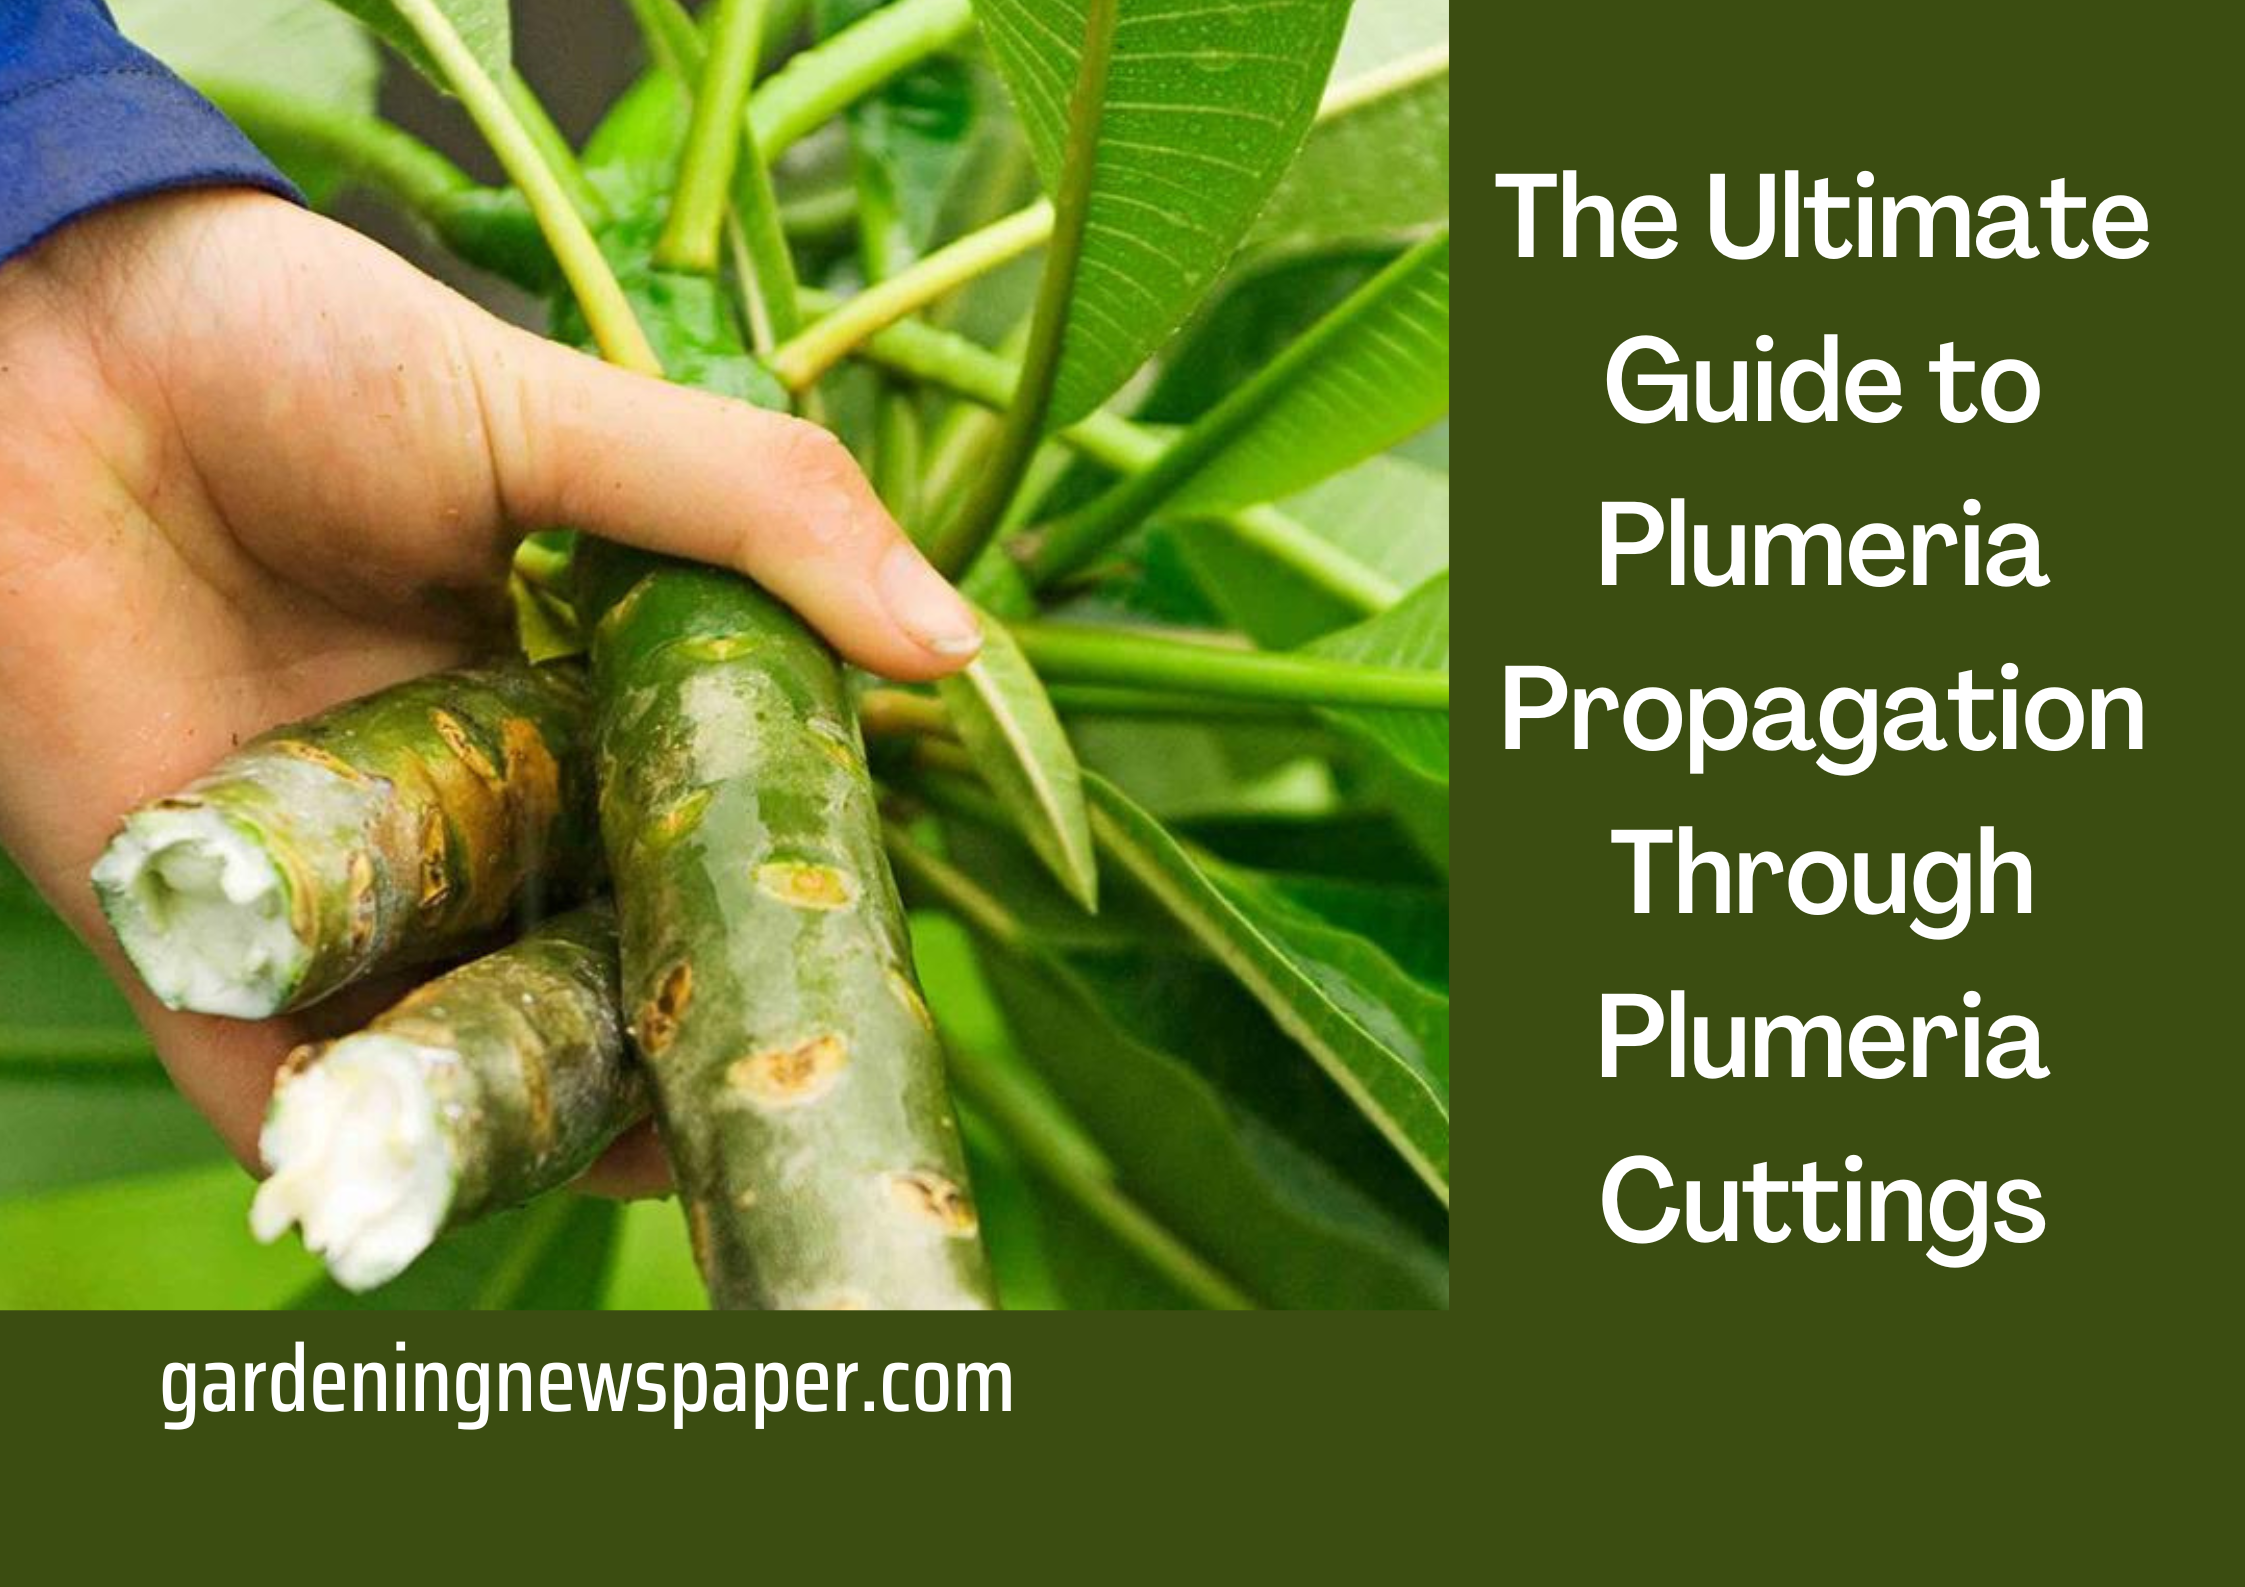
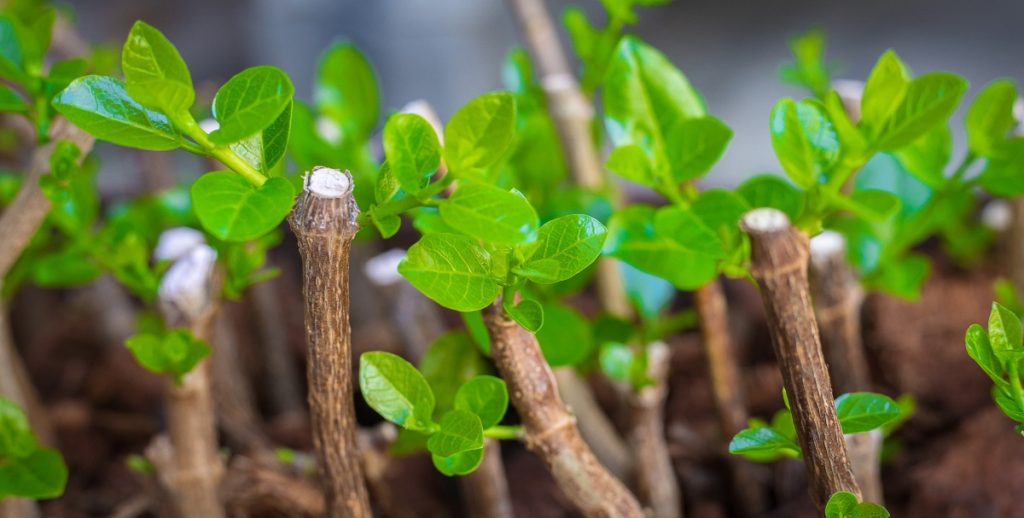
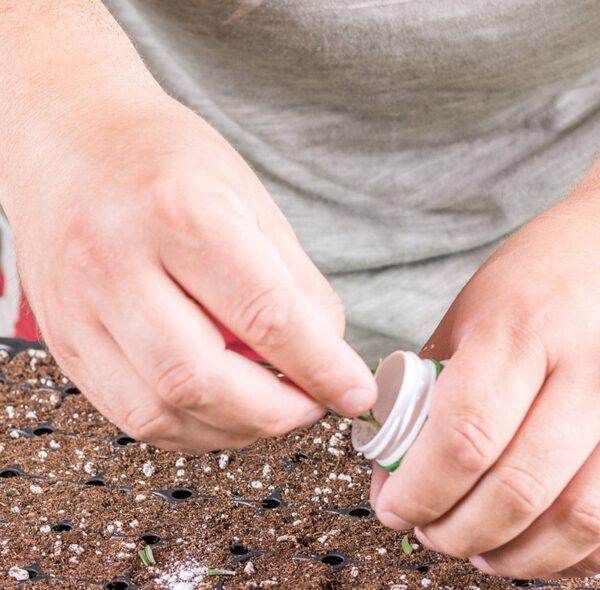
- You must cut or divide some of the parent plants after deciding on your technique of plant propagation. Divisions should be produced while the plant is dormant, and cuttings should be obtained from healthy, non-flowering stems.
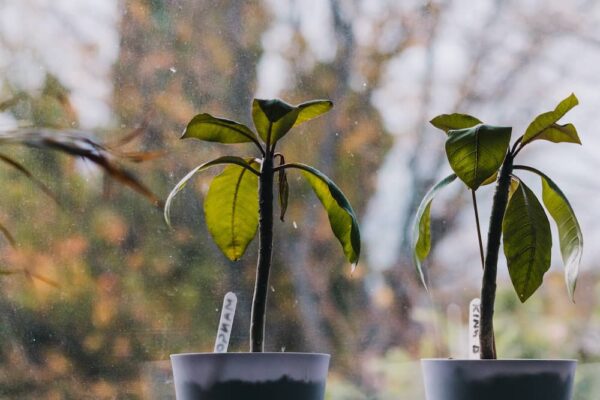
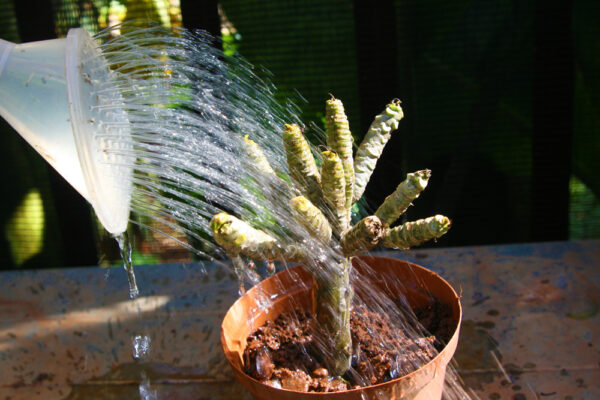
- It’s critical to pot up your cuttings or divisions as soon as possible after taking them and covering them up. Use sterilized potting soil and give it plenty of water. Keep the compost moist but not damp in your pots or trays and place those trays in a warm, well-lit area.
It can take several weeks or months for plants to successfully root and establish themselves, so be patient and don’t be tempted to give up too soon. With a little care and attention, your plants should soon be ready to plant out in the garden.
Why is Propagation Necessary?
Plant reproduction, which involves growing new plants from existing plant material, is required for a number of reasons, including:
- Plant reproduction and the development of new individuals are made possible by plant propagation. The sustainability of plant species depends on preserving genetic diversity within plant populations.
- Crop production: Plant propagation is a crucial component of horticulture and agriculture since it enables the mass production of edible and ornamental plants. Farmers and growers can create several plants with desirable features by using plant propagation procedures like cuttings, grafting, and tissue culture.
- Preservation of uncommon and endangered species: Plant propagation can also help to protect rare and threatened plant species. It is feasible to preserve genetic variety and stop the extinction of these species by multiplying these plants and producing new individuals.
- Modification of plant traits: Plant propagation methods can be used to change plant characteristics like disease resistance or yield. New plant types may result from this that are more adapted to particular growing circumstances or have features that make them better for human food or other use.
In general, plant propagation is an essential method for preserving rare and endangered species, generating crops and attractive plants, and creating new plant types with enhanced features.
Plant Propagation Techniques
To reproduce your plants, you can utilize a variety of plant propagation strategies. The more popular techniques include layering, germination of seeds, and re-rooting of cuttings.
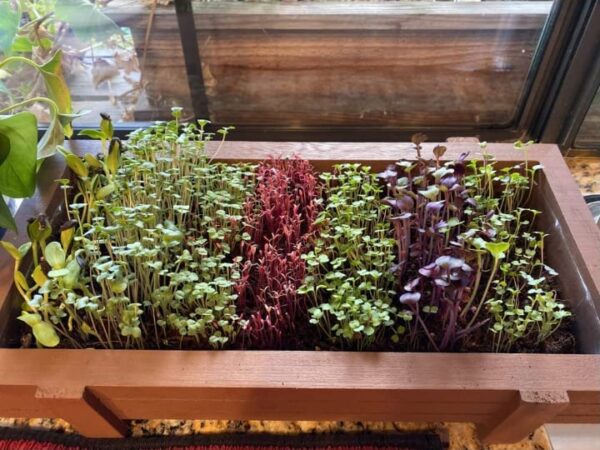
- Germinating seeds is the process of producing plants from seed. The most widespread technique for propagating annuals, biennials, and perennials is this one. Depending on the type of plant, seeds can be planted either indoors or outside.
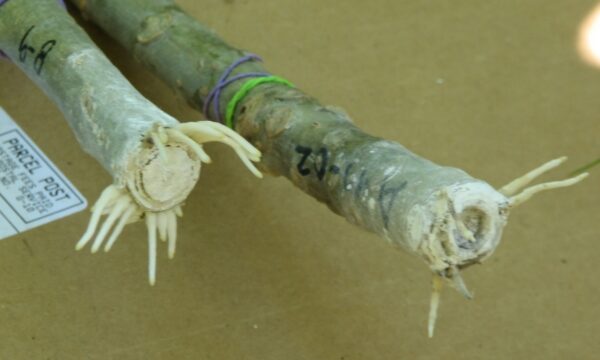
- Another common technique for plant propagation is root cuttings. From an existing plant, cuttings are removed, and they are then rooted in potting soil. This method is frequently applied to woody ornamentals like magnolias, hollies, and azaleas.
- Layering is a third propagation technique that can be used to multiply your plants. Layering involves taking a stem from an existing plant and burying it in the ground. The buried stem will then produce new roots, and a new plant can be propagated from the original. Layering is often used for shrubs, such as rhododendrons, camellias, and Forsythia.
Why Cloning Machines Are Used for Plant Propagation?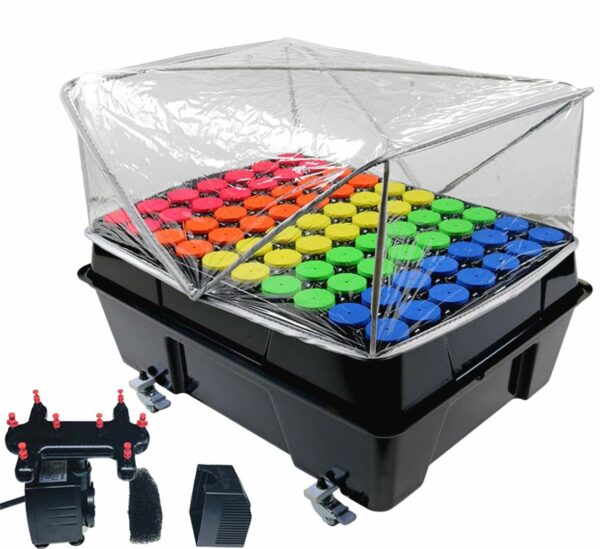
Cloning devices often referred to as hydroponic cloning systems or propagation tools, are frequently used for plant propagation because they offer a quick and easy approach to multiplying a mother plant into many offspring. The following justifies the usage of cloning machines in plant propagation:
Cloning machines offer a stable environment for the growth of new plants. To guarantee that new plants are growing in the same conditions as the mother plant, they regulate variables including temperature, humidity, and lighting. A better success rate in establishing roots and developing new plants results from this uniformity.
Rapid plant propagation is made possible by cloning devices. In comparison to conventional propagation techniques like seed germination, certain systems allow for the rapid development of young plants into transplant-ready plants in as little as a few weeks.
- Reliability: Cloning devices successfully create healthy young plants on a regular basis. This is due to the fact that the new plants are genetically similar to their mother plants and are raised under optimum conditions, which lowers the likelihood of illness and other issues.
- Saving space: Cloning machines are small and can grow several plants in a little area. They are therefore perfect for gardeners that need to produce a lot of plants yet have limited room.
Overall, using cloning machines to create numerous baby plants from a single mother plant is an efficient and effective method. They are a crucial tool for plant propagation in horticulture and agriculture because they offer a predictable environment, are dependable, and may generate plants quickly.
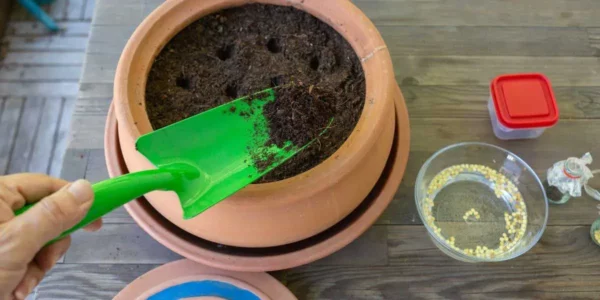
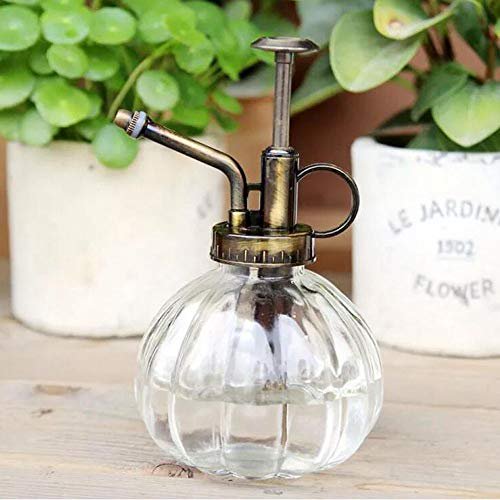
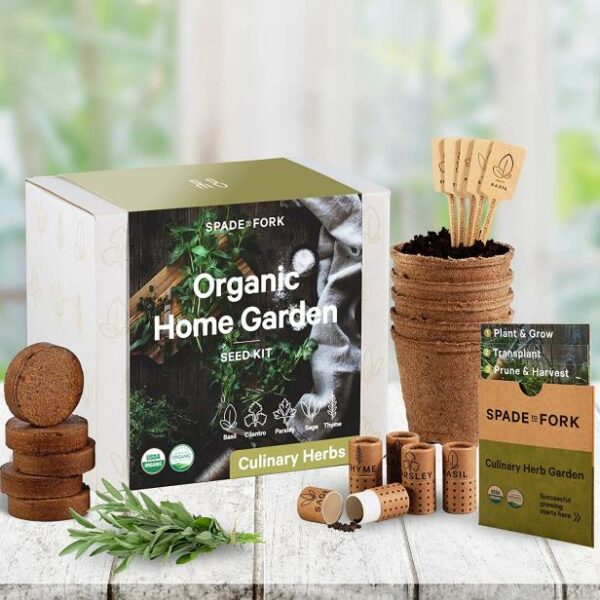
Plant Propagation Supplies
The equipment and materials used in the process of growing new plants from existing plant material are known as propagation supplies. Depending on the propagation technique being utilized, particular supplies may be required, but the following are some typical examples:
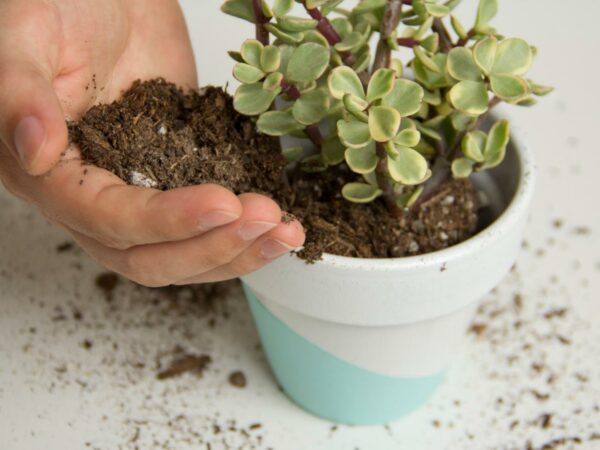
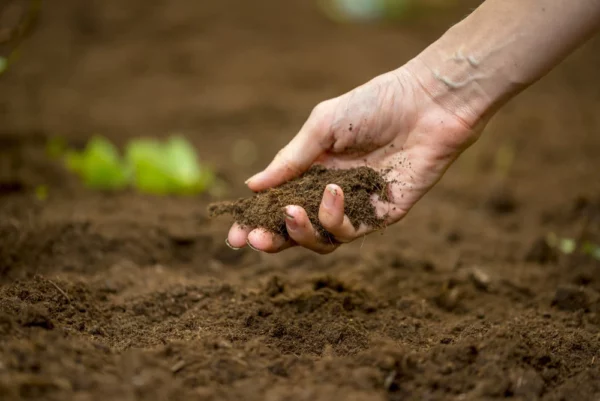
Growing medium:
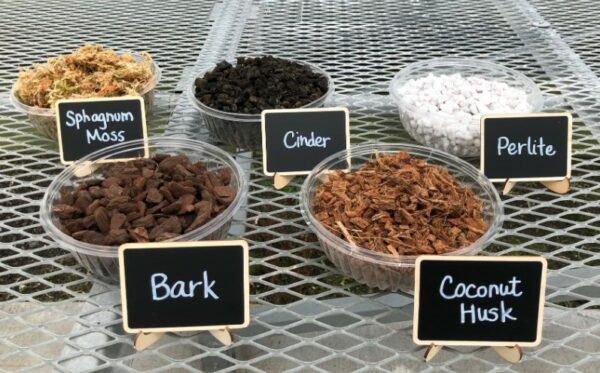
A growing medium is a substance used to nourish and nurture a young plant. Peat moss, perlite, vermiculite, and soil are examples of typical growing mediums as supplies.
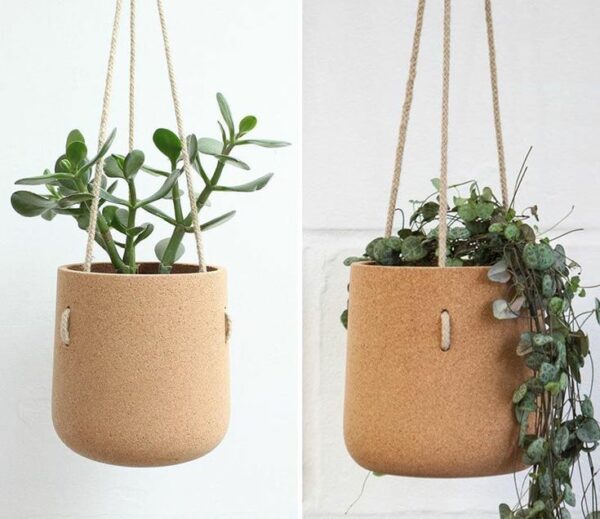
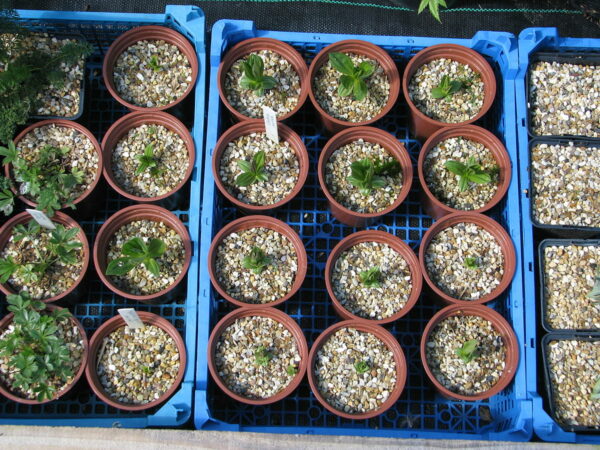
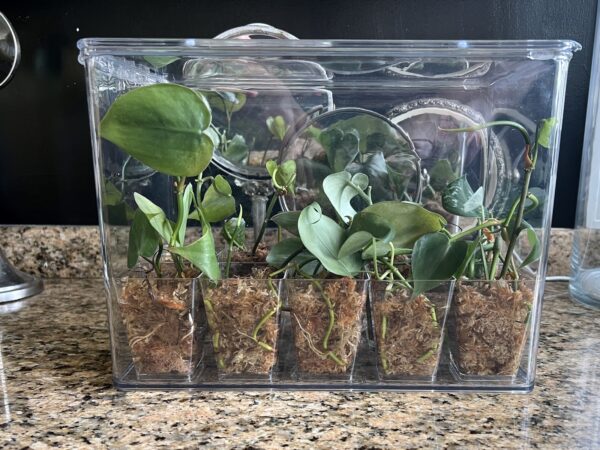
Containers:
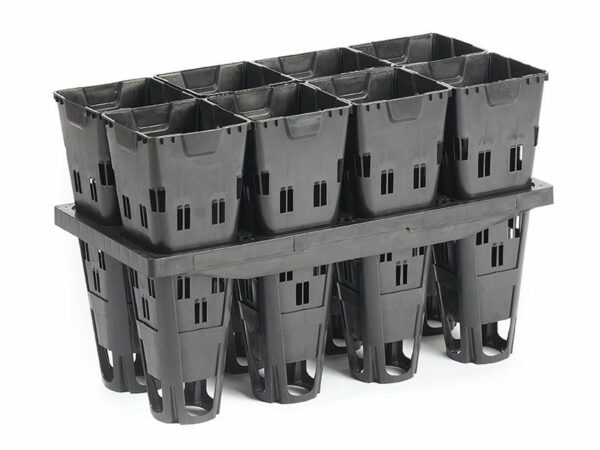
Growing media and fresh plants are stored in containers. These supplies can be little pots or big containers for several plants, and they can be made of plastic, terracotta, or other materials.
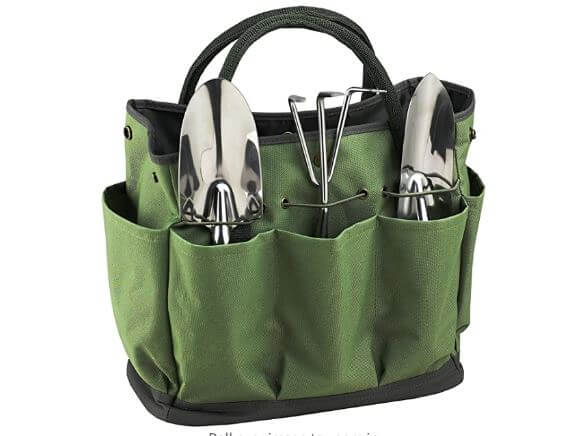
Cutting tools:
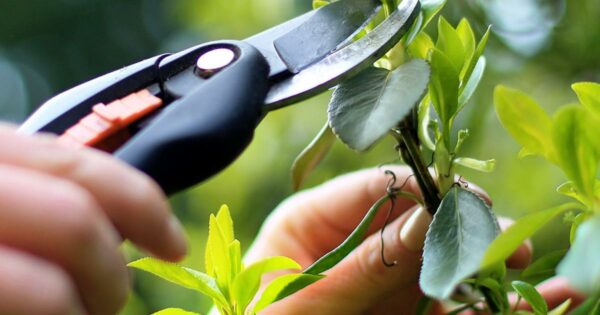
To take cuttings from the mother plant, sharp cutting instruments like pruning shears, scissors, and knives as supplies are required.
Rooting hormone:
Used to promote new roots to emerge from cuttings, the rooting hormone is a powder or liquid.
Heat mats:
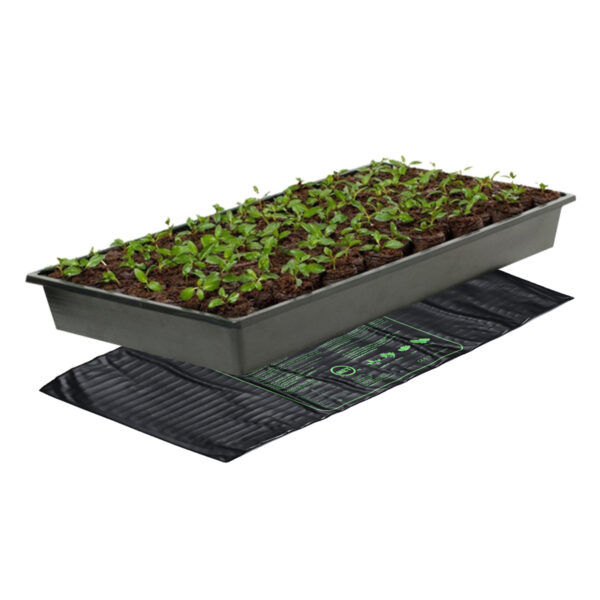
Heat mats are used to keep the new plants’ temperature constant, which can hasten their rooting and growth.
Humidity domes:
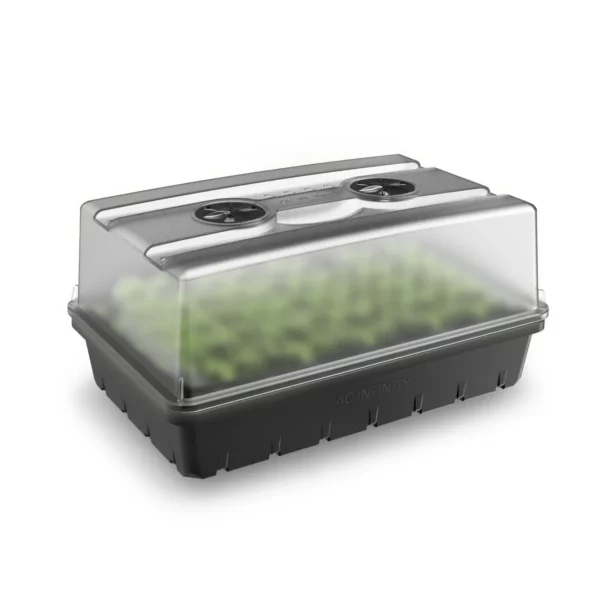
These plastic covers are placed over young plants to produce a humid atmosphere that can aid in the retention of moisture and the promotion of roots in cuttings.
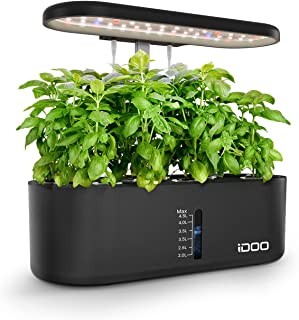
Grow lights:

Grow lights are used to give new plants artificial light, which is particularly crucial for indoor propagation or when there is a lack of natural light.
Overall, these supplies might vary based on the specific method being used, but they often consist of a container, cutting tools, rooting hormone, grow lights, and other equipment to provide the best conditions for new plants to root and thrive.
When propagation by cuttings, it is necessary to seal the ends of the cutting with wax, plant immediately, and keep moist. A rooting hormone may also be used.
Rooting hormone is one of the supplies obtained as a powder, liquid, or gel. The powdered form is mixed with water and often comes with a surfactant to help wet the surface of the cutting. The liquid hormone is applied with a spray bottle and the gel is painted on with a brush.
The use of rooting hormone increases the number of cuttings that will root, but not all cuttings will root even when treated with the hormone.
There are a few basic supplies that you’ll need for plant propagation:
- Pots or containers to hold your plants
- A growing path like soil, sand, or perlite
- A humidity dome or plastic bag to maintain moisture
- A tray to catch water drainage
You’ll also need some basic tools:
- A sharp knife or pair of scissors
- A pencil or chopstick for making holes in the growing path
Once you have your supplies gathered, you’re ready to start propagating your plants!
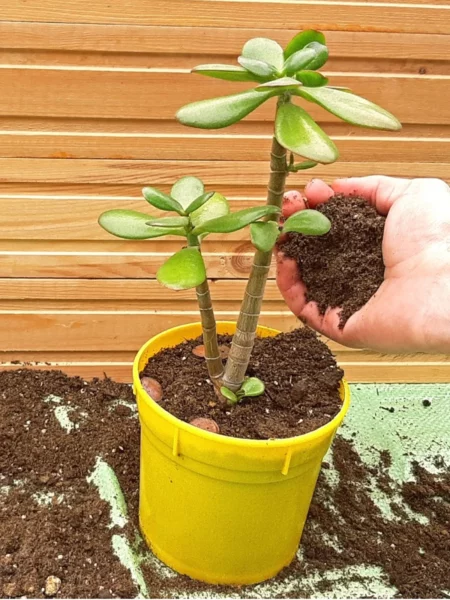
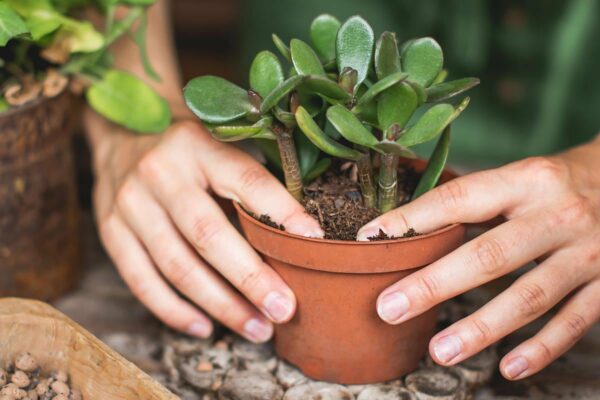
Containers for Plant Propagation
Plant propagation can be done in a wide variety of containers. Plastic container is the most typical kind of plant propagation equipment. These are available in a range of sizes, from little pots to big buckets. Some feature holes for drainage, whereas others don’t.
The paper pot is yet another useful container type. These are biodegradable and manufactured from recycled paper. They are available in a range of sizes, from little pots to big buckets. Some feature holes for drainage, whereas others don’t.
The biodegradable pot is a third form of container that can be used. These are constructed from degradable substances like peat moss or coconut coir. They are available in a range of sizes, from little pots to big buckets. Some feature holes for drainage, whereas others don’t.
Make sure the container includes drainage holes regardless of the kind you use. This will let extra water drain away and keep the roots from rotten from standing water. You can drill the drainage holes yourself if the container is missing them.
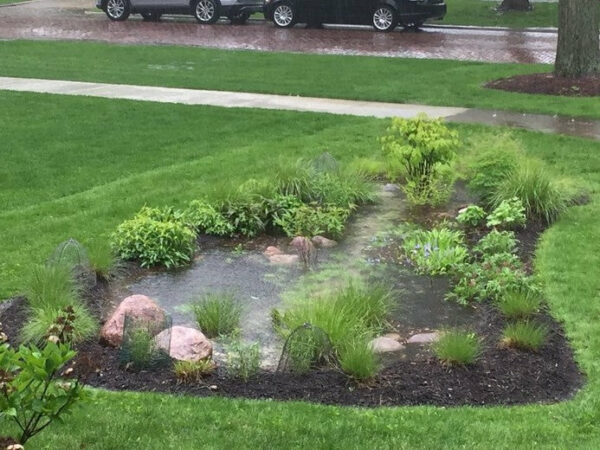
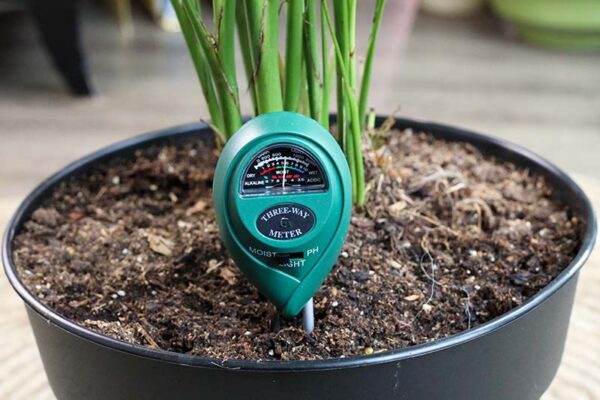
Growing Mediums for Plant Propagation
Plant propagation can be accomplished using a wide range of methods and supplies. A key component in propagation is the growing media. The plants will be rooted in and grow in this substance. Because there are so many options, it is crucial to choose the optimal growing medium for your needs.
Among the most prevalent types of growth mediums are soil, sand, vermiculite, and perlite. Soil is a common natural substance found in gardens. Considering how easy to locate and inexpensive it is, it is widely utilized for propagation. Working with the soil, though, can occasionally be challenging and heavy. Sand is a further choice that is usually used for dissemination.
It is lightweight and easy to work with, but it does not retain water very well.
Volcanic ash is used in the production of vermiculite and perlite, respectively. They are effective options for propagation since they are both light and absorbent. Vermiculite, though, can occasionally cost a little more than perlite. When selecting a growing medium, the pH level is a crucial factor as well. Although this might vary depending on the plant, most plants like a pH range of 6.5 to 7.0.
Consider the requirements of the plants you are propagating while selecting a growth medium. For the majority of plants, soil is an excellent choice, but there are alternative materials that can be used.
Plant Support Systems
It’s crucial to employ the right supporting system while propagating plants in order to maintain the plant in place. Choosing the best plant support system for you might be challenging because there are so many different kinds on the market.
1. Stake
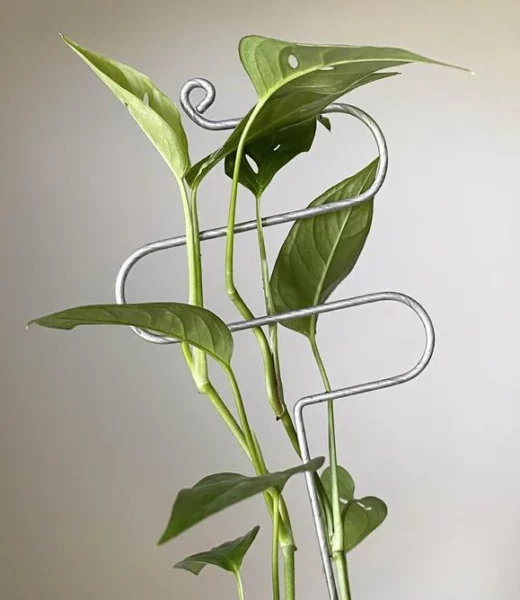
The stake is one sort of plant support system. Stakes are easy to use, cheap, and effective for plants that don’t require much support. They come in different sizes and can be made of metal, wood, or bamboo. Stakes’ biggest drawback is that, if not utilized properly or when used with heavy plants, they can harm delicate plants.
2. Trellis
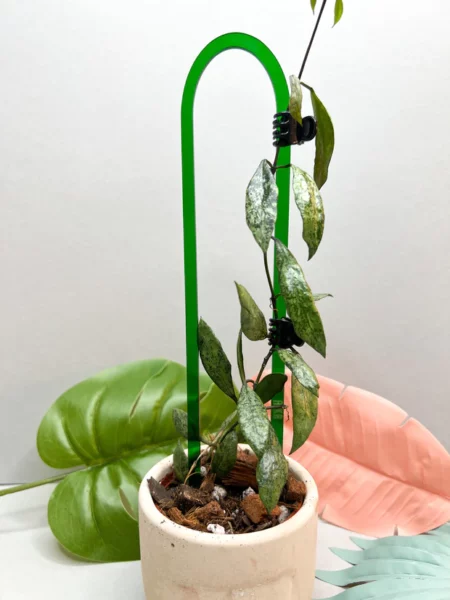
The trellis is yet another sort of plant support structure. A metal, wood, or plastic frame called a trellis is used to support climbing plants. Usually, it has a number of horizontal bars around which the plants’ stems can be wrapped. Trellises are available in a range of sizes and can be used both inside and outside. Trellises’ primary drawback is that they can be pricey.
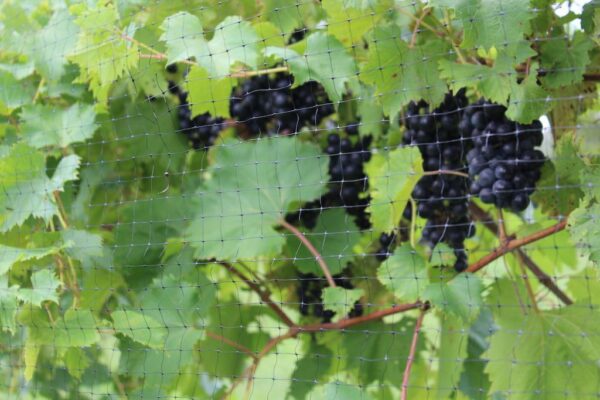
3. Netting
A third type of plant support system is netting. Netting is made from cloth or plastic and is used to support plants that grow in a radial pattern, such as tomatoes or cucumbers. It comes in a variety of sizes and can be used indoors or outdoors. The main disadvantage of netting is that it can be difficult to install correctly.
Finally, there are also plant rings and cages. Plant rings, which may sustain trees and shrubs with extensive root systems, are composed of metal or plastic. Plant cages, which may hold tiny plants like flowers or herbs, are often composed of plastic or metal. There are several sizes available for both rings and cages.
The size, kind, and environment of the plant you are propagating, as well as the temperature and habitat in which the plant will be developed, should all be taken into account when selecting a plant support system.
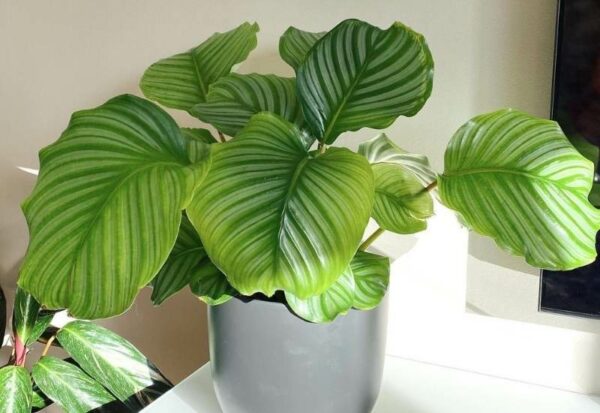
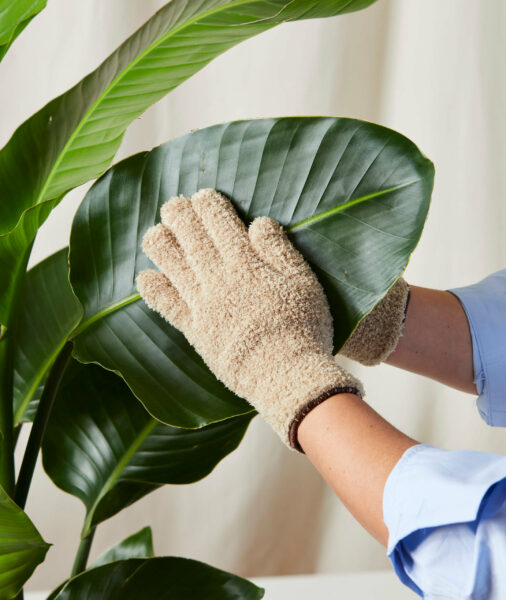
How to Grow Healthy Plants?
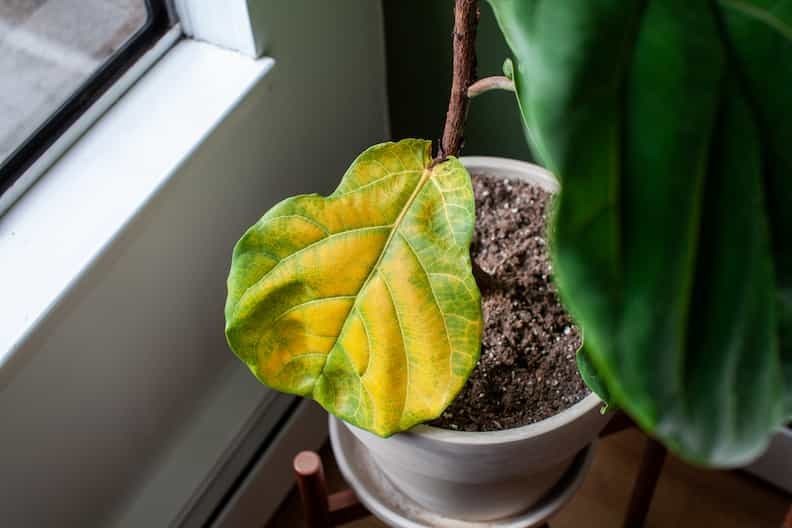
Creating the ideal conditions for growth, giving plants the care, they require, and attending to their unique requirements are all necessary for producing healthy plants. It’s crucial to offer enough light, hydrate properly, utilize quality soil, provide the right nutrients, keep an eye out for pests and diseases, and maintain the right humidity levels in order to develop healthy plants.
Every plant has different requirements, thus it’s critical to learn about and comprehend the particular demands of the plants you are growing. Your plants can flourish and produce lovely leaves, flowers, and fruits if they are given the proper growing conditions and attention.
What is HTG Supply?
HTG Supply is a company that specializes in providing equipment and supplies for indoor gardening, hydroponics, and plant propagation. The company was founded in 2002 and is based in Golden, Colorado.
HTG Supply offers a wide range of products for both commercial and personal use, including grow lights, hydroponic systems, growing tents, environmental controls, and plant propagation supplies such as cloning machines and rooting hormones. They also offer a variety of nutrient and supplement products for plant growth and health.
In addition to their online store, HTG Supply has several retail locations across the United States, and they offer support and advice to customers through their customer service team and online resources such as blogs and forums.
Overall, HTG Supply is a well-known and respected company in the indoor gardening and hydroponics community, and they provide a wide range of products and services to support plant growth and propagation.